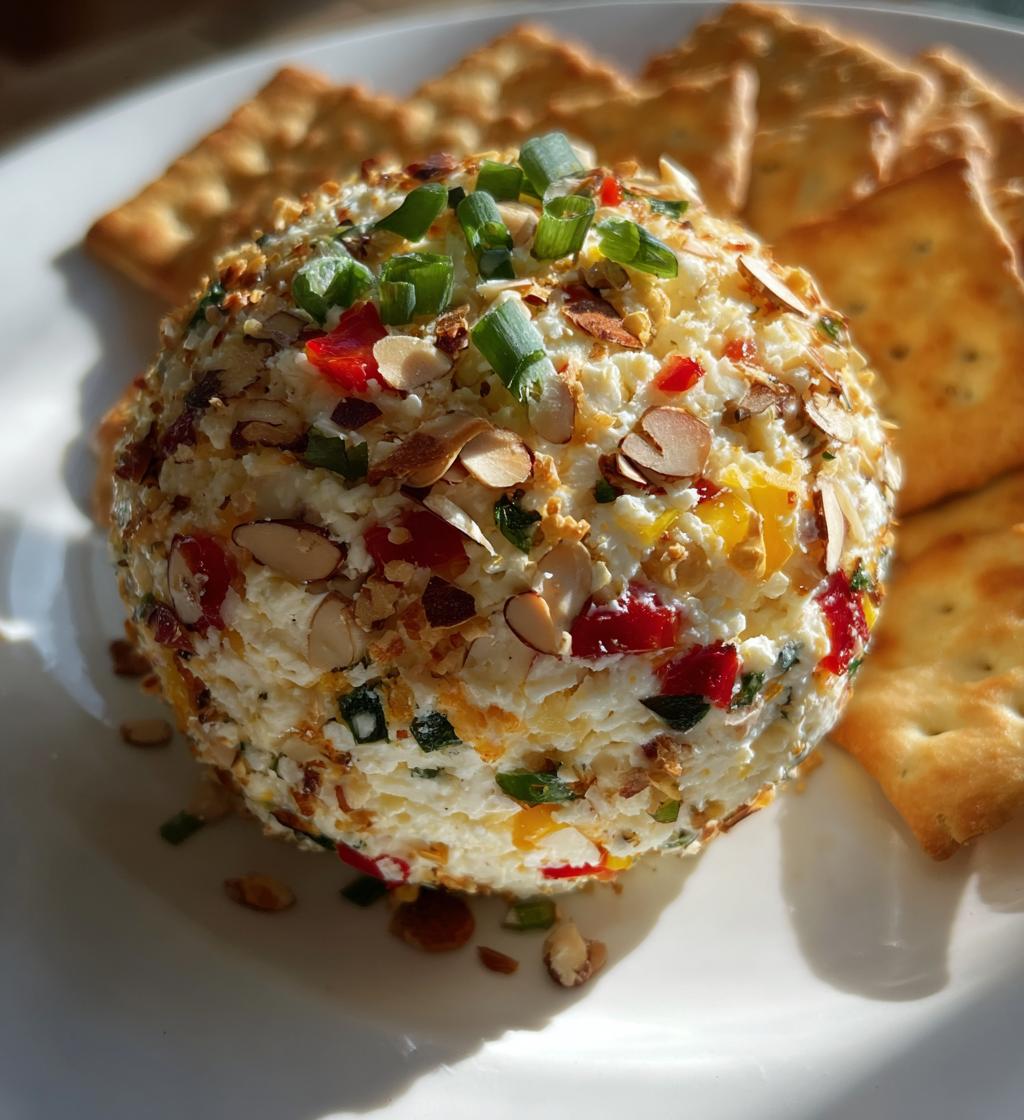
Let me tell you, there’s nothing quite like the excitement of a graduation party, and my *Simple Graduation Party Cheese Ball* is the star of the show! Seriously, this delightful appetizer is not only incredibly easy to whip up, but it also disappears faster than you can say “Congratulations!” The creamy, cheesy goodness combined with the crunch of almonds and the freshness of green onions makes this dish a must-have for any celebration. I remember the first time I brought this cheese ball to a family gathering; my cousin couldn’t stop raving about it. It became our go-to dish for every milestone event after that!
What I love most is how versatile it is. You can whip it up in just 15 minutes, and let it chill while you prepare for the party. Trust me, the hours in the fridge allow all those delicious flavors to meld together beautifully. Whether it’s a graduation, birthday, or just a sunny Saturday get-together, this cheese ball fits right in. Pair it with crackers or fresh veggies, and you’ve got a hit on your hands that everyone will want the recipe for!
Ingredients List
Gather these simple ingredients to create the most delicious cheese ball that everyone will love:
- 2 cups cream cheese, softened
- 1 cup shredded cheddar cheese
- 1/2 cup chopped green onions
- 1/2 cup chopped bell pepper
- 1/4 cup chopped almonds
- 1 tablespoon garlic powder
- 1 tablespoon Worcestershire sauce
Make sure your cream cheese is at room temperature for easy mixing. The cheddar cheese should be freshly shredded for the best flavor and texture. Chop the green onions and bell pepper finely, and don’t forget to roughly chop those almonds for a delightful crunch. This combination not only tastes great but also looks vibrant and inviting on your serving platter!
How to Prepare the Simple Graduation Party Cheese Ball
Preparing this *Simple Graduation Party Cheese Ball* is a breeze! Follow these easy steps, and you’ll have a delicious appetizer ready to impress your guests. Let’s get started!
Step-by-Step Instructions
First, grab a large mixing bowl. You’ll want to combine the softened cream cheese and shredded cheddar cheese. It’s important that the cream cheese is really soft so it blends smoothly—trust me, no one likes a lumpy cheese ball! Use a sturdy spatula or a hand mixer to mix until you have a creamy, homogeneous mixture. Oh, and don’t be afraid to get in there with your hands if it feels easier!
Next, it’s time to add in the chopped green onions, bell pepper, chopped almonds, garlic powder, and Worcestershire sauce. Stir everything together until well combined. I like to use a folding motion here to keep the mixture fluffy—no one wants a dense cheese ball!
Now comes the fun part: shaping! Using your hands, mold the mixture into a ball. Don’t worry if it’s not perfectly round; it’ll still taste amazing! Once you’re happy with the shape, wrap your cheese ball tightly in plastic wrap and refrigerate it for at least two hours. This chilling time is essential as it allows the flavors to meld and the cheese ball to firm up, making it easier to slice later on.
When you’re ready to serve, simply unwrap it, place it on a beautiful platter, and watch it disappear!
Nutritional Information
Here’s the estimated nutritional breakdown for each serving of my *Simple Graduation Party Cheese Ball*. Keep in mind that these values can vary slightly based on specific brands and preparation methods. But here’s a general idea:
- Calories: 150
- Fat: 12g
- Saturated Fat: 6g
- Unsaturated Fat: 4g
- Trans Fat: 0g
- Cholesterol: 30mg
- Sodium: 300mg
- Carbohydrates: 4g
- Fiber: 1g
- Sugar: 2g
- Protein: 6g
This cheese ball is a tasty, satisfying appetizer that packs in flavor without weighing you down. Perfect for snacking during those exciting graduation celebrations!
Why You’ll Love This Recipe
There are so many reasons to adore my *Simple Graduation Party Cheese Ball*! Here are just a few that make it a must-have for any celebration:
- Quick to make: With just 15 minutes of prep, you’ll have a delicious appetizer ready to chill while you focus on the festivities!
- No cooking required: It’s a no-cook recipe, making it perfect for those hot summer days or busy schedules.
- Flavor-packed: The combination of creamy cheese, crunchy almonds, and zesty veggies creates a mouthwatering bite that your guests will rave about.
- Perfect for sharing: Whether it’s graduation or just a casual get-together, this cheese ball is ideal for gatherings, inviting everyone to dig in.
- Customizable: Feel free to mix in your favorite herbs or spices to make it uniquely yours!
Trust me, once you try this recipe, it’ll become a staple at all your celebrations!
Tips for Success
To ensure your *Simple Graduation Party Cheese Ball* turns out perfectly every time, here are some pro tips to keep in mind:
- Softened cream cheese is key: Make sure your cream cheese is at room temperature. This makes mixing much easier and helps achieve that creamy texture we all love!
- Don’t skip the chilling time: Refrigerating the cheese ball for at least two hours is essential. This step not only helps it firm up but also allows the flavors to blend beautifully.
- Mix-ins and seasonings: Feel free to experiment with different herbs or spices! Just remember to start small; you can always add more, but it’s hard to tone down strong flavors.
- Presentation matters: When you’re ready to serve, consider garnishing with some extra chopped herbs or nuts on top. It makes for a stunning presentation that will impress your guests!
With these tips, you’ll be well on your way to creating a cheese ball that’s not just good, but truly unforgettable!
Variations
The beauty of my *Simple Graduation Party Cheese Ball* is how easily you can customize it to suit your taste! Here are a few fun variations to consider:
- Herb-infused: Add fresh herbs like dill, parsley, or chives for a burst of freshness. Just a tablespoon or two will elevate the flavor profile!
- Spicy kick: If you like a bit of heat, mix in some finely chopped jalapeños or a teaspoon of cayenne pepper. It adds a delightful zing!
- Sweet and savory: For a unique twist, incorporate dried cranberries or chopped apricots. The sweet contrast pairs beautifully with the savory cheese.
- Smoky flavor: Try adding smoked paprika or crumbled bacon for a smoky depth that’ll wow your guests.
Feel free to experiment with your favorite flavors, and don’t be afraid to get creative! Each variation brings its own charm, making this cheese ball a versatile party staple.
Serving Suggestions
When it comes to serving my *Simple Graduation Party Cheese Ball*, the options are endless, and I love to get creative! To start, a platter of assorted crackers is an absolute must. I suggest a mix of crunchy water crackers and buttery Ritz for a delightful contrast in texture. They pair perfectly with the creamy cheese ball!
But don’t stop there! Fresh veggies are another fantastic option. Think crisp carrot sticks, bell pepper strips, and cucumber slices that add a refreshing crunch and vibrant color to your spread. You can even include some pretzel sticks for a fun twist!
If you want to elevate the experience, consider serving it alongside slices of crusty baguette or toasted bread rounds. This adds a lovely rustic touch and gives guests another way to enjoy the cheese ball. Trust me, with these pairings, your cheese ball will be the highlight of the table, and everyone will be coming back for seconds!
Storage & Reheating Instructions
Storing your *Simple Graduation Party Cheese Ball* is super easy! Simply wrap any leftovers tightly in plastic wrap or place it in an airtight container to keep it fresh. It can be stored in the refrigerator for up to a week, making it a perfect make-ahead appetizer. Just be sure to keep it covered, as it tends to absorb odors from other food in the fridge.
Now, if you find yourself with some leftover cheese ball (which is rare, trust me!), you don’t need to reheat it. This dish is best enjoyed cold or at room temperature. Just take it out of the fridge about 30 minutes before serving to let it soften slightly, enhancing that creamy texture. Enjoy every last bite, and watch your guests ask for the recipe!
Print
Simple Graduation Party Cheese Ball: 5 Star Appetizer Delight
- Total Time: 2 hours 15 minutes
- Yield: 8 servings 1x
- Diet: Vegetarian
Description
A simple and delicious cheese ball recipe perfect for graduation parties.
Ingredients
- 2 cups cream cheese, softened
- 1 cup shredded cheddar cheese
- 1/2 cup chopped green onions
- 1/2 cup chopped bell pepper
- 1/4 cup chopped almonds
- 1 tablespoon garlic powder
- 1 tablespoon Worcestershire sauce
Instructions
- In a mixing bowl, combine cream cheese, cheddar cheese, green onions, bell pepper, almonds, garlic powder, and Worcestershire sauce.
- Mix until well combined.
- Shape the mixture into a ball.
- Wrap in plastic wrap and refrigerate for at least 2 hours.
- Serve with crackers or veggies.
Notes
- For added flavor, you can mix in herbs like dill or parsley.
- Keep refrigerated until serving.
- Prep Time: 15 minutes
- Cook Time: 0 minutes
- Category: Appetizer
- Method: No-cook
- Cuisine: American
Nutrition
- Serving Size: 1 serving
- Calories: 150
- Sugar: 2g
- Sodium: 300mg
- Fat: 12g
- Saturated Fat: 6g
- Unsaturated Fat: 4g
- Trans Fat: 0g
- Carbohydrates: 4g
- Fiber: 1g
- Protein: 6g
- Cholesterol: 30mg
Keywords: Graduation Party Cheese Ball


