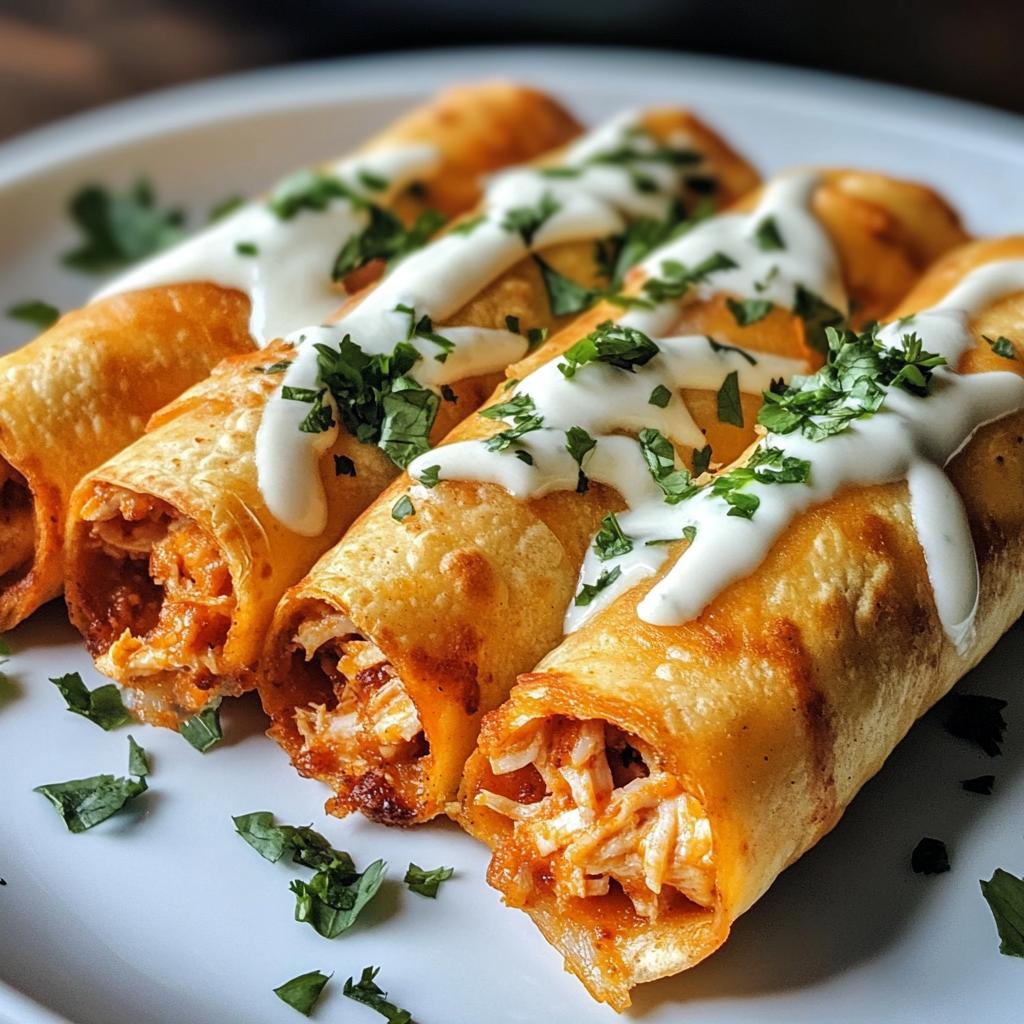
Oh my gosh, let me tell you about my absolute obsession with Kip Taquitos! These crispy little rolls of joy have saved me more times than I can count – whether it’s a last-minute party snack or those “I don’t feel like cooking” nights. Honestly, nothing beats that satisfying crunch when you bite into perfectly fried taquitos filled with spicy chicken and melty cheese. I’ll never forget the first time I made them for my nephew’s birthday – the kids devoured two whole batches before the pizza even arrived! That’s when I knew I had to perfect my Kip Taquitos: 7 Heerlijke Tips voor De Perfecte Smaak. The best part? They’re crazy easy to whip up with just a handful of ingredients you probably already have.
Why You’ll Love These Kip Taquitos
Let me count the ways you’re going to adore these crispy little flavor bombs! First off, that perfect crunch when you bite into them? Pure magic. But wait, there’s more:
- Weeknight superhero: Ready in under 30 minutes – faster than pizza delivery!
- Customizable magic: Swap fillings like you’re a taquito DJ (beef, beans, even shrimp!)
- Crowd-pleaser: I’ve yet to meet anyone who can resist them at parties
- Meal prep champ: Makes fantastic leftovers – if they last that long
These Kip Taquitos: 7 Heerlijke Tips voor De Perfecte Smaak have saved my bacon more times than I can count. Trust me, once you try them, you’ll wonder how you ever lived without them!
Ingredients for the Best Kip Taquitos
Here’s what you’ll need to make these irresistible crispy bites:
- 2 cups cooked shredded chicken (rotisserie works great!)
- 1 tbsp taco seasoning (homemade or store-bought)
- 1/2 cup shredded cheese (I’m team cheddar, but Monterey Jack is fab too)
- 12 small corn tortillas (fresh is best for easy rolling)
- 1/4 cup vegetable oil (for that golden crispiness)
- 1/4 cup packed chopped cilantro (trust me, it makes a difference)
- 1/2 cup salsa (for dipping, obviously)
- 1/4 cup sour cream (the perfect creamy contrast)
Ingredient Substitutions & Notes
No worries if you’re missing something—here’s how to adapt:
- Out of corn tortillas? Flour tortillas work in a pinch (just warm them well).
- Swap sour cream for Greek yogurt if you’re feeling fancy or health-conscious.
- Dairy-free? Use your favorite plant-based cheese and skip the sour cream or use a vegan alternative.
- Not a cilantro fan? Parsley or a squeeze of lime works too.
- Want to mix it up? Try shredded beef, black beans, or even roasted veggies as fillings.
How to Make Kip Taquitos: Step-by-Step
Alright, let’s get rolling – literally! After making hundreds (maybe thousands?) of these Kip Taquitos: 7 Heerlijke Tips voor De Perfecte Smaak, I’ve learned all the tricks to perfect them every single time. Follow these steps and you’ll be snacking on crispy golden perfection in no time:
- Mix it up: Combine your shredded chicken with taco seasoning and cheese in a bowl. Get in there with your hands – the best kitchen tools you have!
- Tortilla TLC: This is crucial – microwave your tortillas for 30 seconds wrapped in a damp paper towel. They’ll become soft and pliable, ready to roll without cracking.
- Fill & roll: Place about 2 tablespoons of filling near one edge of each tortilla. Roll up tightly like a cigar – if they’re loose, your filling will escape during cooking!
- Heat things up: Pour oil into a large skillet (about 1/4 inch deep) and heat over medium until shimmering. Test with a tortilla scrap – it should sizzle immediately.
- Fry to perfection: Carefully place taquitos seam-side down in the oil. Fry 2-3 minutes per side until beautifully golden and crispy. Work in batches to avoid crowding.
- Drain & serve: Transfer to a paper towel-lined plate to drain, then serve immediately with all your favorite dips!
Frying vs. Baking
Here’s the truth – frying gives you that unbeatable crispiness (oil at 350°F is ideal), while baking at 400°F for 15-20 minutes is a great lighter option. I often do both – quick fry for crispness, then finish in the oven if I’m making big batches! Either way, you win.
7 Heerlijke Tips for Perfect Kip Taquitos
Alright, let me share my absolute must-know secrets for Kip Taquitos: 7 Heerlijke Tips voor De Perfecte Smaak! These game-changers come from years of trial and (delicious) error:
- Season with abandon: That chicken needs flavor! I always add extra taco seasoning – about 1 1/2 tablespoons for 2 cups chicken. Taste the mix before rolling.
- Toothpick magic: Stubborn tortillas? Secure the edge with a toothpick before frying. Just remember to remove them before serving (learned that the hard way!).
- Wire rack win: Drain fried taquitos on a rack over a baking sheet. This keeps them crispy all over instead of getting soggy on one side.
- Oil thermometer trick: If your oil isn’t hot enough (350°F), your taquitos will soak up oil instead of crisping. I keep my candy thermometer handy!
- Double dip: For extra crispy shells, lightly brush tortillas with oil before rolling. It’s like giving them a crispy head start.
- Resting is key: Let the filled tortillas sit for 5 minutes before frying – the moisture helps prevent cracking.
- Batch control: Never crowd the pan! Fry in small batches to maintain oil temperature and even cooking.
Follow these tips and you’ll have taquitos so good, your family will beg you to make them every week – mine certainly does!
Serving Suggestions for Kip Taquitos
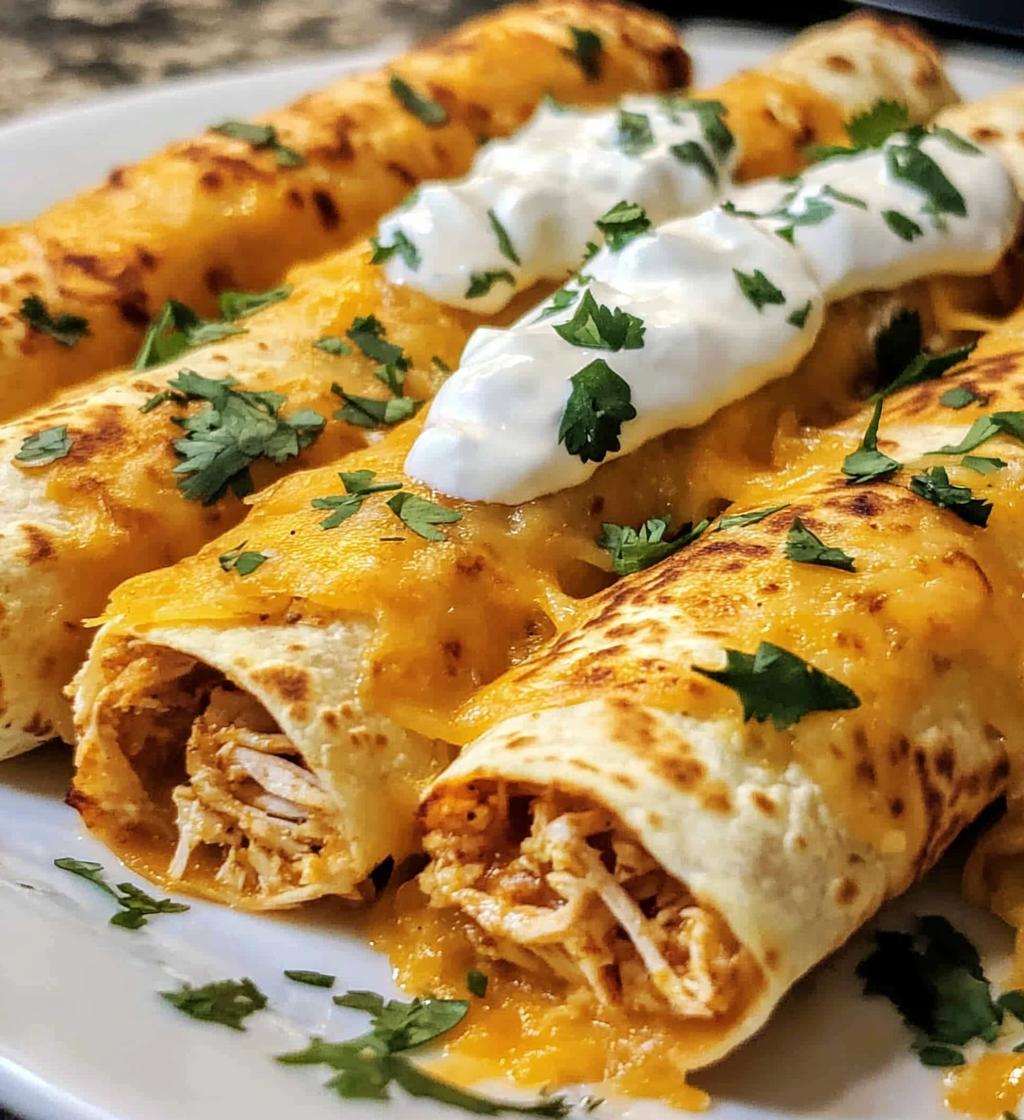
Oh, the fun part! Now that you’ve made these crispy little treasures, let’s talk about taking them to the next level. My absolute must-have? A trio of dips – cool sour cream, chunky guacamole, and spicy salsa. But don’t stop there! I love serving them with:
- Quick-pickled onions (they cut through the richness perfectly)
- Fresh lime wedges for squeezing
- A simple cabbage slaw for crunch
- Mexican crema drizzled over the top
For parties, I arrange everything on a big platter with the taquitos standing up in a cup – it’s always the first empty dish on the table!
Storing and Reheating Kip Taquitos
Here’s my golden rule – taquitos taste best fresh, but when life happens (and leftovers appear), here’s how to keep them crispy! Store cooled taquitos in an airtight container for up to 3 days – place parchment between layers to prevent sticking. Want that just-fried texture again? Skip the microwave (trust me, they’ll turn soggy) and reheat in a 375°F oven for 5-7 minutes. I sometimes give them a quick broil at the end for extra crunch. For longer storage, freeze before cooking – just pop frozen taquitos straight into hot oil when cravings strike!
Kip Taquitos Nutrition
Just a quick heads-up – the nutrition info for these taquitos can vary depending on your exact ingredients and brands. These are definitely a “sometimes” treat in my house (though my kids beg to differ!). Remember, estimates are just that – estimates!
FAQs About Kip Taquitos
Got questions? I’ve got answers! Here are the most common ones I get about these crispy delights:
Can I freeze taquitos? Absolutely! Freeze them before frying, then pop them straight into hot oil when you’re ready. No thawing needed – just add a minute or two to the cooking time.
How do I make them gluten-free? Easy – just stick to corn tortillas and double-check your taco seasoning. Most brands are gluten-free, but it’s always good to check the label.
What’s the best way to keep them crispy? Drain them on a wire rack after frying, and never cover them while they’re hot. Steam = soggy taquitos, and we don’t want that!
Can I use flour tortillas? Sure, but warm them well first. They’re more forgiving when rolling, but corn tortillas give that classic taquito crunch.
Rate This Recipe
Did you make these taquitos? I’d love to hear how they turned out! Drop a comment below with your favorite twists or tips – your idea might just become my new go-to!
Print
Kip Taquitos: 7 Proven Secrets for Irresistible Crunch
- Total Time: 25 minutes
- Yield: 12 taquitos 1x
- Diet: Low Lactose
Description
Kip taquitos are a delicious and easy-to-make snack or meal. These crispy rolled tortillas filled with seasoned chicken are perfect for any occasion. Follow these tips to achieve the perfect flavor and texture.
Ingredients
- 2 cups cooked shredded chicken
- 1 tbsp taco seasoning
- 1/2 cup shredded cheese
- 12 small corn tortillas
- 1/4 cup vegetable oil
- 1/4 cup chopped cilantro
- 1/2 cup salsa
- 1/4 cup sour cream
Instructions
- Mix shredded chicken with taco seasoning and cheese.
- Heat tortillas in a microwave for 30 seconds to make them pliable.
- Place a spoonful of chicken mixture on each tortilla and roll tightly.
- Heat oil in a pan over medium heat.
- Fry taquitos until golden and crispy, about 2-3 minutes per side.
- Drain on paper towels.
- Serve with salsa, sour cream, and cilantro.
Notes
- Use fresh tortillas for easier rolling.
- For extra crispiness, bake taquitos at 400°F for 10 minutes after frying.
- Substitute chicken with beef or beans for variation.
- Prep Time: 15 minutes
- Cook Time: 10 minutes
- Category: Appetizer
- Method: Frying
- Cuisine: Mexican
Nutrition
- Serving Size: 2 taquitos
- Calories: 250
- Sugar: 2g
- Sodium: 400mg
- Fat: 12g
- Saturated Fat: 4g
- Unsaturated Fat: 6g
- Trans Fat: 0g
- Carbohydrates: 20g
- Fiber: 3g
- Protein: 15g
- Cholesterol: 45mg
Keywords: kip taquitos, chicken taquitos, crispy taquitos, Mexican appetizer, easy taquitos


