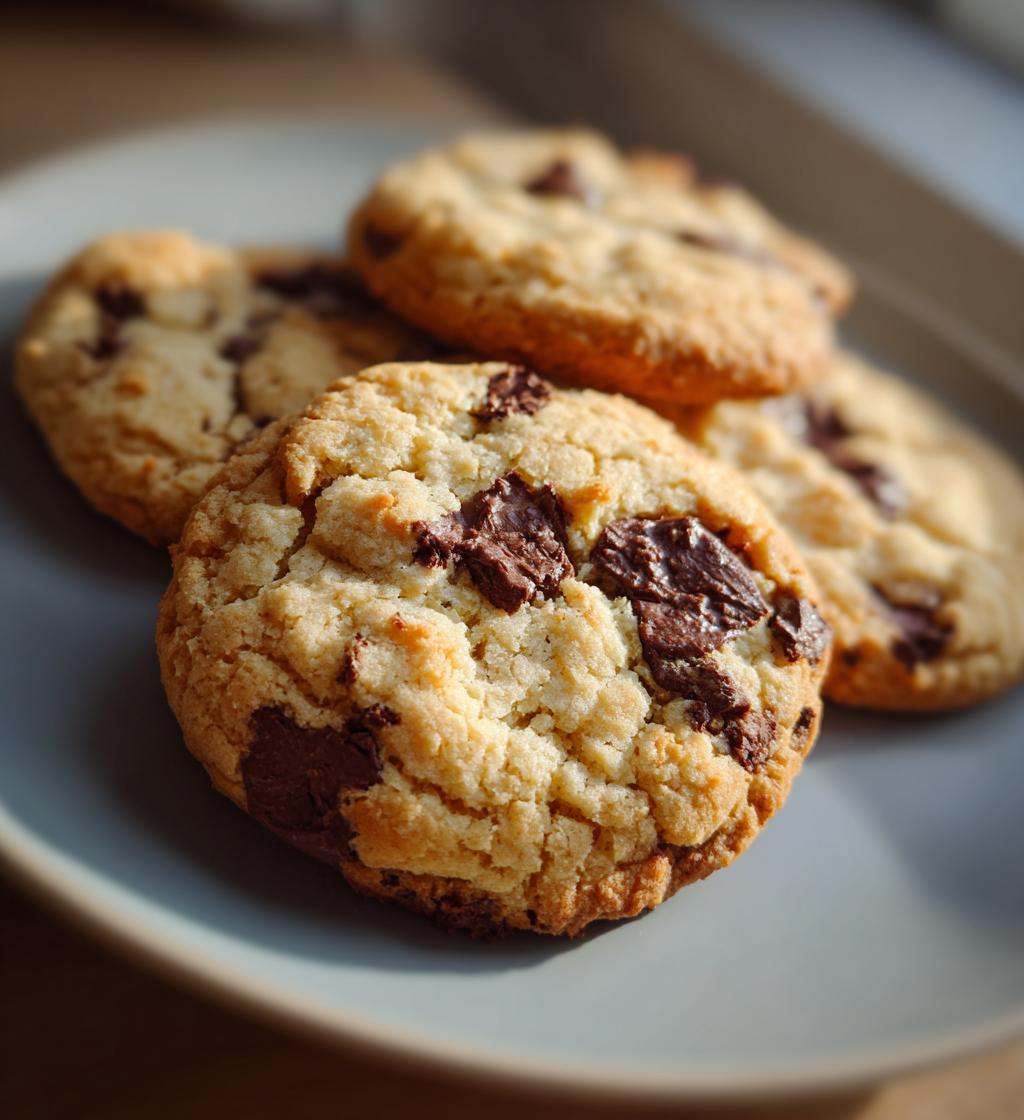
Oh, milk cookies! Just saying the words brings back a flood of memories for me. I remember countless afternoons at my childhood friend’s house, where her mom would whip up a batch of these delightful treats. The aroma of freshly baked cookies wafting through the air was enough to make anyone feel at home. These milk cookies are the epitome of soft and chewy perfection, and they just melt in your mouth! Trust me when I say, when you take that first bite, the warm chocolate chips ooze out, and the buttery flavor wraps around your taste buds like a cozy blanket.
What’s even better is how simple and quick they are to make. With just a handful of ingredients, you’ll have a batch of milk cookies ready in no time. Whether you’re baking for a special occasion or just because you need a sweet pick-me-up, these cookies are your go-to recipe. So, grab your mixing bowl and let’s dive into the world of these irresistible milk cookies that’ll have everyone asking for seconds!
Ingredients List
Here’s everything you’ll need to whip up a batch of those delightful milk cookies. I promise, the ingredients are simple and straightforward, making it easy for anyone to join in on the fun:
- 1 cup unsalted butter, softened (make sure it’s at room temperature for easy creaming!)
- 1 cup granulated sugar
- 1 cup packed brown sugar (the packing helps release all that sweet goodness!)
- 2 large eggs (don’t worry if you get a little shell in there, just fish it out!)
- 1 teaspoon vanilla extract (this adds that warm, comforting flavor)
- 3 cups all-purpose flour (sifted for a lighter texture, if you’d like!)
- 1 teaspoon baking soda
- 1/2 teaspoon salt (don’t skip this; it really enhances the sweet flavor)
- 1 cup chocolate chips (feel free to use semi-sweet, dark, or even white chocolate)
That’s it! With these ingredients, you’re just moments away from creating delicious memories with these soft and chewy milk cookies. Let’s get baking!
How to Prepare Milk Cookies
Now that you’ve gathered all your ingredients, it’s time to get those delicious milk cookies baking! I can almost hear the oven timer ding already! Let’s break it down step by step:
Step-by-Step Instructions
- Preheat your oven: First things first, let’s get that oven heated up. Preheat it to 350°F (175°C). This ensures that your cookies bake evenly and come out perfectly chewy.
- Cream the butter and sugars: In a large mixing bowl, combine the softened unsalted butter, granulated sugar, and packed brown sugar. Using an electric mixer or a sturdy wooden spoon, cream them together until the mixture is light and fluffy. This step is super important because it creates tiny air pockets that make your cookies soft and tender.
- Add the eggs and vanilla: Crack in the two large eggs and pour in the teaspoon of vanilla extract. Mix everything together until well combined. You want it to look smooth and creamy, so don’t rush this step!
- Combine dry ingredients: In a separate bowl, whisk together the all-purpose flour, baking soda, and salt. This helps to evenly distribute the baking soda and salt throughout the flour, ensuring every cookie has that perfect flavor.
- Mix wet and dry ingredients: Gradually add the dry mixture to the wet mixture. I like to do this in three parts: add a third of the flour mixture, mix until just combined, then repeat until everything is incorporated. Be careful not to overmix; you want a tender cookie, not a tough one!
- Fold in the chocolate chips: Gently fold in the cup of chocolate chips with a spatula. This is where the cookies really start to come to life! Make sure the chocolate chips are evenly distributed throughout the dough.
- Drop the dough onto baking sheets: Using a spoon or a cookie scoop, drop spoonfuls of dough onto ungreased baking sheets, leaving about 2 inches of space between each cookie. They’ll spread out a bit while baking, so give them some room to breathe!
- Bake to perfection: Pop those baking sheets into your preheated oven and bake for 10-12 minutes. You’ll know they’re ready when the edges are golden brown, but the centers still look a little soft. Trust me, they’ll firm up as they cool!
- Cool and enjoy: Once baked, let the cookies cool on the baking sheet for about 5 minutes before transferring them to a wire rack. This little resting time helps them set up nicely. And there you have it—your soft and chewy milk cookies are ready to be devoured!
Baking these milk cookies not only fills your kitchen with an irresistible aroma but also brings a sense of warmth and joy. So, grab a glass of milk and enjoy your delightful creations!
Why You’ll Love This Recipe
This milk cookies recipe is an absolute game-changer in the world of baking! Here are a few reasons why you’ll fall head over heels for these soft and chewy delights:
- Quick Preparation: You can whip these up in just about 15 minutes of prep time, making them perfect for a last-minute treat!
- Simple Ingredients: All you need are pantry staples! No fancy ingredients here—just butter, sugar, and love.
- Delicious Results: The combination of chocolate chips and that melt-in-your-mouth texture will have everyone begging for the recipe.
- Customizable: Feel free to swap in your favorite mix-ins, whether it’s nuts, dried fruit, or even a sprinkle of sea salt on top.
- Perfect for Any Occasion: Whether you’re hosting a party or just treating yourself, these cookies fit the bill every time!
Trust me, once you try them, you’ll want to keep this recipe on repeat!
Tips for Success
To ensure your milk cookies turn out absolutely perfect every time, here are some pro tips I swear by:
- Baking Time: Keep an eye on your cookies! For that perfect soft and chewy texture, I recommend taking them out when the edges are golden, but the centers still look slightly underbaked. They’ll continue to set as they cool.
- Texture Variations: If you prefer a chewier cookie, try underbaking them by a minute or two. For a crisper edge, leave them in a tad longer. Experiment to find your ideal texture!
- Ingredient Substitutions: Don’t hesitate to get creative! Swap chocolate chips for butterscotch or peanut butter chips. You could even add oats or chopped nuts for extra flavor and crunch.
- Chill the Dough: If you have time, chilling the dough for about 30 minutes can enhance the flavors and help prevent spreading, resulting in thicker cookies.
These little tips can make a world of difference, so give them a try and enjoy your baking adventure!
Nutritional Information
Let’s talk about what you get in each delightful milk cookie! Keep in mind that these values are estimates, but they’ll give you a good idea of what to expect. Each cookie contains about 150 calories, which is pretty manageable for a sweet treat. You’re looking at around 8 grams of fat, with 5 grams of that being saturated fat. The protein content is about 2 grams per cookie, making them a tasty little snack!
In terms of carbohydrates, you’ll find around 18 grams, along with 10 grams of sugar to satisfy your sweet tooth. And don’t forget about the sodium—each cookie has about 100 milligrams. So, while these cookies are indulgent, they can still fit into your day if enjoyed in moderation. Now, who’s ready to dig in?
FAQ Section
Got questions about these delightful milk cookies? No worries! I’ve got you covered with some common queries that might pop up while baking these treats:
- Can I use margarine instead of butter? While you can substitute margarine, I highly recommend using unsalted butter for that rich, creamy flavor that makes these milk cookies truly special. Trust me, butter is where the magic happens!
- What if I don’t have chocolate chips? No problem! You can swap chocolate chips for other mix-ins like nuts, dried fruits, or even butterscotch chips. Get creative, and make these cookies your own!
- How can I make my cookies softer? For super soft cookies, be careful not to overbake them. Pull them out when the edges are golden but the centers are still a bit soft. They’ll firm up as they cool!
- Can I freeze the cookie dough? Absolutely! You can freeze the cookie dough for up to three months. Just scoop the dough into balls, freeze them on a baking sheet, then transfer to a zip-top bag. Bake straight from frozen; just add a couple of minutes to the baking time.
- What’s the best way to store leftover cookies? Keep your milk cookies in an airtight container at room temperature to maintain their softness. If you want to keep them fresh for longer, you can also refrigerate them!
With these tips, you’re all set for a fantastic baking experience. Happy baking!
Storage & Reheating Instructions
Once you’ve enjoyed your batch of delicious milk cookies, storing the leftovers properly is key to keeping them fresh and chewy! I recommend placing your cookies in an airtight container at room temperature. They’ll stay soft for several days, and you can even layer them with parchment paper to prevent sticking.
If you want to keep them for a longer period, you can pop them in the refrigerator. Just know that chilling them may alter their texture slightly, making them a bit firmer. For the best results, you can also freeze the cookies! Simply wrap them individually in plastic wrap and place them in a freezer-safe bag. They’ll last for about three months.
When you’re ready to enjoy those frozen cookies, just let them sit at room temperature for a bit, or pop them in the microwave for about 10-15 seconds to bring back that fresh-baked warmth. Happy snacking!
Call to Action
Now that you’ve baked up a batch of these scrumptious milk cookies, I’d love to hear from you! Did you try any fun mix-ins or tweaks? Share your experience in the comments below! If you enjoyed this recipe, please give it a rating and let others know how much you loved it. And don’t forget to snap a pic of your cookies and share it on social media! Tag me so we can celebrate your baking success together. Happy baking, and I can’t wait to see your delicious creations!
Print
Milk Cookies That Melt Hearts: 7 Steps to Joyful Baking
- Total Time: 27 minutes
- Yield: 24 cookies 1x
- Diet: Vegetarian
Description
Delicious milk cookies that are soft and chewy.
Ingredients
- 1 cup unsalted butter, softened
- 1 cup sugar
- 1 cup brown sugar
- 2 large eggs
- 1 teaspoon vanilla extract
- 3 cups all-purpose flour
- 1 teaspoon baking soda
- 1/2 teaspoon salt
- 1 cup chocolate chips
Instructions
- Preheat oven to 350°F (175°C).
- Cream together butter, sugar, and brown sugar.
- Add eggs and vanilla, mix well.
- In another bowl, combine flour, baking soda, and salt.
- Gradually add dry ingredients to wet mixture.
- Fold in chocolate chips.
- Drop spoonfuls of dough onto baking sheets.
- Bake for 10-12 minutes or until golden.
- Let cool for a few minutes before transferring to a wire rack.
Notes
- Store cookies in an airtight container.
- For a chewier texture, underbake slightly.
- You can substitute chocolate chips with nuts or dried fruit.
- Prep Time: 15 minutes
- Cook Time: 12 minutes
- Category: Dessert
- Method: Baking
- Cuisine: American
Nutrition
- Serving Size: 1 cookie
- Calories: 150
- Sugar: 10g
- Sodium: 100mg
- Fat: 8g
- Saturated Fat: 5g
- Unsaturated Fat: 2g
- Trans Fat: 0g
- Carbohydrates: 18g
- Fiber: 1g
- Protein: 2g
- Cholesterol: 30mg
Keywords: milk cookies, chocolate chip cookies, dessert recipes


