You know those nights when you need dinner to be fast, delicious, and something everyone will actually eat? That’s where these chicken tender recipes swoop in like a weeknight superhero. I’m not exaggerating when I say these golden, crispy strips have saved my sanity more times than I can count—especially when my kids declare everything else “too green” or “too mushy.” What I love most is how these simple ingredients transform into something magical with just 30 minutes and minimal fuss. Whether it’s a busy Tuesday or a picky eater emergency, this recipe never lets me down.
Why You’ll Love These Chicken Tender Recipes
Trust me, these aren’t just any chicken tenders—they’re the kind that disappear before they even hit the table. Here’s why they’ve become my go-to:
- Weeknight lifesaver: From fridge to plate in 30 minutes flat (I’ve timed it during my most chaotic evenings)
- Crispy magic: That golden crunch? It’s all about the panko breadcrumb trick I’ll share
- Kid-approved: My pickiest eater calls them “chicken candy” (parenting win!)
- Endless possibilities: Toss them in buffalo sauce, slice over salads, or dunk in honey mustard—they adapt to any mood
The best part? You probably have everything you need in your pantry right now. No fancy ingredients, just crispy, juicy perfection every time.
Ingredients for Chicken Tender Recipes
Here’s the beautiful simplicity of this recipe—just 8 ingredients you likely already have. I always grab:
- 1 lb chicken tenders (or breasts sliced into strips—more on that later)
- 1 cup breadcrumbs (panko gives that addictive crunch, but regular works too)
- 1/2 cup flour (all-purpose does the job perfectly)
- 2 large eggs (room temp helps the coating stick better)
- 1 tsp each: salt, black pepper, garlic powder, and paprika (my holy grail seasoning quartet)
- 2 tbsp olive oil (for that golden finish—trust me, don’t skip it)
See? Nothing fancy—just pantry staples ready to become something extraordinary.
How to Make Chicken Tender Recipes
Okay, let’s get down to business! Making these chicken tenders is easier than remembering your WiFi password. Just follow these simple steps, and you’ll have golden, crispy perfection in no time.
Step 1: Prep the Coating
First things first – crank that oven to 400°F (that’s about 200°C for my metric friends). While it’s heating up, grab a shallow bowl and mix together your breadcrumbs with all those lovely spices – salt, pepper, garlic powder, and paprika. I like to give it a good whisk to make sure every breadcrumb gets coated evenly. Pro tip: taste a pinch of the mixture – it should make you go “Mmm!” If not, add a bit more garlic powder (because let’s be honest, more garlic is always better).
Step 2: Coat the Chicken
Now the fun part! Set up your dredging station with three bowls: flour in one, beaten eggs in another, and your seasoned breadcrumbs in the third. Pat those chicken tenders dry (this is crucial for the coating to stick!), then dip each one first in flour (shake off excess), then egg (let the excess drip off), then press firmly into the breadcrumbs. I mean really press – you want those crumbs to stick like they’re glued on! Place them on a parchment-lined baking sheet – don’t let them touch or they’ll steam instead of crisp.
Step 3: Bake to Perfection
Drizzle your olive oil over the top – this is what gives that gorgeous golden color. Pop them in the oven for about 20 minutes. At the 10-minute mark, flip them over for even crispiness (I use tongs – careful, they’re hot!). Want extra crunch? Broil for the last 2 minutes, but watch them like a hawk – they can go from golden to burnt in seconds! They’re done when the internal temp hits 165°F and the coating is crispy enough to hear from across the room.
Tips for the Best Chicken Tender Recipes
After making these chicken tenders more times than I can count (seriously, my kids request them weekly), I’ve learned a few tricks that make all the difference:
- Parchment paper is your BFF: No sticking, easy cleanup – just slide those golden beauties right off
- Give them space: Overcrowding = steamed chicken sadness. Keep tenders about an inch apart for maximum crisp
- Temp check don’t guess: That meat thermometer isn’t just for show – 165°F means juicy perfection every time
- Patience pays: Let them rest 5 minutes before serving – the crunch stays crispier longer
Follow these simple tips, and you’ll have restaurant-quality tenders with half the effort!
Ingredient Substitutions
Ran out of something? No worries – these swaps keep the crispy magic alive:
- Gluten-free? Almond flour works beautifully instead of regular flour (just skip the breadcrumbs or use gluten-free panko)
- Breadcrumb alternatives: Crushed cornflakes or potato chips add insane crunch (my kids beg for the BBQ chip version)
- Egg-free: Buttermilk or even mayo makes a great binder in a pinch
- Oil swap: Melted butter gives extra richness if you’re out of olive oil
The beauty of this recipe? It’s endlessly adaptable to what’s in your pantry!
Serving Suggestions for Chicken Tender Recipes
Oh, the possibilities! These crispy chicken tenders are like the Swiss Army knife of dinner – they work with absolutely everything. My family’s favorite way? Stack them high with steak fries and three dipping sauces (honey mustard, ranch, and BBQ – we’re sauce people). For lighter meals, toss them over a big Caesar salad – the warm chicken makes the lettuce just wilt enough to feel fancy. Kids love them stuffed in wraps with cheese and veggies, while game day calls for tossing them in buffalo sauce with celery sticks. Honestly, they’re so versatile I’ve even served them over rice with teriyaki glaze when Asian cravings hit. The only rule? Make extra – they disappear fast!
Storing and Reheating Chicken Tenders
Here’s my golden rule for leftovers: let them cool completely before storing in an airtight container (I swear by my glass ones with the rubber seals). They’ll stay crispy-good for about 3 days in the fridge. When reheating, skip the microwave unless you like soggy sadness – instead, pop them in a 350°F oven or air fryer for 5-7 minutes. That brings back the crunch almost like fresh! Pro tip: if you’re meal prepping, underbake them slightly so they finish perfectly when reheated.
Nutritional Information for Chicken Tender Recipes
Here’s the nutritional breakdown per serving (about 4 tenders), but remember – these are estimates that can vary based on your specific ingredients (especially breadcrumb brands and chicken sizes):
- Calories: 250
- Protein: 25g (hello, muscle fuel!)
- Fat: 10g
- Carbs: 15g
Not bad for something that tastes this indulgent! The protein keeps you full, while baking instead of frying keeps it on the lighter side.
Frequently Asked Questions About Chicken Tender Recipes
I’ve gotten so many questions about these chicken tenders over the years – here are the ones that pop up most often!
Can I Use Chicken Breast Instead of Tenders?
Absolutely! Just slice boneless, skinless breasts into 1-inch strips – I find cutting with the grain gives the perfect tender-like texture. Sometimes I even butterfly extra-thick breasts first. The key is making sure all pieces are roughly the same thickness so they cook evenly. My little trick? Pound any thicker spots gently with a rolling pin or the bottom of a heavy pan.
How Do I Keep the Coating from Falling Off?
Oh, I’ve had my share of coating disasters! Two game-changers: First, pat those tenders bone-dry with paper towels before starting – moisture is the enemy of stickiness. Second, really press that breadcrumb coating on firmly and let them sit 5 minutes before baking. It’s like they form a little bond with the egg wash. If you’re still having trouble, try a double-dip in egg and breadcrumbs for extra insurance!
Can I fry these instead of baking? Of course! Just heat about 1/2 inch of oil to 375°F and fry 2-3 minutes per side until golden. They’ll cook faster than baking, so watch closely.
Can I meal prep these ahead? You bet! I often coat them completely, then freeze on a baking sheet before transferring to bags. Bake straight from frozen, adding 5-7 extra minutes. Perfect for busy weeks!
Now that you’ve got all the secrets, what are you waiting for? Try this recipe tonight and get ready for the crispiest, juiciest chicken tenders of your life!
Print
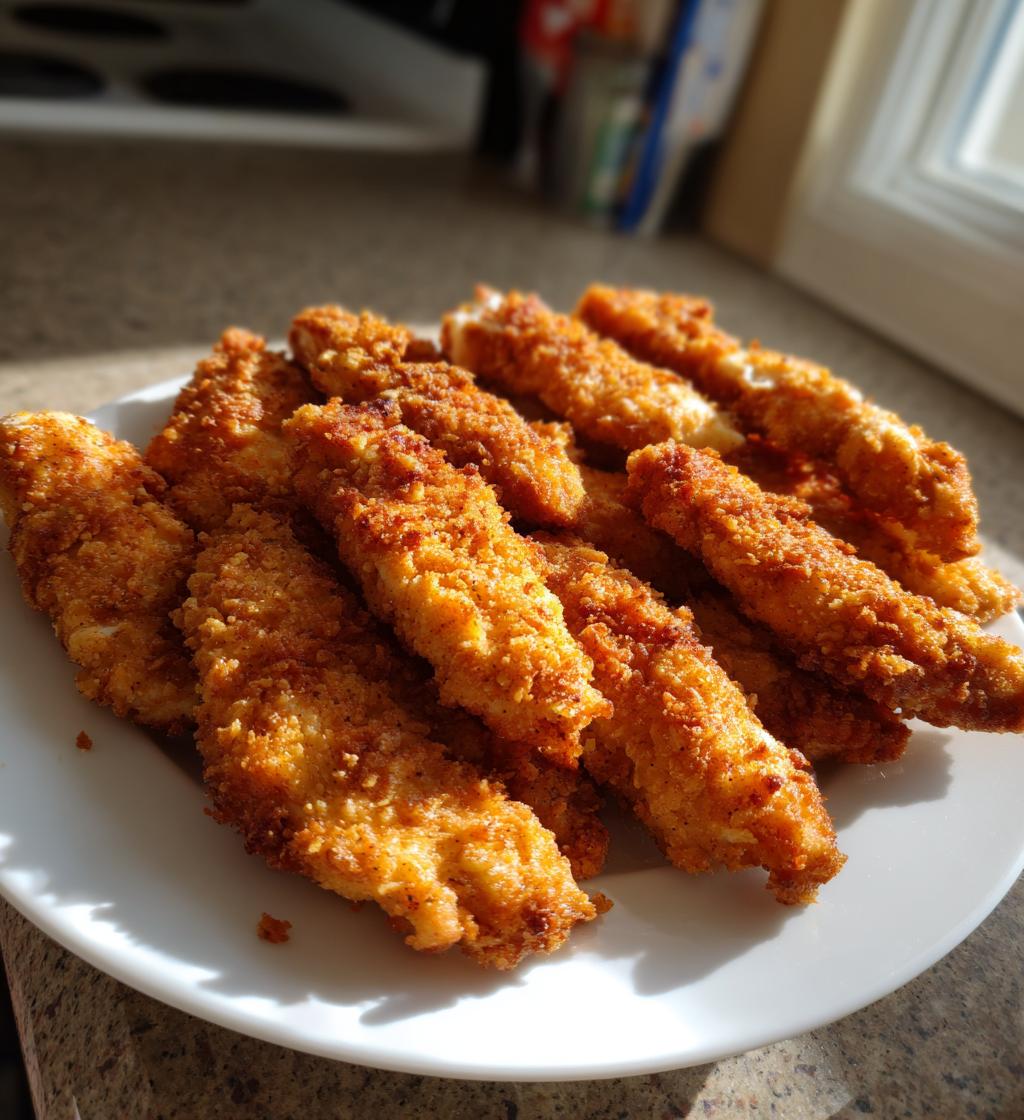
30-Minute Crispy Chicken Tender Recipes That Wow Every Time
- Total Time: 30 minutes
- Yield: 4 servings 1x
- Diet: Low Fat
Description
Easy and delicious chicken tender recipes perfect for any meal.
Ingredients
- 1 lb chicken tenders
- 1 cup breadcrumbs
- 1/2 cup flour
- 2 eggs
- 1 tsp salt
- 1 tsp black pepper
- 1 tsp garlic powder
- 1 tsp paprika
- 2 tbsp olive oil
Instructions
- Preheat oven to 400°F.
- Mix breadcrumbs, salt, pepper, garlic powder, and paprika in a bowl.
- Dip each chicken tender in flour, then eggs, then breadcrumb mixture.
- Place tenders on a baking sheet lined with parchment paper.
- Drizzle with olive oil.
- Bake for 20 minutes or until golden brown.
- Serve hot.
Notes
- For extra crispiness, broil for 2 minutes after baking.
- Use panko breadcrumbs for a crunchier texture.
- Store leftovers in an airtight container for up to 3 days.
- Prep Time: 10 minutes
- Cook Time: 20 minutes
- Category: Main Dish
- Method: Baked
- Cuisine: American
Nutrition
- Serving Size: 4 oz
- Calories: 250
- Sugar: 1g
- Sodium: 500mg
- Fat: 10g
- Saturated Fat: 2g
- Unsaturated Fat: 6g
- Trans Fat: 0g
- Carbohydrates: 15g
- Fiber: 1g
- Protein: 25g
- Cholesterol: 120mg
Keywords: chicken tenders, baked chicken, easy dinner


