Oh, chocolate mousse cups – just saying those words makes me smile! I still remember my first taste of this dreamy dessert at a tiny Parisian café years ago. The spoon glided through that cloud-like chocolate, and I swear I heard angels sing. But here’s the best part: you don’t need a fancy pastry degree to make these at home. These individual chocolate mousse cups are my go-to when I want something elegant but secretly easy. They come together with just a few simple ingredients, look gorgeous in their little glasses, and – trust me – disappear even faster than they’re made. The magic happens in under 30 minutes (plus chilling time), leaving you with a dessert that tastes like you spent all day in the kitchen.
Why You’ll Love These Chocolate Mousse Cups
Let me count the ways these little cups of joy will steal your heart:
- No oven required – Perfect for hot summer days when baking sounds like torture
- Ready in a flash – Just 30 minutes of active work (plus chilling time)
- Fancy presentation – Looks like you fussed when you really didn’t
- Rich chocolate flavor – Deep, velvety taste that satisfies serious chocolate cravings
- Perfect portions – Individual servings mean no fighting over who gets the last bite
Honestly? I make these at least twice a month because they’re that good and that easy.
Ingredients for Chocolate Mousse Cups
Here’s what you’ll need to create these little cups of chocolate heaven – and yes, every single ingredient matters:
- 200g dark chocolate, chopped (I use 70% cocoa – trust me, it makes all the difference)
- 3 large eggs, separated (room temperature eggs whip up so much better!)
- 50g granulated sugar (divided – we’ll use half for yolks, half for whites)
- 1 tsp vanilla extract (the real stuff, please – no imitation)
- 200ml heavy cream (also called double cream – cold from the fridge)
- Pinch of salt (just a tiny bit to balance the sweetness)
See? Nothing fancy – just quality ingredients that transform into something magical. Now let’s get mixing!
Equipment You’ll Need
Don’t worry – you probably already have everything you need in your kitchen! Here’s the short and sweet list:
- 2 mixing bowls (one for yolks, one for whites)
- Whisk (or electric mixer – my arms get tired!)
- Heatproof bowl for melting chocolate (I use my trusty glass one)
- 4 serving cups (pretty glasses, ramekins – whatever makes you happy)
- Spatula (for scraping every last bit of that heavenly mousse)
That’s it! No fancy gadgets required – just basic tools you likely already own.
How to Make Chocolate Mousse Cups
Okay, let’s make some magic happen! I promise this is easier than it looks – just follow these simple steps and you’ll be scooping into dreamy chocolate clouds in no time.
Step 1: Melt the Chocolate
First things first – let’s melt that chocolate to silky perfection. I always use the double boiler method: place your chopped chocolate in a heatproof bowl over a saucepan of simmering water (not boiling – we don’t want steam in our chocolate!). Stir occasionally until it’s completely melted and smooth like satin. Remove from heat and let it cool slightly – about 5 minutes. Too hot and it’ll scramble our eggs in the next step!
Step 2: Prepare the Egg Yolks
While the chocolate cools, let’s tackle the yolks. In a medium bowl, whisk together the yolks and half the sugar until they turn pale yellow and thick enough that the mixture forms ribbons when you lift the whisk. This takes about 2-3 minutes of good whisking (or less if using a mixer). Now gently stir in the slightly cooled chocolate and vanilla – the mixture will be gloriously shiny and thick.
Step 3: Whip the Cream
Time for the cream! In another bowl (make sure it’s cold – I sometimes pop mine in the freezer for 5 minutes first), whip the heavy cream just until it forms soft peaks. You’ll know it’s ready when the peaks gently droop when you lift the whisk. Don’t overwhip or your mousse will be grainy instead of light as air!
Step 4: Beat the Egg Whites
Now the whites – and here’s where cleanliness is key! Make sure your bowl and beaters are spotless (any grease will prevent proper whipping). Beat the whites with a pinch of salt until foamy, then gradually add the remaining sugar while beating. Keep going until you get stiff, glossy peaks that stand straight up when you lift the beater. These little air pockets are what give our mousse its incredible lightness.
Step 5: Combine and Chill
Final stretch! First, fold the whipped cream into the chocolate mixture gently with a spatula – think of it as giving the mixture a big hug. Then, carefully fold in the egg whites in two additions. Gently is the word here – we want to keep all that air we worked so hard to create! Divide the mousse among your serving cups and refrigerate for at least 4 hours (overnight is even better). The wait is torture, but oh-so-worth it when you take that first spoonful of chocolate heaven.
Tips for Perfect Chocolate Mousse Cups
After making these mousse cups more times than I can count, here are my foolproof tips for absolute perfection:
- Quality matters – Splurge on good chocolate (70% cocoa is my sweet spot)
- Room temp eggs whip better – Take them out 30 minutes before starting
- Fold, don’t stir – Gentle figure-8 motions keep the mousse light and airy
- Chill thoroughly – 4 hours minimum, but overnight is truly magical
- Spotless bowls for whites – Any grease will sabotage your perfect peaks
Follow these, and you’ll have mousse so good, your friends will think you studied in Paris!
Variations for Chocolate Mousse Cups
Once you’ve mastered the classic, try these fun twists to keep your mousse cups exciting:
- Espresso kick – Stir 1 tsp instant espresso powder into the melted chocolate for a mocha twist
- Berry bliss – Top with fresh raspberries or a swirl of berry compote before chilling
- White chocolate dream – Swap dark for white chocolate and add orange zest for a creamsicle vibe
- Minty fresh – Add 1/4 tsp peppermint extract with the vanilla for a cool contrast
- Salty-sweet – Sprinkle flaky sea salt on top before serving – it’ll blow your mind!
My personal favorite? The espresso version with a dollop of whipped cream – absolute heaven!
Serving Suggestions
Oh, the fun part! These chocolate mousse cups are gorgeous all on their own, but here’s how I love to dress them up:
- Fresh raspberries or strawberries perched on top (the tartness cuts through the richness perfectly)
- A dollop of barely sweetened whipped cream (because more cream is always better, right?)
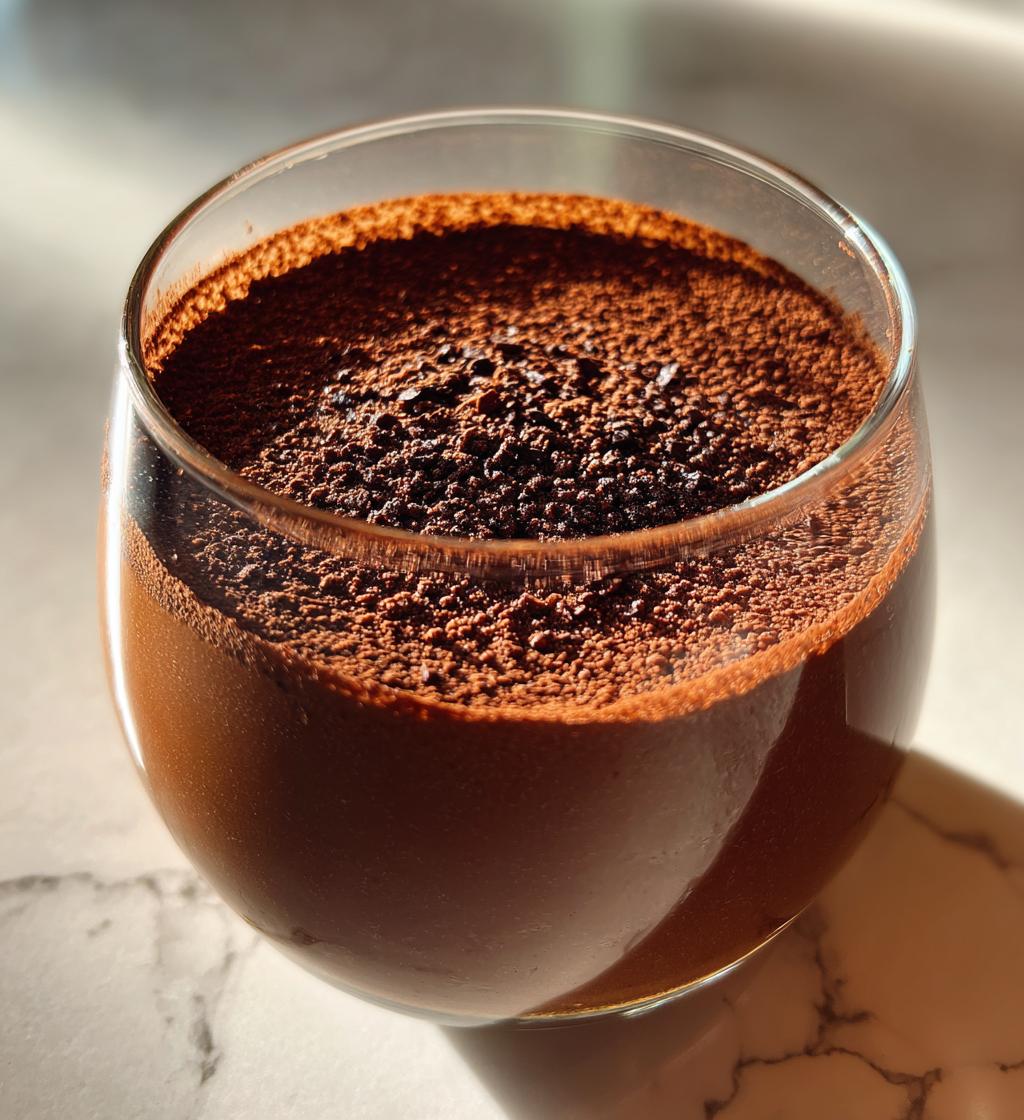
- A light dusting of cocoa powder or chocolate shavings for that café-worthy finish
- Crushed toasted hazelnuts or almonds for a delightful crunch
- A sprig of mint if you’re feeling fancy (makes everything look more expensive!)
Honestly? Sometimes I just grab a spoon and dive in – no embellishments needed when the mousse is this good!
Storage & Reheating
Here’s the scoop on keeping your chocolate mousse cups perfect: they’ll stay dreamy in the fridge for up to 3 days (though let’s be real – they never last that long in my house!). Just cover them with plastic wrap so they don’t pick up any fridge smells. And whatever you do, don’t freeze them – the texture turns grainy and sad. Trust me, I learned that lesson the hard way!
Nutritional Information
Here’s the skinny on these chocolate mousse cups (per serving): about 320 calories, 22g fat, and pure bliss. Remember – exact numbers vary based on your specific ingredients. Now go enjoy every guilt-free bite!
Frequently Asked Questions
I’ve gotten so many questions about these chocolate mousse cups over the years – here are the ones that pop up most often:
Can I use milk chocolate instead of dark?
You can, but the mousse will be much sweeter and less rich. If you do, reduce the sugar by half – trust me, your taste buds will thank you!
How long does the mousse keep in the fridge?
About 3 days, though it’s always best fresh. The texture starts changing after day two – not bad, just not quite as magical.
Why did my mousse turn out grainy?
Usually this means the chocolate got too hot or you overmixed when folding. Next time, let the chocolate cool more and be extra gentle combining everything.
Can I make this ahead for a dinner party?
Absolutely! These are perfect for entertaining. Make them the night before and just add toppings right before serving – easy peasy.
What if I don’t have individual cups?
No worries! Use one big serving bowl – just know you’ll need serious willpower not to eat it all at once!
Now that you’re a mousse expert, I want to see your creations! Try this recipe and tag me with your chocolatey masterpieces – I’ll be the one drooling over my phone.
Print
30-Minute Chocolate Mousse Cups – Irresistibly Rich & Easy
- Total Time: 30 minutes (plus chilling time)
- Yield: 4 servings 1x
- Diet: Vegetarian
Description
A simple and delicious chocolate mousse dessert served in individual cups for easy serving.
Ingredients
- 200g dark chocolate, chopped
- 3 large eggs, separated
- 50g granulated sugar
- 1 tsp vanilla extract
- 200ml heavy cream
- Pinch of salt
Instructions
- Melt the dark chocolate in a heatproof bowl over simmering water. Let it cool slightly.
- Whisk the egg yolks with half the sugar until pale and thick. Stir in the melted chocolate and vanilla.
- In another bowl, whip the heavy cream to soft peaks. Fold it into the chocolate mixture.
- In a clean bowl, beat the egg whites with a pinch of salt until foamy. Gradually add the remaining sugar and beat to stiff peaks.
- Gently fold the egg whites into the chocolate mixture until fully combined.
- Divide the mousse into serving cups and refrigerate for at least 4 hours before serving.
Notes
- Use high-quality chocolate for the best flavor.
- Ensure all bowls and utensils are completely clean when whipping egg whites.
- For a lighter texture, fold ingredients gently.
- Prep Time: 20 minutes
- Cook Time: 10 minutes
- Category: Dessert
- Method: No-bake
- Cuisine: French
Nutrition
- Serving Size: 1 cup
- Calories: 320
- Sugar: 22g
- Sodium: 45mg
- Fat: 22g
- Saturated Fat: 13g
- Unsaturated Fat: 7g
- Trans Fat: 0g
- Carbohydrates: 25g
- Fiber: 3g
- Protein: 6g
- Cholesterol: 120mg
Keywords: chocolate mousse, dessert, no-bake, easy recipe, individual servings


