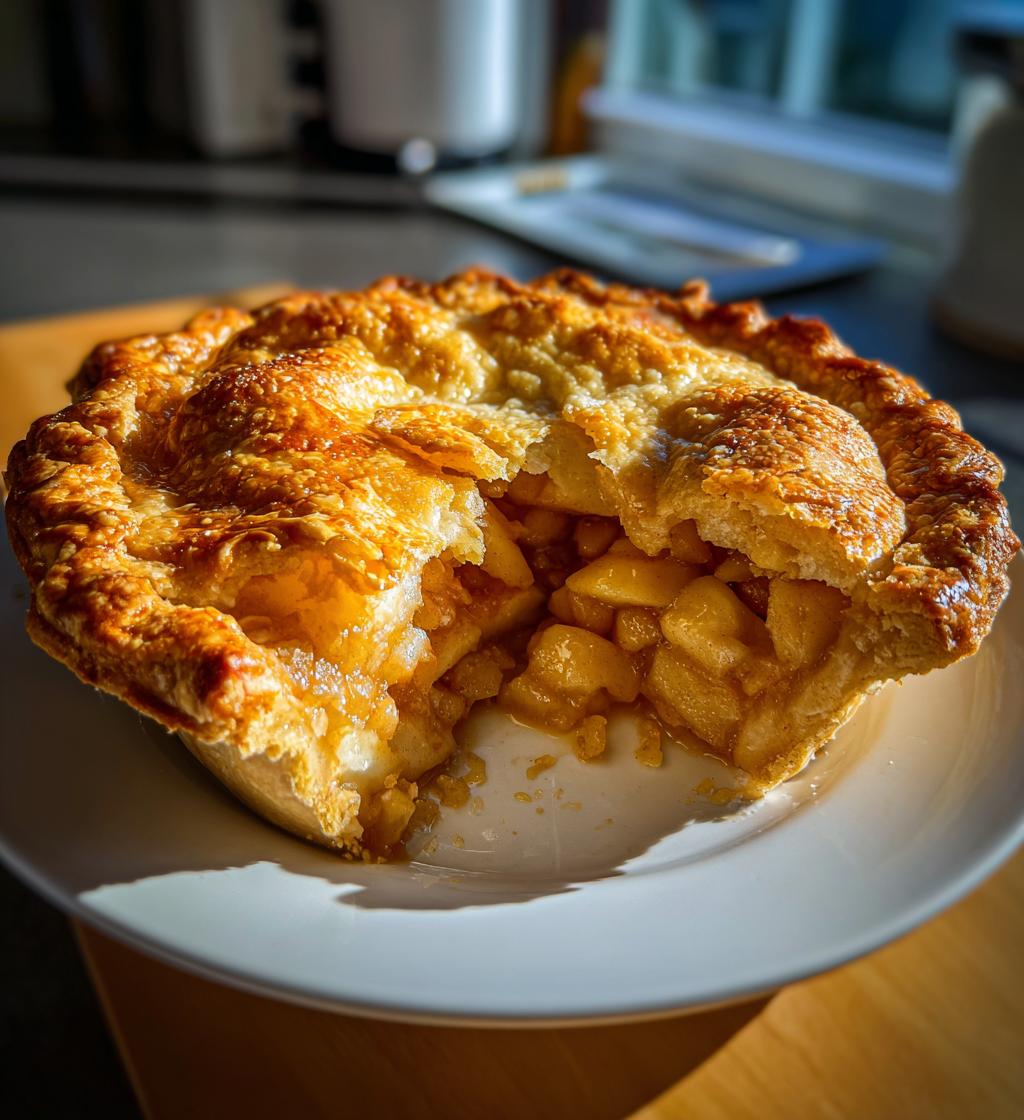
There’s something undeniably magical about apple pie desserts that makes them a timeless favorite! The aroma of sweet, spiced apples wafting through the kitchen just brings everyone together, doesn’t it? Whether it’s a cozy family gathering or a festive holiday celebration, this classic apple pie recipe never fails to steal the show. It’s like a warm hug in a crust, with that perfectly flaky exterior cradling a luscious apple filling that dances with flavors of cinnamon and nutmeg. Trust me, once you slice into this beauty, it’ll be the star of any dessert table!
This apple pie dessert is not just about taste; it’s about creating memories. I can still remember my grandmother teaching me the ropes in her bustling kitchen, and how we’d eagerly wait for that first slice to cool. Every bite is a piece of nostalgia, a reminder of sweet moments spent with loved ones. So, let’s roll up our sleeves and dive into making your own unforgettable apple pie!
Ingredients List
Gathering the right ingredients is key to making the best apple pie dessert, and I promise you’ll love how simple it is! Here’s what you’ll need:
- 2 cups all-purpose flour: This forms the base for your flaky crust. Make sure it’s measured correctly for perfect results!
- 1 cup unsalted butter, chilled and diced: Butter is the secret to that rich flavor and flaky texture. Chilling it helps create those lovely layers in the crust.
- 1/4 cup ice water: This is crucial for bringing your dough together without warming it up too much. The colder, the better!
- 6 cups sliced apples: I recommend a mix of tart and sweet apples for depth of flavor. Think Granny Smith and Honeycrisp – yum!
- 3/4 cup sugar: This sweetens your filling just right. Adjust based on your apple’s sweetness if desired.
- 2 tablespoons all-purpose flour: This helps thicken the filling and keeps it from getting too runny.
- 1 teaspoon ground cinnamon: A must for that warm, cozy flavor that screams apple pie!
- 1/4 teaspoon nutmeg: Just a pinch adds a lovely depth to the spice profile.
- 1 tablespoon lemon juice: This brightens up the flavors and balances the sweetness of the apples.
With these ingredients on hand, you’re well on your way to baking a pie that’ll have everyone coming back for seconds. Let’s get to the fun part – making this delicious apple pie!
How to Prepare Apple Pie Desserts
Now, let’s get our hands a little messy and dive into the steps for making this delightful apple pie! Each part is important, so pay close attention, and I promise you’ll end up with a dessert that’ll have everyone raving.
Preparing the Pie Crust
The pie crust is where the magic begins! Start by taking that 2 cups of all-purpose flour and adding it to a large mixing bowl. Next, toss in your 1 cup of chilled, diced unsalted butter. You want that butter to be super cold to achieve that flaky texture we all love. Using a pastry cutter or your fingers, mix the flour and butter together until it resembles coarse crumbs. It should look a bit like sandy pebbles!
Now, here comes the crucial part: gradually add 1/4 cup of ice water a tablespoon at a time. Mix gently until the dough starts to come together. Don’t overwork it! Once it forms a ball, wrap it in plastic wrap and pop it in the fridge for at least 4 hours or even better, overnight. Trust me, chilling the dough is key to a tender crust!
Making the Apple Filling
While your crust is chilling, let’s move on to the apple filling! In a large bowl, combine your 6 cups of sliced apples with 3/4 cup of sugar, 2 tablespoons of all-purpose flour, 1 teaspoon of ground cinnamon, 1/4 teaspoon of nutmeg, and 1 tablespoon of lemon juice. The lemon juice is a game changer here—it brightens up the flavors and balances all the sweetness from the apples.
Now, here’s a little tip: using a mix of tart and sweet apples really elevates the flavor! I love using a combination of Granny Smith and Honeycrisp for that perfect balance. Toss everything together gently until the apples are evenly coated. This filling is going to make your pie sing!
Assembling the Pie
Once your dough is nice and chilled, it’s time to assemble our pie! Dust your countertop with a bit of flour and roll out half of the dough into a circle about 1/8 inch thick. Carefully place it into your pie pan, making sure it fits snugly. Don’t worry if it tears a little; you can patch it up!
Now, pour that delicious apple filling into the crust, spreading it out evenly. Roll out the remaining dough and cover the pie, sealing the edges by crimping them with your fingers or a fork. Oh, and don’t forget to cut a few slits in the top crust to let the steam escape. This step is super important—trust me, you don’t want a pie explosion in your oven!
Baking the Pie
Preheat your oven to 425°F (220°C) while you’re assembling the pie. Once it’s ready, pop your pie in the oven and bake for 15 minutes. Then, reduce the temperature to 350°F (175°C) and let it bake for an additional 35 to 45 minutes. You’ll know it’s done when the crust is golden brown and the filling is bubbling up through those slits. The aroma will be absolutely heavenly—just wait!
Once it’s out of the oven, let it cool on a wire rack for at least an hour before slicing. This cooling time helps the filling set up nicely. I know it’s tempting to dig in right away, but trust me, it’ll be worth the wait!
Tips for Success
Alright, let’s make sure your apple pie desserts turn out absolutely perfect! Here are some of my tried-and-true tips that will help you wow everyone with your baking skills:
Selecting the Right Apples
Choosing the right apples is key to a delicious filling! I always recommend using a mix of tart and sweet apples. Granny Smith apples are fantastic for that zingy flavor, while Honeycrisp adds just the right amount of sweetness. You could also try adding a few Fuji or Braeburn apples for variety. Just remember, the more the mix, the more complex and delightful your pie will taste!
Chill, Chill, Chill!
Don’t skip the chilling step for your pie dough! Chilling the butter and the dough helps keep those flaky layers intact. If you’re in a hurry, you can pop the wrapped dough in the freezer for about 30 minutes, but ideally, let it rest in the fridge for at least 4 hours or overnight. It makes a world of difference!
Don’t Overmix the Dough
When mixing the dough, be gentle! You want to combine everything just until it comes together. Overmixing can lead to a tough crust, and nobody wants that! Treat the dough like a delicate friend—give it love, but don’t smother it!
Let the Pie Cool Before Slicing
Patience pays off! After baking, let your pie cool on a wire rack for at least an hour before slicing. This cooling period allows the filling to set properly, which means you won’t end up with a soupy mess when you cut into it. I know it’s hard to wait, but trust me, it’ll be worth it when you see those beautiful slices!
Serve with a Side of Love
And finally, don’t forget the toppings! A scoop of vanilla ice cream or a dollop of fresh whipped cream takes your apple pie to the next level. It’s like the cherry on top but, you know, way better! Plus, watching that ice cream melt into the warm pie is a sight to behold!
With these tips in mind, your apple pie is destined to be a hit. Now, roll up your sleeves, and let’s get to baking that perfect pie!
Why You’ll Love This Recipe
Oh, where do I even begin? Making apple pie desserts is like wrapping up all the warm, cozy feelings of home into one delightful dish! First of all, the classic flavor is simply unbeatable. The combination of sweet apples, warm spices, and that buttery, flaky crust is a symphony of taste that just feels like a celebration in your mouth. Seriously, every bite is like a comforting hug!
But here’s the best part: this recipe is so easy to prepare! With just a handful of simple ingredients, you’ll be whipping up a pie that looks and tastes like it came straight from a bakery. I mean, who doesn’t love a dessert that makes you look like a pro in the kitchen without all the fuss? Plus, the process of making it is pure joy. Rolling out the dough and filling the crust brings back all those nostalgic memories of baking with family.
And let’s not forget about versatility! This apple pie dessert is perfect for any occasion. Whether you’re hosting a holiday gathering, celebrating a birthday, or just wanting a sweet treat to enjoy on a cozy evening, it fits right in. You can serve it warm with a scoop of ice cream or chilled with a dollop of whipped cream. You can even experiment with different apple varieties or toss in some raisins or nuts for an extra twist. The possibilities are endless!
Trust me, once you dive into this recipe, you’ll see why apple pie desserts have stood the test of time. It’s not just about the dessert; it’s about the memories you create while baking it and the joy it brings to those you share it with. So, let’s get ready to make some sweet memories together!
Nutritional Information
Now, let’s take a closer look at the nutritional side of this delicious apple pie dessert! While I always say that dessert is meant to be enjoyed, it’s good to know what you’re indulging in. Here’s the estimated nutritional breakdown per slice (1 slice):
- Calories: 300
- Fat: 15g
- Protein: 2g
- Carbohydrates: 40g
- Sugar: 15g
- Sodium: 150mg
- Fiber: 3g
- Cholesterol: 30mg
Keep in mind, these values are estimates and can change based on the specific ingredients you use. But don’t let the numbers stop you from enjoying a slice (or two!) of this delightful pie. It’s all about balance, right? So go ahead, treat yourself to a piece of comfort wrapped in a flaky crust—you deserve it!
FAQ Section
Got questions about apple pie desserts? Don’t worry; I’ve got you covered! Here are some of the most common queries I get, along with my best answers to help you bake the perfect pie.
Can I use different types of apples for my pie?
Absolutely! Using a mix of apple varieties is actually one of the best ways to enhance the flavor of your pie. I recommend combining tart apples like Granny Smith with sweeter options like Honeycrisp or Fuji. This creates a delightful balance of sweetness and acidity that makes every bite more delicious!
How do I prevent my apple pie from getting soggy?
Great question! To avoid a soggy bottom crust, make sure to thoroughly coat your apple slices with flour and sugar in the filling. The flour absorbs excess moisture as the pie bakes. Also, pre-baking your crust for about 10 minutes before adding the filling can help create that perfect flaky base!
What’s the best way to store leftover apple pie?
To keep your leftover apple pie fresh, cover it loosely with plastic wrap or aluminum foil and store it at room temperature for up to two days. If you want to keep it longer, pop it in the fridge for up to a week. Just remember to let it sit at room temperature for a bit before serving again; it tastes amazing when it’s slightly warm!
Can I freeze apple pie?
You bet! Freezing apple pie is a fantastic way to preserve it for later. Just make sure it’s completely cool before wrapping it tightly in plastic wrap and then aluminum foil. It can last in the freezer for about three months. When you’re ready to enjoy, bake it straight from the freezer, adding about 15-20 minutes to the baking time. Yum!
How do I know when my apple pie is done baking?
Knowing when your pie is done can be tricky, but there are a few signs to look for! The crust should be a beautiful golden brown, and you should see the filling bubbling through the slits on top. If you gently press the center, it should feel firm but not hard. Let it cool for at least an hour before slicing to give the filling a chance to set!
Storage & Reheating Instructions
Now that you’ve made this delicious apple pie dessert, you might be wondering how to store those tempting leftovers. Don’t worry; I’ve got some simple tips to keep your pie tasting just as amazing as the first day!
To store your leftover apple pie, let it cool completely at room temperature first. Once it’s cooled, cover it loosely with plastic wrap or aluminum foil. If you want to keep it fresh for longer, you can refrigerate it for up to a week. Just keep in mind that the crust might lose a bit of its crispness in the fridge, but it’ll still taste fantastic!
If you have a lot of leftovers or want to save some for later, freezing is a great option! Make sure your pie is completely cool, then wrap it tightly in plastic wrap and place it in a freezer-safe container or wrap it in aluminum foil. It can stay in the freezer for about three months. Just label it with the date so you remember when you made it!
When you’re ready to enjoy your frozen pie, there’s no need to thaw it beforehand! Just preheat your oven to 375°F (190°C) and bake it straight from the freezer. Add about 15-20 extra minutes to the baking time, and keep an eye on it until the crust is golden and the filling is bubbling. Your kitchen will smell heavenly, and you’ll be back in apple pie paradise in no time!
So, whether you’re enjoying it fresh or reheating leftovers, your apple pie dessert is sure to delight! Just follow these tips for the best taste, and you’ll have everyone asking for more!
Serving Suggestions
Now that you’ve baked this scrumptious apple pie dessert, let’s talk about how to elevate the whole experience! Serving suggestions can really enhance the enjoyment, making your dessert spread even more delightful!
First things first, you can’t go wrong with a scoop of vanilla ice cream! The creamy richness pairs beautifully with the warm, spiced apple filling. Watching that ice cream melt into the pie is pure bliss! If you’re feeling adventurous, try a scoop of cinnamon or caramel ice cream for an extra kick.
Another fantastic option is to add a dollop of freshly whipped cream. Whipping up some heavy cream with a touch of sugar and vanilla elevates the pie to a whole new level of decadence. Plus, it’s super easy to make! Just whip until soft peaks form, and you’re good to go.
If you’re hosting a dinner party or a family gathering, consider serving your apple pie with a side of caramel sauce for drizzling. The sweet, buttery flavor of caramel against the tart apples is a match made in heaven! You could even warm the sauce slightly for that ooey-gooey effect.
For those who enjoy a bit of crunch, sprinkle some toasted nuts like pecans or walnuts on top of your pie or alongside your serving. They add a delightful texture and flavor contrast that complements the soft apples perfectly.
And let’s not forget about beverages! A cup of hot cider or a steaming mug of spiced tea pairs wonderfully with apple pie. The warm spices will mirror those in the pie, creating a cozy, comforting vibe that’s simply irresistible.
So, whether you keep it classic with ice cream and whipped cream or get a little fancy with caramel and nuts, your apple pie dessert is sure to impress. Now gather your loved ones, serve it up, and watch those smiles appear as they take that first heavenly bite!
Print
apple pie desserts: 7 Reasons You’ll Love This Classic Treat
- Total Time: 1 hour 10 minutes
- Yield: 8 servings 1x
- Diet: Vegetarian
Description
A classic apple pie dessert with a flaky crust and sweet apple filling.
Ingredients
- 2 cups all-purpose flour
- 1 cup unsalted butter, chilled and diced
- 1/4 cup ice water
- 6 cups sliced apples
- 3/4 cup sugar
- 2 tablespoons all-purpose flour
- 1 teaspoon ground cinnamon
- 1/4 teaspoon nutmeg
- 1 tablespoon lemon juice
Instructions
- Preheat oven to 425°F (220°C).
- In a bowl, combine flour and butter until mixture resembles coarse crumbs.
- Stir in ice water, a tablespoon at a time, until mixture forms a ball.
- Wrap in plastic and refrigerate for 4 hours or overnight.
- Roll out half the dough on a floured surface and place in pie pan.
- In another bowl, mix apples, sugar, flour, cinnamon, nutmeg, and lemon juice.
- Pour apple mixture into pie crust.
- Roll out remaining dough and cover the pie. Seal edges.
- Cut slits in the top to allow steam to escape.
- Bake for 15 minutes, then reduce temperature to 350°F (175°C) and bake for 35 to 45 minutes.
Notes
- Use a mix of tart and sweet apples for best flavor.
- Let the pie cool before slicing.
- Prep Time: 20 minutes
- Cook Time: 50 minutes
- Category: Dessert
- Method: Baking
- Cuisine: American
Nutrition
- Serving Size: 1 slice
- Calories: 300
- Sugar: 15g
- Sodium: 150mg
- Fat: 15g
- Saturated Fat: 9g
- Unsaturated Fat: 5g
- Trans Fat: 0g
- Carbohydrates: 40g
- Fiber: 3g
- Protein: 2g
- Cholesterol: 30mg
Keywords: apple pie, dessert, apple desserts, pies


