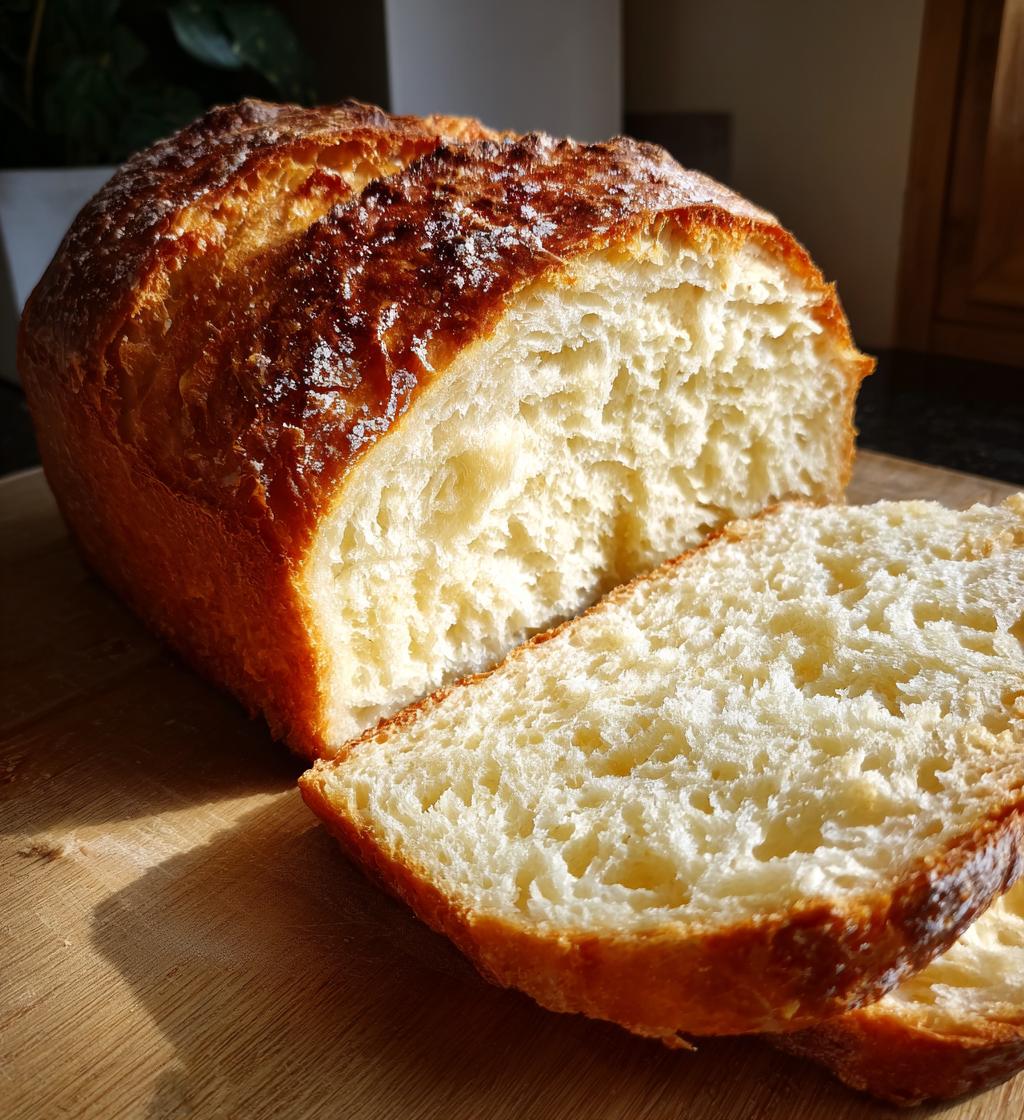
Have you ever dreamed of the smell of freshly baked bread wafting through your home but thought it was too complicated? Well, let me tell you – making air fryer bread is a total game-changer! With just a few simple ingredients and the magic of your air fryer, you can whip up a delicious loaf in no time. Seriously, it’s that easy! No need to fuss with complicated oven settings or waiting hours for dough to rise. Plus, the air fryer gives you that lovely golden crust while keeping the inside perfectly soft and fluffy. Trust me, you’ll be amazed at how quickly this bread comes together, and the best part? You can customize it however you like! Whether you’re adding herbs, seeds, or just enjoying it plain, this air fryer bread recipe is versatile enough to fit every craving. So, grab your flour, and let’s get baking – your kitchen is about to smell heavenly!
Ingredients for Air Fryer Bread
Getting started with this air fryer bread recipe is super simple, and you’ll only need a handful of basic ingredients that you probably already have in your pantry! Here’s what you’ll need:
- 2 cups all-purpose flour
- 1 teaspoon salt
- 1 tablespoon sugar
- 1 teaspoon yeast
- 3/4 cup warm water
- 1 tablespoon olive oil
These ingredients blend together beautifully to create a light and fluffy loaf that’s perfect for sandwiches or just slathering with butter. Don’t worry if you don’t have fresh yeast on hand; instant yeast works just as well! Now, let’s dive into the fun part – making this delicious bread!
How to Prepare Air Fryer Bread
Making air fryer bread is a breeze, and I’m here to guide you through each step to ensure your loaf turns out perfectly every time. Let’s get those hands ready for a bit of dough magic!
Step 1: Mixing the Dry Ingredients
Start by grabbing a large mixing bowl. Add in your 2 cups of all-purpose flour, 1 teaspoon of salt, 1 tablespoon of sugar, and 1 teaspoon of yeast. Now, it’s time to mix! Use a whisk or a fork to combine everything thoroughly. This step is crucial because it ensures that the yeast is evenly distributed throughout the flour, which helps your bread rise evenly. Trust me, you don’t want any pockets of salt or sugar hiding in there!
Step 2: Adding Wet Ingredients
Next up, let’s add the magic ingredients! Pour in 3/4 cup of warm water (not too hot, just warm enough to activate the yeast) and 1 tablespoon of olive oil into your dry mixture. Now, stir it all together until it forms a shaggy dough. I like to use a spatula for this part, but your hands work great too! Just make sure everything is fully combined – you don’t want any dry flour left. It should start coming together into a ball.
Step 3: Kneading the Dough
Now let’s knead! Dust your countertop with a little flour, then turn the dough out onto it. Knead the dough for about 5 minutes. You want to fold it over and push it down with the heel of your hand, then turn it a quarter turn and repeat. This process develops the gluten, giving your bread that lovely structure. If the dough feels too sticky, you can sprinkle a little more flour as needed.
Step 4: Letting the Dough Rise
Once your dough is nice and smooth, it’s time for it to rise. Place it in a lightly greased bowl, cover it with a clean kitchen towel, and let it sit in a warm area for about 30 minutes. This step is super important; it allows the yeast to do its job, making the dough puff up and double in size. You could even turn on your oven for a minute, then turn it off and let the dough rise in that slightly warm environment!
Step 5: Shaping the Loaf
After the dough has risen, punch it down gently to release the air. Now, shape it into a loaf by flattening it slightly into a rectangle, then rolling it up tightly. Pinch the seams to seal and tuck the ends under for a nice, neat shape. This will help create a beautiful crust when it bakes!
Step 6: Preheating the Air Fryer
Before we cook, we need to preheat the air fryer. Set it to 350°F (175°C). Preheating is essential because it helps the bread cook evenly. Just like in a regular oven, starting with a hot air fryer gives your bread that perfect golden crust!
Step 7: Cooking the Bread
Now for the fun part! Place your shaped loaf in the air fryer basket. Make sure there’s enough space around it for the hot air to circulate. Cook it for about 25 minutes or until it’s golden brown and sounds hollow when tapped on the bottom. You might want to check it a few minutes before the time is up, just to be safe—every air fryer is a little different!
Step 8: Cooling and Slicing
Once it’s done, carefully remove the bread from the air fryer and let it cool on a wire rack for at least 10 minutes before slicing. I know it’s tempting to dig in right away, but letting it cool helps the texture set and makes slicing much easier. Plus, the aroma fills your kitchen, making the wait totally worth it!
Tips for Success with Air Fryer Bread
Getting the perfect air fryer bread is all about a few simple tips that can make a big difference in your baking journey. First off, keep an eye on the cooking time! Air fryers can vary in temperature, so you might want to check your bread a few minutes early. If it’s golden brown and sounds hollow when tapped on the bottom, it’s ready to come out. If it’s not quite there yet, just pop it back in for a few more minutes.
Also, don’t skip the toothpick test! If you’re unsure, stick a toothpick into the center of the loaf. It should come out clean or with just a few moist crumbs. If it’s wet, give it some extra time.
Another handy tip is to let the dough rise in a warm spot. If your kitchen is a bit chilly, consider turning on your oven for a minute, then turning it off and placing the dough inside to rise. This little trick helps the yeast work its magic and gives you a lovely, fluffy loaf.
Lastly, feel free to experiment! Add herbs, cheese, or even nuts to elevate your bread. The air fryer is super forgiving, so have fun with it and make it your own!
Nutritional Information for Air Fryer Bread
Now, let’s talk about what’s in your delicious air fryer bread! Each slice of this homemade goodness is estimated to contain about 150 calories. You’ll find 3g of fat, with only 0.5g of saturated fat, making it a reasonably light option. Plus, it has 4g of protein to keep you feeling satisfied. In terms of carbs, you’re looking at around 28g, which is pretty typical for bread.
Also, it’s got 1g of sugar and 200mg of sodium. These values are estimates, of course, but they give you a great idea of what to expect! Overall, this bread is not just tasty; it’s a delightful addition to your meals without the guilt. Enjoy it fresh, toasted, or as a base for your favorite toppings!
FAQ About Air Fryer Bread
Q1: Can I use whole wheat flour instead of all-purpose flour?
Absolutely! You can substitute whole wheat flour for all-purpose flour, but keep in mind that it might change the texture a bit. Whole wheat flour can make the bread denser, so you may want to add a little extra water to keep it moist.
Q2: What if my bread doesn’t rise?
If your bread doesn’t rise, it could be due to inactive yeast. Make sure your yeast is fresh and activated by using warm water (not boiling!). If the dough doesn’t puff up after 30 minutes, it might need a warmer spot to rise, so try placing it in a slightly heated oven.
Q3: Can I add toppings or mix-ins to my air fryer bread?
Definitely! Feel free to mix in herbs, cheese, or nuts to add flavor and texture to your loaf. Just be cautious not to overload it; a little goes a long way! You can sprinkle toppings on the surface before cooking for a nice, crunchy crust.
Q4: How do I store leftover air fryer bread?
To keep your air fryer bread fresh, store it in an airtight container or a zip-top bag at room temperature for up to 3 days. You can also freeze it for longer storage. Just make sure to slice it first, so you can grab a piece whenever you want!
Q5: Can I use this recipe to make rolls instead of a loaf?
Absolutely! You can shape the dough into small rolls instead of a loaf. Just adjust the cooking time to about 15-20 minutes for perfectly baked rolls. Keep an eye on them towards the end, as they’ll cook faster than a full loaf!
Why You’ll Love This Air Fryer Bread Recipe
- Quick Preparation: You can whip up this air fryer bread in just 35 minutes, from start to finish! That means you can enjoy fresh bread without spending all day in the kitchen.
- Easy Cleanup: With minimal dishes to wash, you won’t dread the cleanup process. Just a mixing bowl and your air fryer are all you need!
- Great Taste: The combination of warm water, olive oil, and simple ingredients creates a deliciously soft and fluffy loaf that’s perfect for sandwiches or toast.
- Customizable: Feel free to get creative! You can add herbs, cheese, or spices to make this bread your own.
- Perfect for Any Meal: Whether it’s breakfast, lunch, or dinner, this homemade bread complements any meal beautifully.
air fryer bread: 5 Simple Steps to Fluffy Perfection
- Total Time: 35 minutes
- Yield: 1 loaf 1x
- Diet: Vegetarian
Description
A simple recipe for making bread using an air fryer.
Ingredients
- 2 cups all-purpose flour
- 1 teaspoon salt
- 1 tablespoon sugar
- 1 teaspoon yeast
- 3/4 cup warm water
- 1 tablespoon olive oil
Instructions
- Mix flour, salt, sugar, and yeast in a bowl.
- Add warm water and olive oil. Stir until combined.
- Knead the dough for 5 minutes.
- Let the dough rise for 30 minutes in a warm place.
- Shape the dough into a loaf.
- Preheat air fryer to 350°F (175°C).
- Place the loaf in the air fryer basket.
- Cook for 25 minutes or until golden brown.
- Let it cool before slicing.
Notes
- Check the bread for doneness with a toothpick.
- Adjust cooking time based on your air fryer model.
- Prep Time: 10 minutes
- Cook Time: 25 minutes
- Category: Baking
- Method: Air Frying
- Cuisine: American
Nutrition
- Serving Size: 1 slice
- Calories: 150
- Sugar: 1g
- Sodium: 200mg
- Fat: 3g
- Saturated Fat: 0.5g
- Unsaturated Fat: 2.5g
- Trans Fat: 0g
- Carbohydrates: 28g
- Fiber: 1g
- Protein: 4g
- Cholesterol: 0mg
Keywords: air fryer bread, easy bread recipe, homemade bread


