There’s something truly magical about the holiday season, especially when it comes to making traditional Christmas cookies! The aroma of freshly baked cookies wafting through the house instantly brings back sweet memories of family gatherings and festive cheer. These classic cookies are not just treats; they’re a way to create lasting traditions and connect with loved ones. I remember the excitement of rolling out dough with my kids, their little hands dusted in flour, giggling as we cut out shapes for the holiday season. The best part? You can customize them however you like – sprinkle on some festive colored sugar, or use icing to bring your creations to life. Every bite of these traditional Christmas cookies is a reminder of the love and joy that fills our homes during this special time. So, let’s gather our ingredients and get baking – your holiday celebrations are about to get a whole lot sweeter!
Ingredients
- 2 cups all-purpose flour
- 1 cup unsalted butter, softened
- 1 cup granulated sugar
- 1 egg
- 1 teaspoon vanilla extract
- 1/2 teaspoon baking powder
- 1/4 teaspoon salt
- 1 cup powdered sugar for decoration
How to Prepare Traditional Christmas Cookies
Getting started on these traditional Christmas cookies is a wonderful way to dive into the holiday spirit! Follow these simple steps, and you’ll have a batch of delicious cookies ready to share (or keep all to yourself!).
Step 1: Preheat the Oven
First things first, preheat your oven to 350°F (175°C). This step is crucial because it ensures your cookies bake evenly. If you pop them in before the oven is hot enough, they may spread out too much and lose that lovely shape we want. So, take a moment to get that heat going!
Step 2: Cream Together Butter and Sugar
Next up, it’s time to cream the softened butter and granulated sugar together. This step is all about creating a fluffy, light texture that makes your cookies oh-so-delicious. Use a mixer or a sturdy spoon and beat the mixture until it’s pale and fluffy, which usually takes about 2-3 minutes. You’ll know it’s ready when it looks like a soft cloud!
Step 3: Combine Wet Ingredients
Now, let’s add in the egg and vanilla extract. It’s important to mix these in thoroughly, so the flavors blend perfectly throughout the dough. A good stir will ensure you have a uniform batter that’s ready to take on the dry ingredients!
Step 4: Mix Dry Ingredients
In a separate bowl, combine the flour, baking powder, and salt. Using a whisk is a great tip here – it helps to aerate your flour and blend the baking powder and salt evenly. This way, when you mix everything together later, your cookies will rise beautifully!
Step 5: Combine Wet and Dry Mixtures
Now comes the fun part! Gradually add the dry ingredients to the wet mixture. I like to do this in three parts, mixing gently after each addition. This method keeps the dough from becoming too tough and helps maintain that melt-in-your-mouth texture we all adore.
Step 6: Shape the Dough
Once your dough is mixed, it’s time to shape it into small balls. I usually aim for about a tablespoon of dough for each cookie. Space them out on your baking sheet because they will spread a bit while baking. Don’t crowd them – give them room to shine!
Step 7: Bake the Cookies
Pop your baking sheet into the preheated oven and let those cookies bake for 10-12 minutes. Keep an eye on them! You’re looking for a lightly golden edge, while the center may still look a tad soft. They’ll continue to firm up as they cool!
Step 8: Cool and Decorate
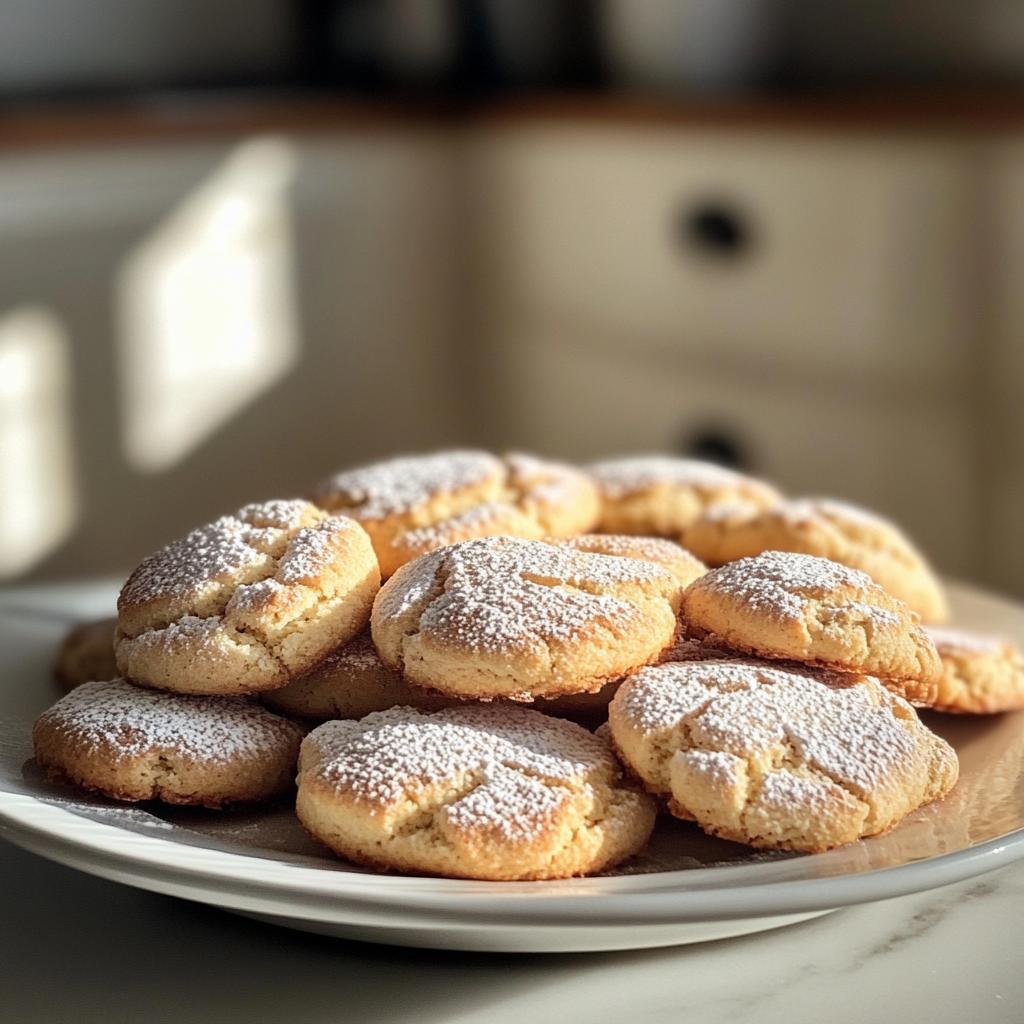
Once baked, take your cookies out and let them cool on the sheet for a few minutes before transferring them to a wire rack. When they’re completely cool, it’s time to dust them with powdered sugar. Just a light sprinkle adds a lovely touch and makes them look festive and inviting!
Nutritional Information
When it comes to enjoying these traditional Christmas cookies, it’s nice to know what you’re indulging in! However, keep in mind that nutritional values can vary quite a bit based on the specific ingredients and brands you use, so consider these numbers as approximations. Here’s a typical breakdown for one cookie:
- Calories: 150
- Fat: 7g
- Saturated Fat: 4g
- Unsaturated Fat: 2g
- Trans Fat: 0g
- Cholesterol: 20mg
- Sodium: 50mg
- Carbohydrates: 20g
- Sugar: 8g
- Fiber: 0g
- Protein: 2g
Enjoy in moderation and share with loved ones – after all, these cookies are about creating sweet memories together!
Tips for Success
Making these traditional Christmas cookies can be a joyful experience, but a couple of little tips can help ensure they turn out just right every time! Here are my tried-and-true suggestions to keep in mind:
- Measure Flour Accurately: Spoon the flour into your measuring cup and level it off with a knife. Avoid scooping directly from the bag, as it can compact the flour, leading to dry cookies.
- Room Temperature Ingredients: Make sure your butter and egg are at room temperature. This helps everything blend together smoothly, leading to a better texture.
- Don’t Overmix: When combining the wet and dry ingredients, mix just until you see no dry flour. Overmixing can cause the cookies to become tough rather than tender.
- Watch Your Baking Time: Ovens can vary, so keep an eye on your cookies! If they’re just lightly golden around the edges, they’re likely ready to come out. They’ll continue to firm up while cooling.
- Chill the Dough: If you find the dough is too soft to shape, don’t worry! Just pop it in the fridge for about 30 minutes. Chilling helps the cookies hold their shape while baking.
- Experiment with Flavor: Feel free to add in some festive spices like cinnamon or nutmeg, or even some chocolate chips or nuts for a delightful twist!
By keeping these tips in mind, you’ll be well on your way to baking up a batch of perfect traditional Christmas cookies that everyone will adore. Happy baking!
Why You’ll Love These Traditional Christmas Cookies
- Easy to Make: With simple ingredients and straightforward steps, these cookies are perfect for bakers of all skill levels.
- Festively Delicious: Their delightful taste and classic look instantly bring holiday cheer to any gathering.
- Perfect for Sharing: Bake a batch to share with friends, family, or neighbors – they make wonderful gifts!
- Customizable: You can easily add your favorite flavors, like spices or chocolate chips, to make them uniquely yours.
- Holds Memories: Baking these cookies can become a cherished holiday tradition, creating sweet moments with loved ones.
Storage & Reheating Instructions
To keep your traditional Christmas cookies fresh and delicious, store them in an airtight container at room temperature. This will help maintain their soft texture and delightful flavor. If you’re planning to keep them for more than a few days, consider placing a slice of bread in the container. It’ll help keep the cookies moist and prevent them from drying out!
If you have some leftover cookies and want to enjoy them warm, just pop them in the microwave for about 10-15 seconds. This will revive that freshly baked goodness. Enjoy every bite!
FAQ Section
Q1: Can I use different types of flour for these traditional Christmas cookies?
Absolutely! While all-purpose flour is the go-to for this recipe, you can experiment with alternatives like whole wheat flour or gluten-free blends. Just keep in mind that the texture and flavor may vary slightly, so adjust as needed!
Q2: Can I freeze the dough or baked cookies?
Yes, you can freeze both! For the dough, shape it into balls, freeze them on a baking sheet, then transfer to an airtight container once solid. They can be baked straight from the freezer; just add a minute or two to the baking time. Baked cookies can also be frozen in an airtight container for up to three months. Just thaw them at room temperature before enjoying!
Q3: How can I decorate these traditional Christmas cookies?
The decorating possibilities are endless! You can use royal icing, colored sprinkles, or even melted chocolate for drizzling. A light dusting of powdered sugar is always a classic choice, too. Get creative and have fun making them festive!
Q4: What if I want to make these cookies even more festive?
If you’re looking to jazz them up, consider adding festive spices like cinnamon or nutmeg. You can also fold in mini chocolate chips, dried cranberries, or chopped nuts into the dough for a delightful twist. Personalizing these traditional Christmas cookies is part of the joy!
Q5: Can I make the dough ahead of time?
Definitely! You can make the dough a day or two in advance and keep it wrapped in plastic wrap in the refrigerator. Just let it sit at room temperature for a few minutes before shaping and baking to ensure it’s easy to work with.

Traditional Christmas Cookies That Spark Joy and Memories
- Total Time: 32 minutes
- Yield: 24 cookies 1x
- Diet: Vegetarian
Description
These are classic traditional Christmas cookies, perfect for the holiday season.
Ingredients
- 2 cups all-purpose flour
- 1 cup unsalted butter, softened
- 1 cup granulated sugar
- 1 egg
- 1 teaspoon vanilla extract
- 1/2 teaspoon baking powder
- 1/4 teaspoon salt
- 1 cup powdered sugar for decoration
Instructions
- Preheat the oven to 350°F (175°C).
- In a bowl, cream together the butter and sugar.
- Add the egg and vanilla, mix well.
- In another bowl, combine flour, baking powder, and salt.
- Gradually add dry ingredients to the wet mixture, mixing until combined.
- Form dough into small balls and place them on a baking sheet.
- Bake for 10-12 minutes or until lightly golden.
- Let cookies cool, then dust with powdered sugar before serving.
Notes
- Store cookies in an airtight container.
- These cookies can be decorated with icing.
- Prep Time: 20 minutes
- Cook Time: 12 minutes
- Category: Dessert
- Method: Baking
- Cuisine: American
Nutrition
- Serving Size: 1 cookie
- Calories: 150
- Sugar: 8g
- Sodium: 50mg
- Fat: 7g
- Saturated Fat: 4g
- Unsaturated Fat: 2g
- Trans Fat: 0g
- Carbohydrates: 20g
- Fiber: 0g
- Protein: 2g
- Cholesterol: 20mg
Keywords: traditional christmas cookies


