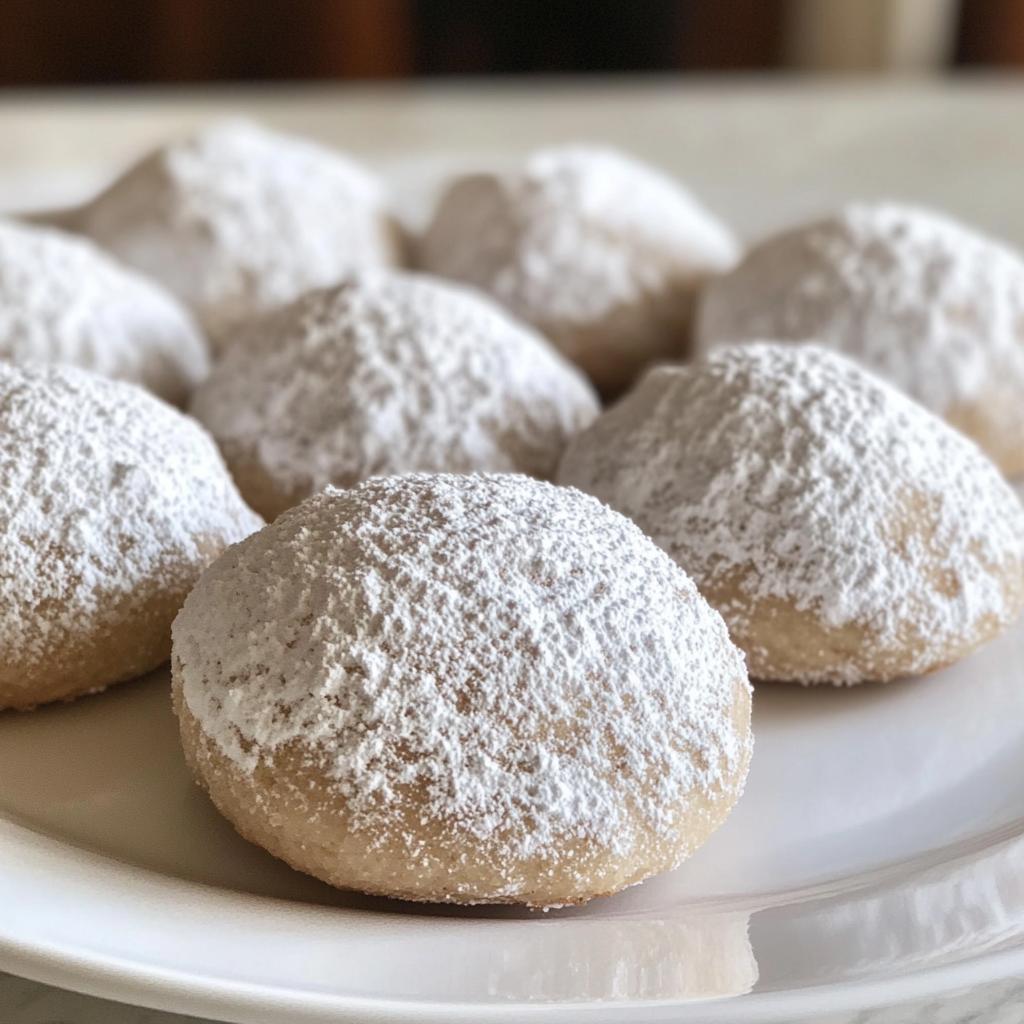
Welcome to the delightful world of snowball cookies! These little treats are pure magic—think buttery, nutty goodness rolled in a generous coating of powdered sugar. They’re not just cookies; they’re a festive hug in dessert form! I remember the first time I baked these with my grandma during the holidays. The kitchen filled with the sweet aroma of butter and nuts, and we could hardly wait for them to cool before rolling them in sugar. Everyone would gather around, eagerly waiting to snag a warm cookie, and the laughter would echo as we shared stories and enjoyed the treats. Trust me, once you take a bite, you’ll understand why they’re a favorite at family gatherings and holiday parties. They’re simple, yet they have that wow factor that makes them perfect for any occasion. So, let’s dive in and make some magic together with these snowball cookies!
Ingredients List
- 1 cup unsalted butter, softened
- 1/2 cup powdered sugar
- 2 cups all-purpose flour
- 1 cup chopped nuts (walnuts or pecans)
- 1 teaspoon vanilla extract
- 1/4 teaspoon salt
- Additional powdered sugar for coating
How to Prepare Snowball Cookies
Preheat the Oven
First things first, let’s get that oven ready! Preheating it to 350°F (175°C) is super important because it ensures that your cookies bake evenly and get that lovely golden color. If you skip this step, your cookies might not turn out as delightful as they should, so don’t rush it—give your oven a few minutes to warm up!
Cream the Butter and Sugar
Now, grab a mixing bowl and let’s start creaming together that delicious 1 cup of softened unsalted butter with 1/2 cup of powdered sugar. You want to mix them until it’s light and fluffy, which usually takes about 2-3 minutes of good old-fashioned elbow grease! The mixture should look pale and airy—think whipped clouds! This step is crucial because it creates those tiny air pockets that will help your cookies rise beautifully.
Combine Ingredients
Next up, it’s time to add flavor! Pour in 1 teaspoon of vanilla extract and give it a good mix. Then, gently fold in 2 cups of all-purpose flour, 1 cup of chopped nuts (I love walnuts or pecans for that extra crunch), and 1/4 teaspoon of salt. Be careful not to overmix; just stir until everything is combined. You want to keep that light texture we created earlier!
Shape and Bake
Now, let’s get shaping! Roll the dough into small balls—about 1 inch in diameter—and place them on a baking sheet lined with parchment paper. Make sure to give them a bit of space because they’ll spread slightly while baking. Pop them in the preheated oven and let them bake for 15-20 minutes, or until they’re just lightly golden. The smell wafting through your kitchen will be heavenly!
Roll in Powdered Sugar
Once they’re out of the oven, resist the urge to dive right in! Let them cool on the baking sheet for a few minutes. When they’re still warm but not hot, roll them in additional powdered sugar for that signature snowball look. And remember, letting them cool completely before serving is key—they’ll be even tastier that way!
Nutritional Information
Now, let’s talk about the numbers behind these delightful snowball cookies! Each cookie is like a little bite of joy, and here’s the estimated nutritional breakdown per cookie:
- Calories: 100
- Fat: 8g
- Saturated Fat: 5g
- Unsaturated Fat: 2g
- Trans Fat: 0g
- Cholesterol: 20mg
- Sodium: 10mg
- Carbohydrates: 10g
- Fiber: 1g
- Protein: 1g
- Sugar: 2g
Keep in mind, these values are estimates based on the ingredients used and can vary depending on the specific brands or variations you choose. But hey, who’s counting when they’re this delicious? Enjoy every crumb!
Tips for Success
Getting your snowball cookies just right is all about a few simple tips that can make a world of difference. Trust me, these little tweaks will ensure you end up with the most delicious, melt-in-your-mouth treats!
Use Room Temperature Ingredients
First off, make sure your butter is softened to room temperature. This helps it cream beautifully with the sugar, creating that light, airy texture we all love. If you forget to take it out ahead of time, you can cut it into smaller pieces and let it sit for a few minutes, or even microwave it for a few seconds—just be careful not to melt it!
Keep an Eye on Baking Time
Every oven is different, so it’s important to keep an eye on your cookies as they bake. The 15-20 minutes is a guideline, but I recommend checking them a minute or two earlier. You want them to be just lightly golden around the edges. If they start to brown too much, they can dry out. And nobody wants dry snowball cookies!
Experiment with Nuts
Feel free to get creative with your nuts! While walnuts and pecans are classic choices, you can also try almonds, hazelnuts, or even macadamia nuts for a fun twist. Just make sure they’re chopped well for even distribution throughout the dough.
Add a Flavor Twist
If you want to switch things up, consider adding a touch of almond extract or a sprinkle of cinnamon to the dough. It’ll give your snowball cookies a unique flavor that’ll have everyone asking for your secret!
Store Properly for Freshness
Lastly, once your cookies are baked and cooled, store them in an airtight container to keep them fresh. They can last for several days (though I doubt they’ll last that long!) and will maintain their delightful texture. If you want to keep them for even longer, you can freeze them—just remember to roll them in powdered sugar after thawing for that perfect snowy finish!
With these tips, you’re all set to create the most scrumptious snowball cookies ever. Happy baking!
Why You’ll Love This Recipe
- Easy to Make: With just a handful of ingredients and simple steps, snowball cookies come together quickly, making them perfect for bakers of all skill levels.
- Irresistibly Buttery Flavor: The rich, buttery taste combined with the crunch of nuts creates a delightful flavor explosion in every bite.
- Festive Appeal: These cookies are not just delicious; they look stunning rolled in powdered sugar, resembling little snowballs—perfect for holiday gatherings or any celebration!
- Make-Ahead Friendly: You can easily prepare these cookies ahead of time. They store well and taste just as delightful days later, making them a great option for busy schedules.
- Customizable: Feel free to switch up the nuts or add unique flavors to suit your taste. The possibilities are endless, so you can make each batch your own!
- Family Favorite: These cookies have a way of bringing everyone together. I guarantee they’ll disappear fast, leaving smiles all around!
Storage & Reheating Instructions
Once you’ve baked up a batch of those delightful snowball cookies, you’ll want to make sure they stay fresh and tasty! Storing them properly is key to maintaining their amazing buttery flavor and melt-in-your-mouth texture.
To store your cookies, simply place them in an airtight container. I recommend layering them with parchment paper between each layer to prevent them from sticking together. If you’re like me and have a tendency to snack on them throughout the week, you’ll want to ensure they’re well-protected. They can last for about 5-7 days at room temperature, but I doubt they’ll last that long with everyone around!
If you want to keep them even longer, consider freezing them. Just make sure they’re completely cooled first. Place them in a freezer-safe container or a resealable plastic bag, and they’ll be good for up to 3 months. When you’re ready to enjoy them again, simply take them out and let them thaw at room temperature for a bit. If you like, you can roll them in powdered sugar again for that fresh snowball look!
As for reheating, it’s best to enjoy them at room temperature. However, if you’d like a warm cookie experience, pop them in the microwave for just a few seconds—watch closely so they don’t melt! A warm snowball cookie is like a little hug, and trust me, you’ll be glad you did!
FAQ Section
What are snowball cookies made of?
Snowball cookies are made from a simple combination of ingredients: unsalted butter, powdered sugar, all-purpose flour, chopped nuts (like walnuts or pecans), vanilla extract, and a pinch of salt. This mix creates those buttery, nutty treats we all love, rolled in a generous coating of powdered sugar for that snowy finish!
Can I use different nuts in snowball cookies?
Absolutely! While walnuts and pecans are traditional choices, you can experiment with other nuts like almonds, hazelnuts, or even macadamia nuts for a delightful twist. Just make sure they’re chopped well so they blend nicely into the dough!
Can I make snowball cookies ahead of time?
Yes, you can! Snowball cookies are great for making ahead of time. They store well in an airtight container for about 5-7 days. If you want to keep them longer, you can freeze them for up to 3 months. Just remember to roll them in powdered sugar again after thawing for that fresh, snowy appearance!
How do I know when my snowball cookies are done baking?
Keep an eye on your cookies while they bake! They should be lightly golden around the edges after about 15-20 minutes. A good tip is to look for a slight firmness when you gently press them—they should spring back a bit but not feel raw. Trust your nose; the aroma wafting through your kitchen will also be a hint that they’re almost ready!
Can I add flavors to my snowball cookies?
Definitely! If you want to elevate the flavor, consider adding a splash of almond extract or a dash of cinnamon to the dough. These little additions can give your snowball cookies a unique twist that everyone will love!
Call to Action
Now that you’ve discovered the joy of making snowball cookies, I’d love to hear all about your baking adventures! Did you put your own twist on the recipe? How did your cookies turn out? Leave a comment below and share your experience—I can’t wait to read your stories! And if you enjoyed this recipe, don’t keep it to yourself! Share it with your friends and family so they can join in on the cookie magic too. Lastly, if you loved these snowball cookies, please take a moment to rate the recipe. Your feedback means the world to me and helps others find the joy of baking these delightful treats!
Print
Snowball Cookies: 5 Simple Secrets to Pure Bliss
- Total Time: 35 minutes
- Yield: 24 cookies 1x
- Diet: Vegetarian
Description
Snowball cookies are buttery, nutty treats rolled in powdered sugar.
Ingredients
- 1 cup unsalted butter, softened
- 1/2 cup powdered sugar
- 2 cups all-purpose flour
- 1 cup chopped nuts (walnuts or pecans)
- 1 teaspoon vanilla extract
- 1/4 teaspoon salt
- Additional powdered sugar for coating
Instructions
- Preheat your oven to 350°F (175°C).
- In a bowl, cream together the butter and powdered sugar until light and fluffy.
- Add the vanilla extract and mix well.
- Gradually add the flour, chopped nuts, and salt. Mix until combined.
- Shape the dough into small balls and place them on a baking sheet.
- Bake for 15-20 minutes until lightly golden.
- Remove from the oven and let cool slightly.
- Roll the warm cookies in powdered sugar and let them cool completely.
Notes
- Store cookies in an airtight container.
- These cookies can be made ahead of time.
- Feel free to use different nuts based on your preference.
- Prep Time: 15 minutes
- Cook Time: 20 minutes
- Category: Dessert
- Method: Baking
- Cuisine: American
Nutrition
- Serving Size: 1 cookie
- Calories: 100
- Sugar: 2g
- Sodium: 10mg
- Fat: 8g
- Saturated Fat: 5g
- Unsaturated Fat: 2g
- Trans Fat: 0g
- Carbohydrates: 10g
- Fiber: 1g
- Protein: 1g
- Cholesterol: 20mg
Keywords: snowball cookies


