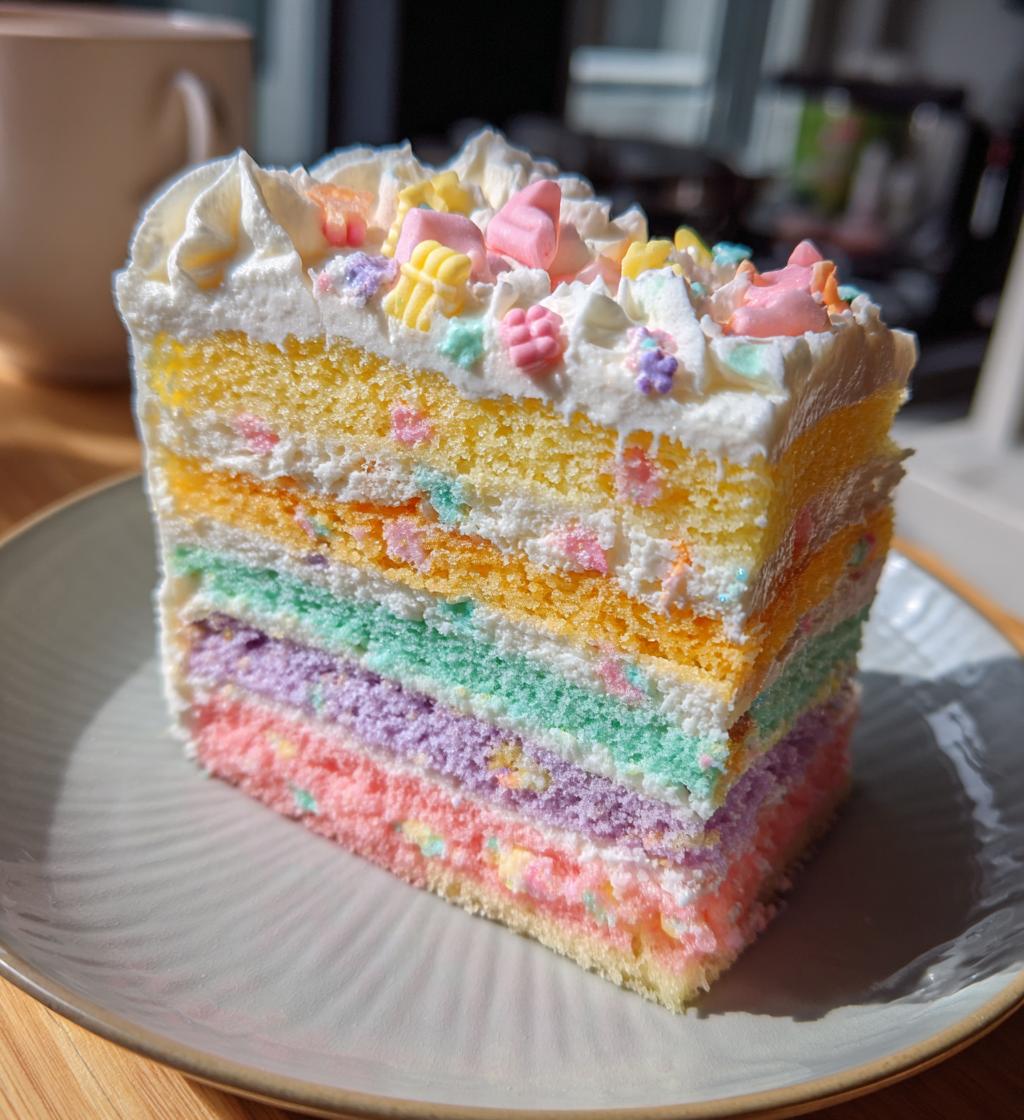
Graduation season is one of those magical times when joy fills the air, and what better way to celebrate than with a delightful cake? I mean, nothing says “Congrats, you did it!” like a beautifully baked cake to sweeten the moment! That’s why I adore making *simple graduation cakes bento*—they’re not just easy to whip up, but they also look stunning on any dessert table.
Picture this: friends and family gathered together, laughter echoing as you cut into a moist, fluffy cake that you baked yourself. The best part? You don’t need to be a master baker to create something that impresses everyone. With this simple recipe, you can bring a touch of elegance to your celebration without spending hours in the kitchen. I still remember the first graduation cake I made for my sister; I was so nervous, but seeing her face light up made it all worth it. Baking has a way of connecting us, turning ordinary moments into cherished memories. So, let’s get started and make your graduation celebration unforgettable!
Ingredients List
Here’s what you’ll need to create this lovely graduation cake! Make sure to gather everything before you start for a smooth baking experience.
- 2 cups all-purpose flour
- 1 ½ cups sugar
- ½ cup unsalted butter, softened
- 1 cup milk
- 3 ½ teaspoons baking powder
- 1 teaspoon vanilla extract
- ½ teaspoon salt
- 3 large eggs
- Food coloring (optional, for a fun twist!)
Having everything prepared and measured out makes the process much more enjoyable. Trust me, you’ll want to savor every moment of baking this cake!
How to Prepare Instructions
Now let’s dive into the fun part—making your cake! Follow these simple steps, and I promise you’ll be on your way to baking a beautiful graduation cake that’s not only tasty but also a showstopper!
Preheat and Prepare
First things first, let’s get that oven preheated to 350°F (175°C). Preheating is super important because it ensures your cake bakes evenly. While that’s warming up, grab your two 9-inch round cake pans and grease them with a little butter or non-stick spray, then dust them with flour. This helps your cakes slide right out after baking—no one likes a cake that sticks! You can even line the bottom with parchment paper for an extra guarantee that they won’t cling. These little steps save you from a potential cake disaster later on!
Mixing the Batter
Now, let’s get mixing! In a large bowl, cream together the softened unsalted butter and sugar until it’s light and fluffy—about 3-5 minutes. This step is crucial because it incorporates air into the batter, giving your cake that lovely light texture. Next, beat in the eggs one at a time, making sure to mix well after each addition. You want that rich, creamy blend to come together beautifully!
Don’t forget to stir in the vanilla extract for some lovely flavor. In another bowl, whisk together your flour, baking powder, and salt. Gradually add this dry mix to the butter mixture, alternating with the milk. Start and end with the dry ingredients. This helps maintain the batter’s consistency and prevents overmixing. If you want to add a pop of color, this is the time to fold in the food coloring too—how fun!
Baking the Cake
Once your batter is all mixed up and looking gorgeous, it’s time to pour it evenly into your prepared cake pans. Give each pan a little shake to settle the batter, then pop them in the oven. Bake for about 30-35 minutes. You’ll know they’re ready when a toothpick inserted into the center comes out clean. If it’s got a few moist crumbs, that’s okay—just not wet batter!
Cooling the Cakes
When the cakes are done, let them cool in the pans for about 10 minutes. This part is crucial because if you try to remove them too soon, they might break apart. After that, carefully turn them out onto wire racks to cool completely. Cooling is just as important as baking! Letting them cool thoroughly prevents any melting frosting disaster later on. Once they’re cool, you’re ready to decorate and celebrate!
Why You’ll Love This Recipe
This simple graduation cake recipe is a gem, and here’s why you’re going to fall head over heels for it:
- Quick Preparation: With just 20 minutes of prep time, you’ll have a stunning cake ready to bake in no time!
- Easy to Customize: You can add your favorite flavors or colors, making it uniquely yours. Whether it’s a splash of lemon zest or a vibrant hue, the options are endless!
- Perfect for Graduation Celebrations: This cake is not just delicious—it’s the ideal centerpiece for all your graduation festivities, bringing smiles all around.
- Delicious Flavor: The combination of buttery goodness and sweet vanilla creates a taste that’s sure to impress even the pickiest of eaters.
Each bite of this cake is a reminder of the special moment you’re celebrating, and trust me, you’ll want to make it again and again!
Tips for Success
Alright, let’s make sure your cake turns out absolutely perfect! Here are some tips that have helped me, and I know they’ll do wonders for you too:
Ingredient Temperature Matters
First off, let’s talk about temperature. It’s super important to have your ingredients at room temperature before you start mixing. This means letting your butter and eggs sit out for about 30 minutes before you begin. Trust me, this small step helps everything blend together more smoothly, ensuring your cake has that lovely, even texture.
Don’t Overmix!
When it comes to mixing the batter, be gentle! After you add the dry ingredients, mix until just combined. A few flour streaks are totally fine. Overmixing can develop gluten, which will lead to a denser cake rather than the light and fluffy one we’re aiming for. So, use a spatula or a wooden spoon and fold rather than stir vigorously.
Measure Accurately
Precision is key in baking! Make sure you’re measuring your flour correctly—spoon it into your measuring cup and level it off with a knife. Don’t scoop directly from the bag; that can pack the flour and lead to a dry cake. Every little detail counts when you want that perfect bite!
Oven Thermometer
If you’re unsure about your oven’s temperature, consider using an oven thermometer. Ovens can be tricky and sometimes don’t heat to the temperature they display. A consistent temperature is crucial for even baking. If your oven runs hot or cold, adjusting your baking time accordingly can make all the difference!
Let Your Cakes Cool Completely
Lastly, be patient with the cooling process. I know it’s tempting to frost while they’re still warm, but letting your cakes cool completely helps the frosting adhere better and prevents any melting disasters. Just set them on wire racks and let them chill out for a bit—good things come to those who wait!
With these tips, I’m sure you’ll nail it! Happy baking, and get ready for all the compliments coming your way!
Variations
Now, let’s get a little creative with this simple graduation cake recipe! There are so many fun variations you can try to make it uniquely yours or to match the theme of the celebration. Here are some ideas that I love:
Different Flavors
- Lemon Zest: Add the zest of one large lemon to the batter for a refreshing citrusy twist. You can even replace a bit of the milk with fresh lemon juice for an extra zing!
- Chocolate Delight: Swap out a half cup of flour for cocoa powder to create a rich chocolate version. Top it with chocolate frosting for the ultimate chocolate lover’s dream!
- Spice It Up: Add a teaspoon of cinnamon or nutmeg to the dry ingredients for a warm, spiced flavor. This is especially delightful if you’re celebrating in the fall!
Adding Fillings
- Fruit Compote: Fold in some fresh berries or diced apples into the batter before baking. This adds a burst of flavor and moisture, making each slice even more delicious.
- Chocolate Chips: Mix in a cup of chocolate chips for a delightful surprise in every bite. Choose dark, milk, or even white chocolate depending on your taste!
- Nutty Goodness: If you love crunch, consider adding chopped nuts like walnuts or pecans. Just be sure to fold them in gently so they don’t sink to the bottom!
Decorating Ideas
- Themed Toppers: Dress up your cake with graduation-themed toppers, like mini graduation caps or diplomas. They add a personal touch and make the cake a real showstopper!
- Frosting Swirls: Experiment with different frosting flavors, like cream cheese or buttercream. You can even tint your frosting with food coloring to match the school colors for an extra festive flair.
- Layer It Up: Consider making a layered cake by stacking the two rounds with frosting in between. This not only looks fabulous but allows for even more filling options!
These variations are just the tip of the iceberg—get creative and have fun with it! Each twist adds a personal touch to your cake, making it even more special for the graduate you’re celebrating. Happy baking!
Storage & Reheating Instructions
After all the hard work you put into baking your beautiful graduation cake, you might find yourself with some leftovers—if you’re lucky! Here’s how to store and reheat your cake to keep it just as delightful as the day you baked it.
Storing Leftover Cake
To keep your cake fresh, allow it to cool completely (which you’ve already done, right?). Once it’s cool, you can store it in an airtight container. If you don’t have one handy, simply cover the cake with plastic wrap or aluminum foil to prevent it from drying out. It’ll stay fresh for about 3-5 days at room temperature. Just make sure it’s kept away from direct sunlight or heat sources!
If you want to keep it for a longer period, consider freezing it. Slice the cake into individual pieces and wrap each slice tightly in plastic wrap, then place them in a freezer-safe bag. This way, you can enjoy a piece whenever you want! It’ll stay good in the freezer for about 2-3 months. Just remember to label the bag with the date so you know when it was made.
Reheating Instructions
When you’re ready to enjoy your leftover cake, reheating is a breeze! If you’re just warming a slice, pop it in the microwave for about 10-15 seconds until it’s warmed through. Be careful not to overdo it, or you’ll end up with a rubbery texture instead of that lovely moist cake!
If you’re reheating an entire cake or larger portions, the oven is your best bet. Preheat your oven to 350°F (175°C), cover the cake with aluminum foil (to keep it from drying out), and heat for about 15-20 minutes. Keep an eye on it to ensure it doesn’t get too warm.
And there you have it! With these simple storage and reheating tips, you can savor every last bite of your graduation cake, bringing back all those sweet memories for days to come. Enjoy!
Nutritional Information
Curious about what’s in this delicious graduation cake? Here’s the estimated nutritional breakdown for one slice (based on a total yield of 12 servings):
- Calories: 250
- Fat: 10g
- Saturated Fat: 5g
- Unsaturated Fat: 3g
- Trans Fat: 0g
- Cholesterol: 50mg
- Sodium: 150mg
- Carbohydrates: 35g
- Fiber: 1g
- Sugar: 20g
- Protein: 3g
Please keep in mind that these values are estimates and can vary based on exact ingredients and portion sizes. But no matter the numbers, this cake is sure to bring sweetness to your celebration!
FAQ Section
Got questions about making your *simple graduation cakes bento*? I’ve got you covered! Here are some common queries that pop up, along with helpful tips to ensure your cake is a hit at the celebration.
Can I substitute the all-purpose flour with a gluten-free option?
Absolutely! You can use a gluten-free all-purpose flour blend, which should work just fine in this recipe. Just make sure it has a good binding agent, like xanthan gum, to help achieve that lovely texture we’re aiming for. Always check the packaging for specific instructions, as some gluten-free flours may require slight adjustments in liquid.
What can I use instead of eggs for a vegan version?
If you want to make this cake vegan-friendly, you can replace each egg with ¼ cup of unsweetened applesauce or a flax egg (1 tablespoon of ground flaxseed mixed with 2.5 tablespoons of water, let it sit for a few minutes to thicken). Both options help bind the ingredients together while keeping the cake moist.
How can I make my cake more visually appealing?
Decoration is where you can really get creative! Consider using colorful frosting to match the graduate’s school colors. You can pipe swirls or rosettes on top for a fancy touch. Edible glitter or sprinkles add a fun element, and don’t forget those graduation-themed toppers—they’re a cute way to personalize your cake and make it pop!
Can I make this cake ahead of time?
Definitely! You can bake the cakes a day in advance. Just let them cool completely, wrap them tightly in plastic wrap, and store them at room temperature. When you’re ready to serve, frost and decorate them! If you want to bake even further in advance, you can freeze the layers. Just remember to bring them to room temperature before frosting.
What kind of frosting works best with this cake?
The beauty of this cake is that it pairs well with almost any frosting! A classic buttercream or cream cheese frosting is always a hit, but feel free to experiment with flavors. Chocolate, lemon, or even a light whipped cream frosting can elevate your cake deliciously. Choose whatever suits your taste and the occasion!
Can I use cake mix instead of making it from scratch?
If you’re short on time or prefer a shortcut, go ahead and use a boxed cake mix! Just follow the package instructions and add the same flavorings if desired. You can still dress it up with your homemade frosting and decorations to make it special.
I hope these answers help you feel more confident in your baking adventure! If you have any more questions, don’t hesitate to reach out. Remember, every cake is a chance to create sweet memories—happy baking!
Print
Simple Graduation Cakes Bento: 5 Tips for Success
- Total Time: 55 minutes
- Yield: 12 servings 1x
- Diet: Vegetarian
Description
A simple and elegant cake perfect for graduation celebrations.
Ingredients
- 2 cups all-purpose flour
- 1 ½ cups sugar
- ½ cup unsalted butter, softened
- 1 cup milk
- 3 ½ teaspoons baking powder
- 1 teaspoon vanilla extract
- ½ teaspoon salt
- 3 large eggs
- Food coloring (optional)
Instructions
- Preheat your oven to 350°F (175°C).
- Grease and flour two 9-inch round cake pans.
- In a large bowl, cream the butter and sugar together.
- Add the eggs one at a time, mixing well after each addition.
- Stir in the vanilla extract.
- In another bowl, combine the flour, baking powder, and salt.
- Gradually add the dry ingredients to the wet mixture, alternating with milk.
- If desired, add food coloring to the batter.
- Pour the batter evenly into the prepared pans.
- Bake for 30-35 minutes or until a toothpick comes out clean.
- Let the cakes cool in the pans for 10 minutes, then transfer to wire racks to cool completely.
Notes
- Use any frosting of your choice.
- Decorate with graduation-themed toppers.
- This cake can be made a day in advance.
- Prep Time: 20 minutes
- Cook Time: 35 minutes
- Category: Dessert
- Method: Baking
- Cuisine: American
Nutrition
- Serving Size: 1 slice
- Calories: 250
- Sugar: 20g
- Sodium: 150mg
- Fat: 10g
- Saturated Fat: 5g
- Unsaturated Fat: 3g
- Trans Fat: 0g
- Carbohydrates: 35g
- Fiber: 1g
- Protein: 3g
- Cholesterol: 50mg
Keywords: simple graduation cakes bento, graduation cake, easy cake recipes


