Oh, Halloween! The smell of crisp autumn air, the rustle of fallen leaves, and of course, the joy of pumpkin carving. I still remember my first attempt—a lopsided smiley face that looked more surprised than spooky. But you know what? That’s the beauty of it! Pumpkin carving made easy isn’t about perfection; it’s about the fun, the mess, and the glow of that first candlelit grin. With just a few simple tools and a little patience, anyone can create a masterpiece. Trust me, if I can go from wonky faces to intricate designs, so can you. Let’s dive in and make this Halloween your most creative yet!
Why You’ll Love This Pumpkin Carving Made Easy Guide
This isn’t just another pumpkin carving tutorial—it’s your ticket to stress-free Halloween magic. Here’s why you’ll adore it:
- No fancy skills needed: My method breaks it down so anyone can create something awesome
- Perfect for family time: Even little kids can help scoop seeds (the messy part is the best part!)
- Boosts creativity: From simple shapes to showstopper designs, you choose your adventure
- Instant Halloween spirit: That first glow when you light it up? Pure magic every time
Seriously, once you try this approach, you’ll never dread pumpkin carving again.
Ingredients for Pumpkin Carving Made Easy
Gather these simple supplies—you might already have most lying around!
- 1 medium-sized pumpkin (look for one that sits flat without wobbling)
- Serrated knife or pumpkin carving tool (trust me, a steak knife just won’t cut it—pun intended!)
- Marker or grease pencil for sketching your masterpiece first
- Sturdy spoon or ice cream scoop (the bigger, the better for gutting)
- Bowls—one for seeds if you’re saving them, one for the stringy guts
- LED candle or tea light (I’m team LED—no fire hazards!)
That’s it! No fancy gadgets needed—just good old-fashioned fun.
Equipment You’ll Need
Don’t worry—you don’t need a fancy carving kit! Here’s what really works:
- Marker or grease pencil: For sketching designs (washable is best for mistakes!)
- Serrated knife: The kind you’d use for bread works perfectly
- Big spoon or scoop: My grandma’s ice cream scoop is my secret weapon
- Bowls: One for seeds to roast later, one for the goopy stuff
Safety first: Always carve with adult supervision—kids can design and scoop while grown-ups handle the knife work.
How to Carve a Pumpkin Made Easy
Alright, let’s get to the fun part! I’ve carved more pumpkins than I can count (including that one year I may have gone a bit overboard with twelve…), and I’ve learned all the tricks to make it simple and stress-free. Follow these steps, and you’ll have Instagram-worthy jack-o’-lanterns in no time!
Step 1: Choosing the Perfect Pumpkin
First rule of pumpkin club: pick a good one! Look for firm flesh with no soft spots or bruises—give it a gentle knock; it should sound hollow. Flat bottoms are gold—they won’t roll away when you’re trying to admire your handiwork!
Step 2: Drawing Your Design
Grab that marker and go wild! Pro tip: simple shapes work best for beginners—think triangles for eyes rather than intricate lace patterns. Can’t draw? No worries—tape printed stencils right on the pumpkin and trace the lines. Bonus: kids LOVE this part!
Step 3: Cutting the Lid and Scooping
Here’s my secret: cut the lid at an angle so it doesn’t fall inside later. Aim your knife inward about 2 inches from the stem. Then comes the messy magic—scrape every last stringy bit until the walls are about 1-inch thick. Save those seeds! A quick rinse, some oil and salt, and you’ve got Halloween snacks!
Step 4: Carving Your Design
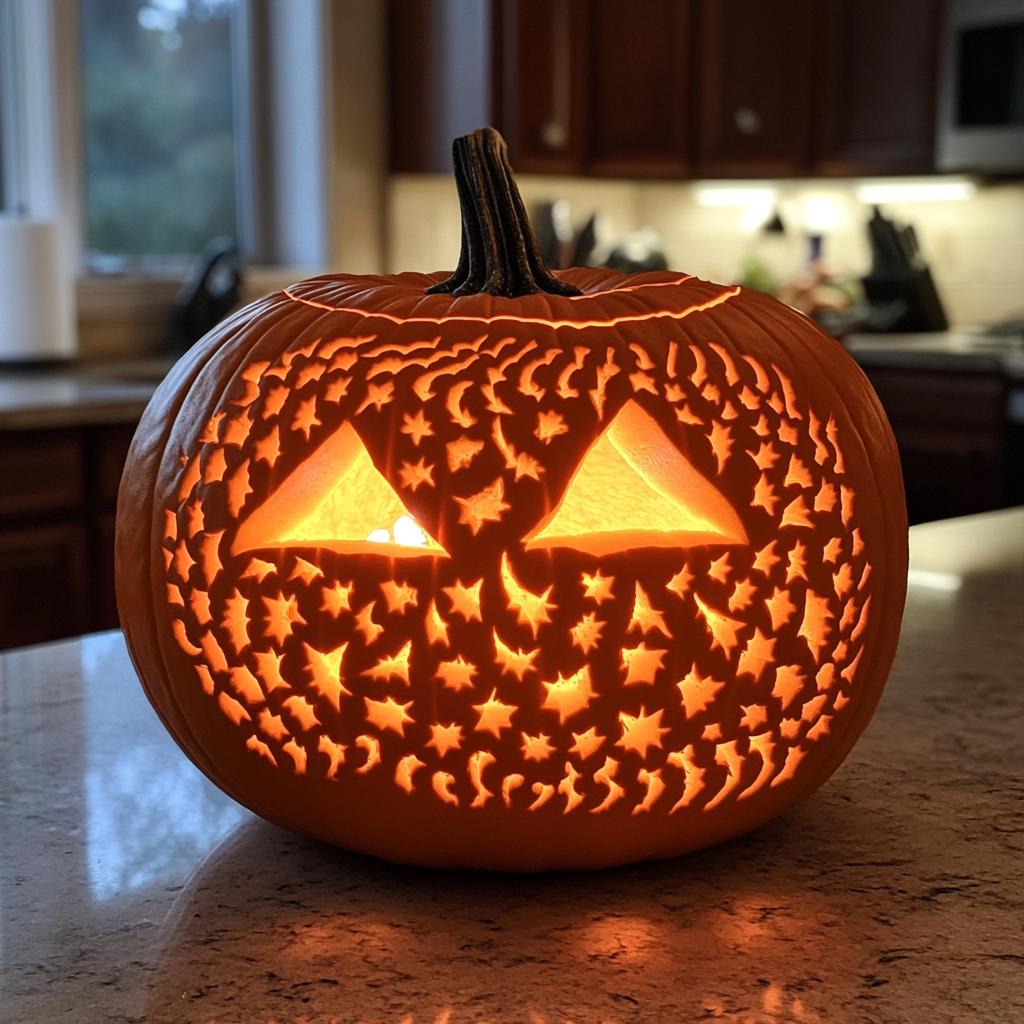
Slow and steady wins the race! Follow your lines with small sawing motions—no need to force it. Working from the center outward helps prevent breaks. Oopsie? If a piece falls, toothpicks make great pumpkin “stitches”!
Step 5: Lighting and Display
The grand finale! LED candles are my go-to—no burned fingers or fire worries. Place your pumpkin somewhere stable (not near curtains!) and watch your creation come alive. That first glow? Absolute Halloween magic!
Tips for Pumpkin Carving Made Easy Success
Want your masterpiece to last longer than Halloween night? Here are my tried-and-true secrets:
- Keep it cool: Store your pumpkin in the fridge when not on display—it buys you extra days before the droop sets in
- Petroleum jelly magic: Rub it on cut edges to seal in moisture (grandma’s trick that really works!)
- Carve last-minute: The fresher the cuts, the better it’ll look on Halloween night
- Safety first: Always carve away from yourself, and keep little hands on scoop duty only
Remember—if your pumpkin starts looking tired, just call it “extra spooky” and nobody will know the difference!
Pumpkin Carving Made Easy Variations
Who says carving is the only way? Mix it up! Paint your pumpkin with glow-in-the-dark paint for a no-carve option. Use cookie cutters as stencils—just tap them gently with a hammer to imprint shapes. Or, try etching designs with a vegetable peeler for a softer, artistic look. The possibilities are endless!
Storing Your Carved Pumpkin
Want your jack-o’-lantern to stay fresh past Halloween night? Here’s my battle-tested routine! Pop it in the fridge overnight—the cold slows down mold like magic. Between displays, I rub petroleum jelly on all the cut edges (sounds weird, but it seals in moisture beautifully). Most carved pumpkins last 3-5 days this way—just enough time to impress all the trick-or-treaters!
Pumpkin Carving Made Easy FAQ
How long will my carved pumpkin last?
Your jack-o’-lantern will stay fresh for about 3-5 days if you store it in the fridge when not on display. Pro tip: Spraying it with water and keeping it out of direct sunlight helps too!
Can kids help with pumpkin carving?
Absolutely! Little ones can draw designs, pick out seeds (the gross-out factor is half the fun!), and help place the candle. Just save the actual cutting for adults—those serrated knives are sharp!
What’s better—tea lights or LED candles?
I swear by LED candles—no fire risk, no wax mess, and they last forever. But if you love that flickering glow, use a tea light in a glass holder for safety.
My design broke! Can I fix it?
Toothpicks to the rescue! Just poke them through both sides like tiny stitches. If a piece is completely gone, call it “extra spooky” and nobody will know the difference.
Nutritional Information
Just a friendly reminder—this pumpkin’s for show, not eating! (Though those roasted seeds make a tasty snack!)
Share Your Pumpkin Carving Made Easy Creations
I’d love to see your spooky (or silly!) masterpieces! Tag me on Instagram @PumpkinQueen—I’ll feature my favorites in my stories. Let’s make this Halloween the most creative one yet!
Print
Pumpkin Carving Made Easy: 5 Foolproof Steps to Halloween Magic
- Total Time: 30 minutes
- Yield: 1 carved pumpkin 1x
- Diet: Vegetarian
Description
Learn how to carve a pumpkin with ease. This guide provides simple steps to create your perfect Halloween decoration.
Ingredients
- 1 medium-sized pumpkin
- 1 carving knife or serrated knife
- 1 marker or pen
- 1 spoon or scoop
- 1 bowl for pumpkin guts
- 1 tea light or LED candle
Instructions
- Choose a pumpkin with a flat base and no soft spots.
- Use a marker to draw your design on the pumpkin.
- Cut a circle around the stem at the top to create a lid.
- Remove the seeds and pulp from inside using a spoon or scoop.
- Carve your design carefully using a knife.
- Place a tea light or LED candle inside the pumpkin.
- Replace the lid and display your pumpkin.
Notes
- Always supervise children when using knives.
- Use LED candles for a safer option.
- Store your pumpkin in a cool place to preserve it longer.
- Prep Time: 10 minutes
- Cook Time: 20 minutes
- Category: Holiday
- Method: Carving
- Cuisine: American
Nutrition
- Serving Size: 1 pumpkin
- Calories: 0
- Sugar: 0g
- Sodium: 0mg
- Fat: 0g
- Saturated Fat: 0g
- Unsaturated Fat: 0g
- Trans Fat: 0g
- Carbohydrates: 0g
- Fiber: 0g
- Protein: 0g
- Cholesterol: 0mg
Keywords: pumpkin carving, Halloween, pumpkin, easy carving, decoration


