There’s nothing quite like the smell of fresh pumpkin guts and the excitement of turning a plain orange globe into a glowing masterpiece. Every year, I get giddy when October rolls around—it’s my chance to go wild with pumpkin carving ideas! Whether you’re a beginner or a seasoned carver, the magic of seeing your design come to life under candlelight never gets old. But here’s the thing: pumpkin carving is equal parts fun and messy (trust me, I’ve had my fair share of pumpkin-seed disasters). So grab your tools, keep safety in mind (LED candles are my go-to), and let’s turn those pumpkins into something spooktacular!
Why You’ll Love This Pumpkin Carving Idea
This isn’t just another pumpkin carving idea—it’s your ticket to instant Halloween magic. Here’s why I’m obsessed (and you will be too):
- Easy-peasy creative outlet: No artistic skills? No problem! Even my stick-figure ghosts look fab with candlelight glowing through them.
- All-ages fun: Kids love scooping seeds (read: flinging them everywhere), while adults get to show off their carving chops.
- Instant festive vibes: One carved pumpkin transforms your porch into Halloween central. Three pumpkins? Now you’re the coolest house on the block.
- Endless possibilities: Switch up designs yearly—last October’s friendly jack-o’-lantern becomes this year’s terrifying werewolf with just a few new cuts!
Seriously, whether you’re hosting a party or just want that cozy autumn feeling, this is my favorite way to celebrate the season.
Ingredients for Your Pumpkin Carving Idea
Gather these simple-but-crucial ingredients to bring your pumpkin carving idea to life:
- 1 medium-sized pumpkin – Look for one with smooth, unblemished skin and a flat bottom so it won’t tip over (trust me, wobbly pumpkins are a nightmare!).
- Sharp knife or pumpkin carving tool – A serrated knife works wonders, but specialty carving kits make intricate designs way easier.
- Spoon or scoop – An ice cream scoop is my secret weapon for gutting pumpkins fast.
- Marker or pen – Washable markers let you sketch freely (because we all change our minds mid-design!).
- Tea light or LED candle – I’m team LED—no fire risk, and they last all night.
Equipment Needed for Your Pumpkin Carving Idea
Here’s what you’ll need to carve your pumpkin safely and efficiently:
- Sharp carving tool or serrated knife – Precision is key for clean cuts.
- Large spoon or ice cream scoop – Perfect for scooping out all that gooey pulp.
- LED candle – Safer than tea lights and just as spooky.
- Stencil (optional) – Great for intricate designs if you’re not freehanding it.
With these tools, you’re ready to create something amazing!
Step-by-Step Pumpkin Carving Idea Instructions
Alright, let’s turn that pumpkin into a masterpiece! I’ve carved dozens of pumpkins over the years (some better than others – we don’t talk about the lopsided ghost incident of 2018), and this method never fails me.
Preparing the Pumpkin
First things first – grab your sharpest knife. You’ll want to cut the lid at a 45-degree angle (this creates a little shelf so your lid won’t fall inside later). I always aim for about 5 inches wide – big enough to get my hand in there. Now the fun part: scooping! Use your spoon or ice cream scoop to scrape out all the seeds and stringy bits. Pro tip: save those seeds for roasting later – they make the best snack!
Transferring Your Design
Here’s where the magic happens. If you’re using a stencil, tape it right onto the pumpkin and poke holes along the lines with a toothpick. No stencil? No problem! Just sketch your design directly onto the pumpkin with a washable marker. I like to keep it simple with classic jack-o’-lantern faces, but last year I got fancy with a haunted house silhouette.
Carving the Pumpkin
Now for the satisfying part! Start with the smallest details first – those tiny teeth or delicate spiderwebs. Work slowly and carefully, using a sawing motion rather than pushing straight through. If a piece breaks off accidentally (it happens to the best of us), just stick it back with a toothpick – your secret’s safe with me!
Lighting and Display
Pop your LED candle inside – I prefer these over real flames because they won’t dry out your pumpkin as fast. Find a nice flat spot on your porch or windowsill where everyone can admire your handiwork. Bonus points if you line up a few carved pumpkins together – instant Halloween magic!
Tips for the Best Pumpkin Carving Idea
After years of pumpkin carving (and learning from my mistakes), here are my can’t-live-without tips for creating the perfect jack-o’-lantern:
- Keep it fresh: Rub petroleum jelly on all cut edges – this seals in moisture so your pumpkin doesn’t shrivel up overnight.
- Sharp tools win: Dull knives are dangerous! Use proper carving tools or sharpen your knife frequently for clean cuts.
- Kid-friendly carving: Let little ones draw the design while adults handle the knife work. Pumpkin carving kits with safety tools are great for older kids.
- Work from the center out: Carve delicate areas first when the pumpkin is sturdiest – those tiny teeth will break if you wait until last!
- Save the seeds: Rinse and roast them with salt and cinnamon for the tastiest Halloween snack.
Follow these tricks, and your pumpkin will be the envy of the neighborhood!
Pumpkin Carving Idea Variations
Once you’ve mastered the basics, it’s time to get creative with your pumpkin carving ideas! Here are some of my favorite twists to try:
- Spooky silhouettes: Carve haunted houses, bats, or witches in flight – these look amazing backlit by candlelight.
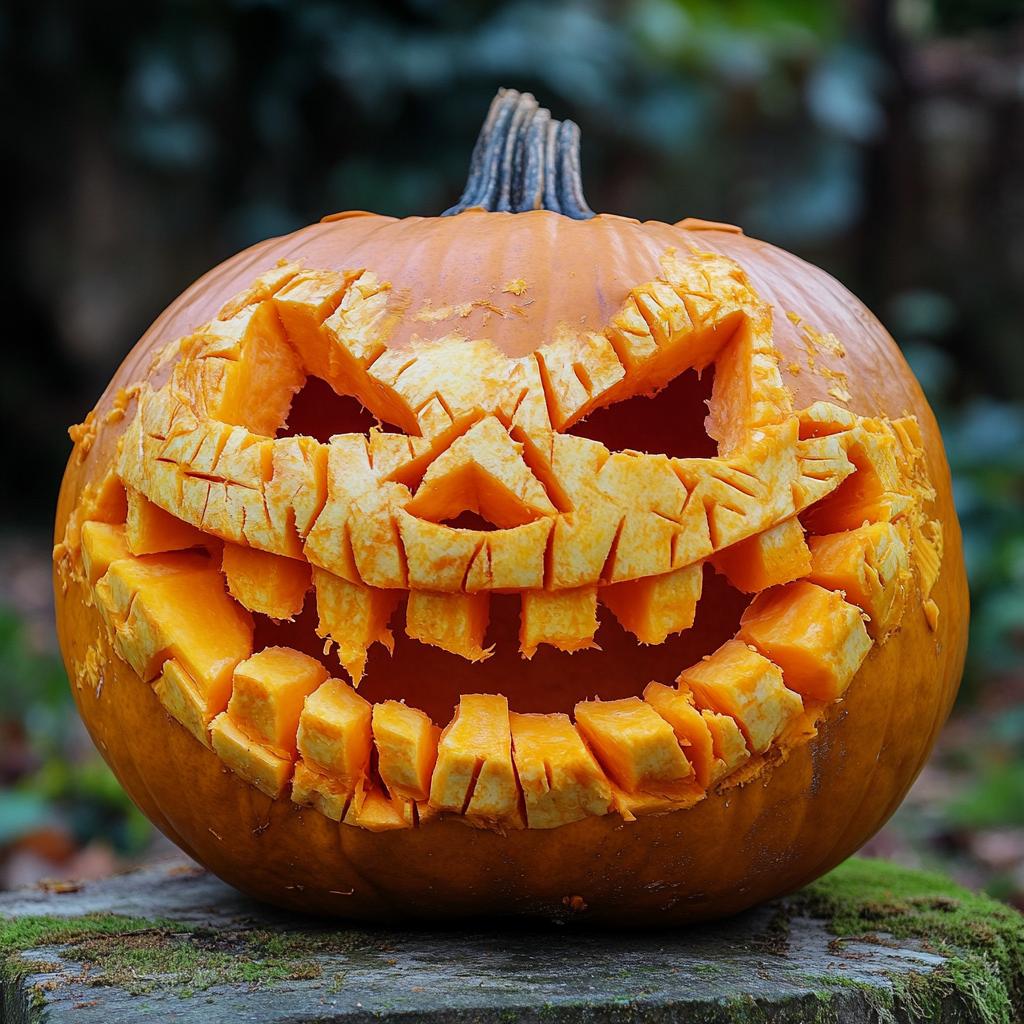
- Funny faces: Give your jack-o’-lantern silly expressions or pop culture references (my nephew’s “pumpkin-stein” was legendary).
- Etching technique: Instead of cutting all the way through, scrape away just the outer skin for a ghostly glow effect.
- Pumpkin dioramas: Carve multiple pumpkins at different heights to create a spooky scene.
The best part? There are no rules – just grab a pumpkin and let your imagination run wild!
Storing Your Pumpkin Carving Idea
Want your pumpkin carving masterpiece to last more than a day? Here’s my battle-tested method: After carving, rub petroleum jelly on all the cut edges – it’s like lip balm for pumpkins! Keep it in the fridge overnight (yes, really!) covered with a damp towel. But be warned – no matter what you do, carved pumpkins only last about 5-7 days before they start looking like something from a zombie movie. If you see mold or serious wilting, it’s time to say goodbye (and start planning next year’s design!).
Pumpkin Carving Idea FAQs
After years of turning pumpkins into glowing works of art (and dealing with all the messy aftermath), I’ve heard every question imaginable. Here are the answers to the ones that pop up most often:
Can I carve a pumpkin days before Halloween?
Absolutely! I usually carve mine 2-3 days before Halloween to keep it looking fresh. The trick? After carving, give it a cold water bath for an hour (this plumps up the flesh), then pat dry and rub petroleum jelly on all cut edges. Store it in the fridge overnight wrapped in plastic – this buys you a couple extra days of that perfect just-carved look!
What’s the safest way to carve with kids?
As a mom who’s survived many pumpkin carving sessions with overexcited little ones, here’s my foolproof system: Let kids draw the design and scoop seeds (the messy fun part!), while adults handle the actual cutting. For older kids, pumpkin carving kits with plastic serrated tools are way safer than knives. Always supervise closely – I learned the hard way that pumpkin guts make excellent (but disastrous) projectiles!
How long does a carved pumpkin last?
In perfect conditions (cool and dry), your masterpiece will last about 5-7 days. But let’s be real – once those first wrinkles appear, it’s all downhill! Pro tip: If your pumpkin starts looking sad before Halloween, spray it with a bleach-water solution (1 tsp bleach per gallon) to slow the mold. Just don’t do this if you’ve got curious pets who might lick it!
Can I eat the pumpkin after carving?
Technically yes, but I wouldn’t recommend it. Those big carving pumpkins are bred for looks, not flavor – they’re stringy and bland compared to pie pumpkins. But the seeds? Those are gold! Rinse them, toss with oil and salt, and roast at 300°F for 45 minutes. Best Halloween snack ever!
Nutritional Information
While pumpkins are packed with vitamins and fiber, the nutritional info for your carved pumpkin can vary based on its size and variety. Just remember, those carving pumpkins aren’t the best for eating—save the seeds for roasting and stick to pie pumpkins for your recipes!
Print
10 Spooky Pumpkin Carving Ideas You Must Try Now
- Total Time: 30 minutes
- Yield: 1 carved pumpkin 1x
- Diet: Vegetarian
Description
A fun and creative way to carve pumpkins for Halloween or festive decorations.
Ingredients
- 1 medium-sized pumpkin
- Sharp knife or pumpkin carving tool
- Spoon or scoop
- Marker or pen
- Tea light or LED candle
- Optional: Stencil or carving template
Instructions
- Cut a hole at the top of the pumpkin and remove the seeds and pulp.
- Draw your design on the pumpkin with a marker or use a stencil.
- Carefully carve the design using a sharp knife or carving tool.
- Place a tea light or LED candle inside the pumpkin.
- Display your carved pumpkin in a safe place.
Notes
- Always supervise children when carving pumpkins.
- Use LED candles for a safer option.
- Preserve your pumpkin by applying petroleum jelly on cut edges.
- Prep Time: 10 minutes
- Cook Time: 20 minutes
- Category: Crafts
- Method: Carving
- Cuisine: International
Nutrition
- Serving Size: 1 pumpkin
- Calories: 50
- Sugar: 10g
- Sodium: 5mg
- Fat: 0g
- Saturated Fat: 0g
- Unsaturated Fat: 0g
- Trans Fat: 0g
- Carbohydrates: 12g
- Fiber: 3g
- Protein: 1g
- Cholesterol: 0mg
Keywords: pumpkin carving, Halloween, DIY, decoration


