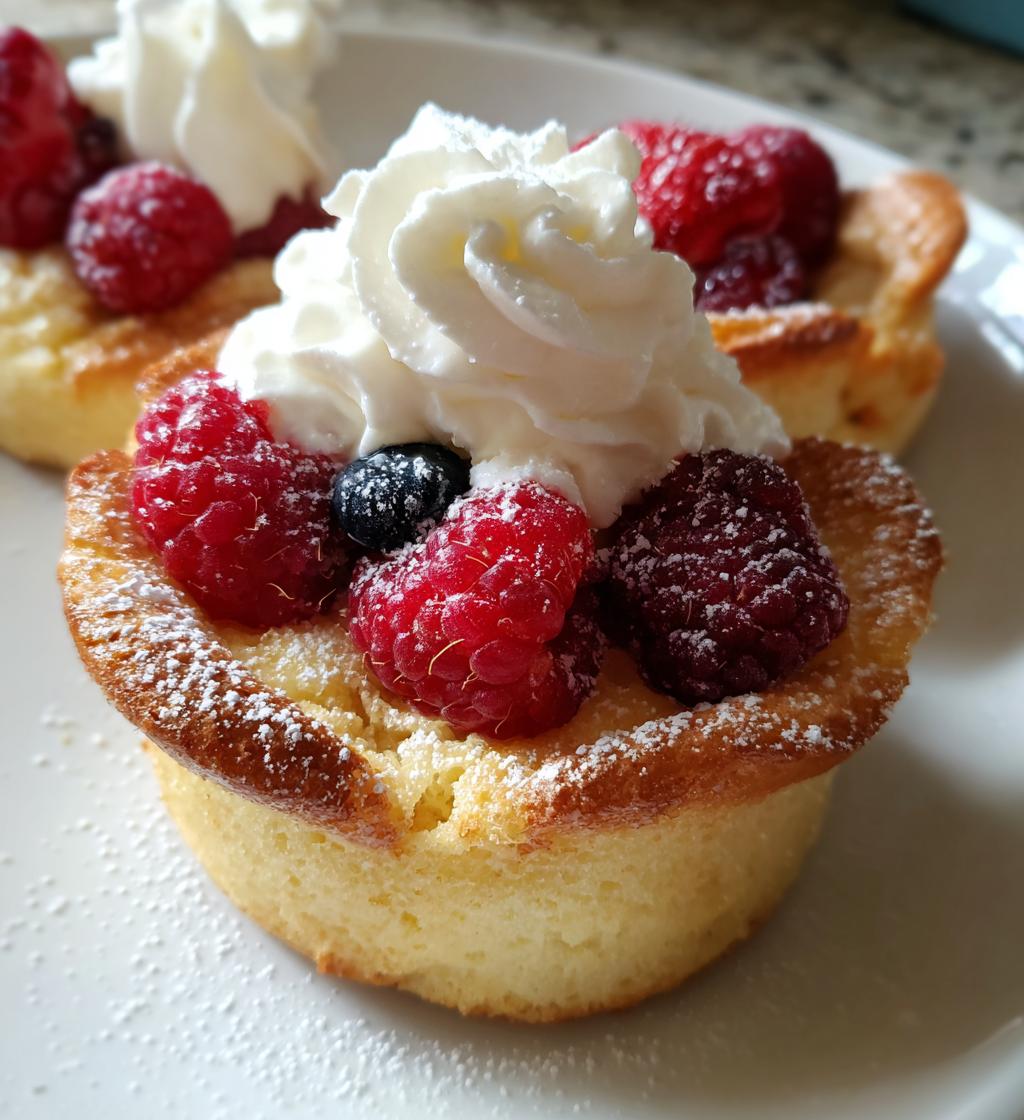
Oh, let me tell you, there’s something truly delightful about non-chocolate desserts! Don’t get me wrong, chocolate has its charm, but sometimes you just crave something different, something that lets other flavors shine. That’s where this recipe comes in – a simple yet scrumptious treat that’s perfect for any occasion. It’s a quick and easy way to satisfy your sweet tooth without the cocoa overload. Imagine a warm, buttery dessert that pairs beautifully with fresh fruit or a dollop of whipped cream. Trust me, this non-chocolate dessert will surprise you with its deliciousness and leave you wanting more. It’s like a warm hug for your taste buds!
Ingredients List
Let’s gather everything we need for this delightful non-chocolate dessert! You’ll want to make sure you have the following ingredients on hand:
- 2 cups all-purpose flour: This is the backbone of your dessert, giving it structure and lightness.
- 1 cup granulated sugar: Sweetness is key, and this will help create that lovely golden crust.
- 1/2 cup unsalted butter, softened: Adds richness and a tender crumb to your dessert. Make sure it’s at room temperature!
- 1 cup milk: This will help bring everything together and keep it moist.
- 2 large eggs: These act as a binder and provide a lovely texture.
- 2 tsp baking powder: This is your leavening agent, helping your dessert rise beautifully.
- 1 tsp vanilla extract: For that warm, comforting flavor that makes everything better.
- 1/4 tsp salt: A pinch of salt enhances all the flavors, so don’t skip it!
With these ingredients, you’re well on your way to creating something truly special!
How to Prepare Non Chocolate Desserts
Alright, let’s dive into the magic of making this delightful non-chocolate dessert! I promise it’s easier than you might think. Follow these simple steps, and you’ll be enjoying a homemade treat in no time!
Step-by-Step Instructions
First things first, preheat your oven to 350°F (175°C). This step is crucial because it ensures your dessert bakes evenly. While that’s heating up, grab a mixing bowl and cream together the softened butter and granulated sugar. I usually do this with a hand mixer for about 2-3 minutes until it’s light and fluffy—think whipped buttercream!
Next, add the two large eggs one at a time along with the vanilla extract. Don’t rush this part; make sure each egg is fully incorporated before adding the next one. This is what gives your dessert that amazing texture!
Now, in a separate bowl, whisk together the all-purpose flour, baking powder, and salt. This step helps to evenly distribute the baking powder and ensures there are no lumps in your batter. Gradually add this dry mixture to your wet ingredients, alternating with the milk. Start with a third of the flour mix, then a splash of milk, and repeat until everything is combined. Be careful not to overmix; just stir until you see no dry flour!
Once your batter is smooth and creamy, pour it into a greased baking dish. I like to use a spatula to get every last drop into the pan. Bake it in the preheated oven for 30-35 minutes. You’ll know it’s ready when a toothpick inserted in the center comes out clean. Let it cool for a bit before serving—trust me, your patience will be rewarded with a tender, melt-in-your-mouth dessert!
Why You’ll Love This Recipe
This non-chocolate dessert is a winner for so many reasons! Here’s why you’re going to love making it:
- Quick Preparation: With just 15 minutes of prep time, you can whip this up in no time!
- Simple Ingredients: You probably have most of these ingredients in your pantry already, making it super convenient.
- Deliciously Versatile: Serve it warm with fresh fruit, whipped cream, or even a scoop of ice cream for an extra treat.
- Perfect for Any Occasion: Whether it’s a family gathering or a cozy night in, this dessert fits right in!
- Light and Fluffy Texture: The combination of ingredients creates a delightful, moist crumb that melts in your mouth.
Trust me, once you try this, it’ll become a go-to recipe for all your sweet cravings!
Tips for Success
To make sure your non-chocolate dessert turns out absolutely perfect, keep these handy tips in mind:
- Measure Ingredients Accurately: Use a kitchen scale or measuring cups to ensure you have the right amounts—too much flour can make your dessert dense.
- Room Temperature Ingredients: Make sure your butter and eggs are at room temperature before mixing. This helps create a smoother batter.
- Don’t Overmix: When combining the wet and dry ingredients, mix just until combined. Overmixing can lead to a tougher texture.
- Check for Doneness: Use the toothpick test but look for that slight bounce back when you gently press the surface. It’s a great indicator!
- Cool Before Serving: Let the dessert cool in the pan for about 10 minutes before transferring it to a wire rack. This helps set the crumb and makes it easier to slice.
With these tips, you’ll be well on your way to creating a stunning and delicious treat that everyone will adore!
Nutritional Information
Keep in mind that nutritional values can vary quite a bit based on the specific ingredients and brands you use. This information is a general guide and may not be exact. Always check the labels for the most accurate details when preparing your delightful non-chocolate dessert!
FAQ Section
If you’re curious about non-chocolate desserts, I’ve got you covered with some common questions that pop up. Let’s dive in!
- Can I substitute the butter in this recipe? Absolutely! You can use margarine or even coconut oil for a dairy-free option. Just make sure they are in a softened state for the best results.
- What can I add to enhance the flavor? Try adding lemon or almond extract for a fresh twist. You can also fold in some nuts or berries for extra texture and flavor!
- How can I make this a gluten-free dessert? Swap out the all-purpose flour for a gluten-free blend. Make sure it includes xanthan gum for the best texture.
- Can I make this dessert ahead of time? Yes! You can bake it a day in advance. Just store it in an airtight container once it’s cool, and it’ll be just as delicious when you serve it!
- What’s a great way to serve this non-chocolate dessert? I love serving it warm with fresh fruit or whipped cream. You could even drizzle some honey or a light glaze for an extra indulgence!
Storage & Reheating Instructions
Storing your delicious non-chocolate dessert is a breeze! Once it’s completely cooled, place any leftovers in an airtight container. This helps keep it fresh and moist for up to three days at room temperature. If you want to keep it longer, feel free to pop it in the fridge for up to a week!
When it’s time to enjoy your dessert again, reheating is simple. Just microwave a slice for about 15-20 seconds until it’s warmed through. Alternatively, you can place it in a preheated oven at 350°F (175°C) for about 10 minutes to bring back that cozy, fresh-from-the-oven taste. Enjoy every bite!
Print
Non Chocolate Desserts: 5 Surprising Sweet Treats to Love
- Total Time: 50 minutes
- Yield: 8 servings 1x
- Diet: Vegetarian
Description
Delicious non-chocolate dessert options that satisfy your sweet tooth.
Ingredients
- 2 cups all-purpose flour
- 1 cup granulated sugar
- 1/2 cup unsalted butter, softened
- 1 cup milk
- 2 large eggs
- 2 tsp baking powder
- 1 tsp vanilla extract
- 1/4 tsp salt
Instructions
- Preheat your oven to 350°F (175°C).
- In a bowl, cream together the butter and sugar.
- Add eggs and vanilla extract, mix well.
- In another bowl, whisk together flour, baking powder, and salt.
- Gradually add dry ingredients to the wet mixture, alternating with milk.
- Pour the batter into a greased baking dish.
- Bake for 30-35 minutes or until a toothpick comes out clean.
- Let it cool before serving.
Notes
- Serve with fresh fruit or whipped cream.
- Store leftovers in an airtight container.
- Adjust sweetness as per your preference.
- Prep Time: 15 minutes
- Cook Time: 35 minutes
- Category: Desserts
- Method: Baking
- Cuisine: American
Nutrition
- Serving Size: 1 piece
- Calories: 220
- Sugar: 10g
- Sodium: 150mg
- Fat: 8g
- Saturated Fat: 5g
- Unsaturated Fat: 2g
- Trans Fat: 0g
- Carbohydrates: 32g
- Fiber: 1g
- Protein: 4g
- Cholesterol: 50mg
Keywords: non-chocolate desserts, sweet treats, baking


