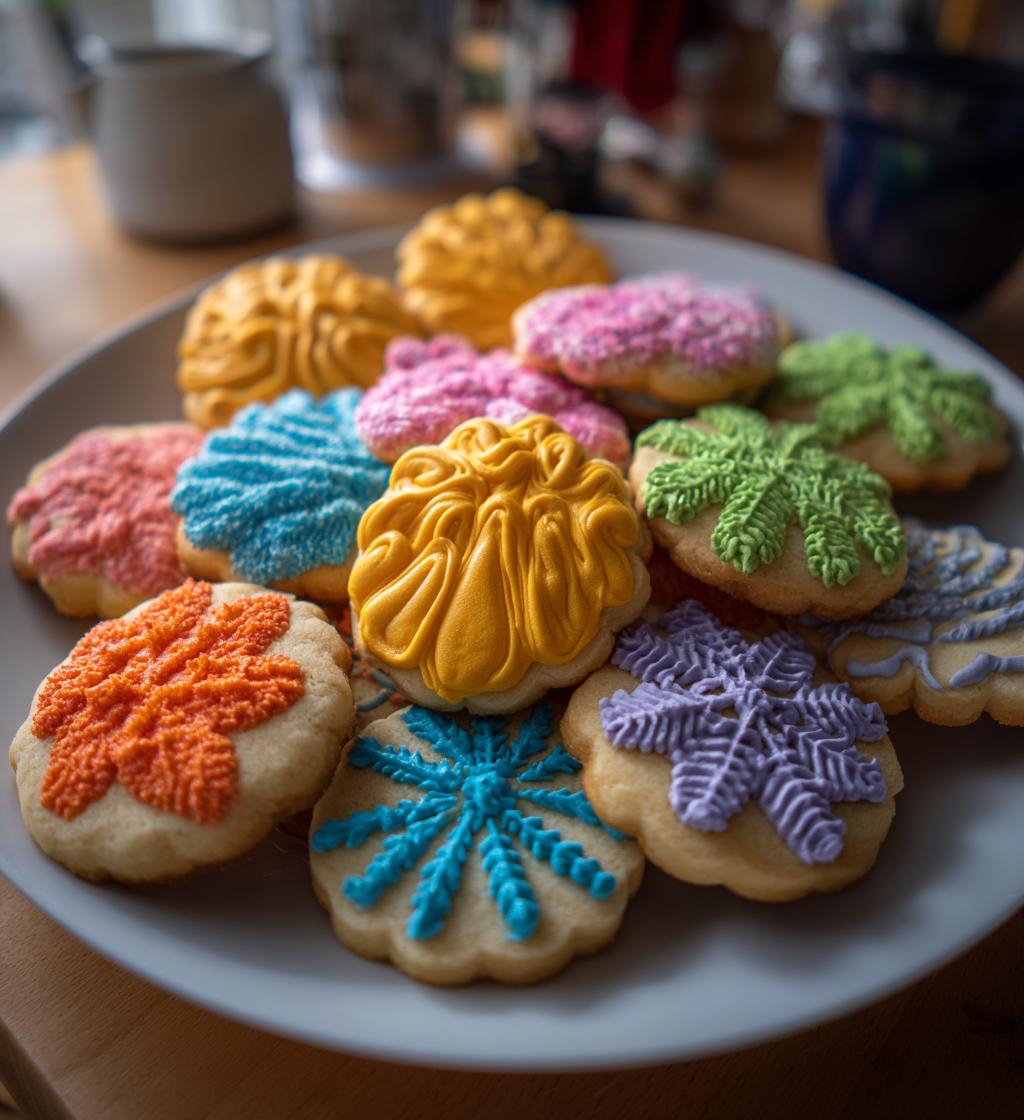
There’s something truly magical about decorating cookies, isn’t there? It’s like transforming simple ingredients into pieces of art that spread joy! My favorite cookies to decorate are these delightful milk cookies decorated for any occasion. Whether it’s a birthday party, a holiday gathering, or just a fun afternoon with the kids, these cookies always steal the show. I can’t help but smile when I see the kids’ faces light up as they get creative with colors and shapes—it’s pure happiness!
The beauty of milk cookies is their soft, buttery texture that pairs perfectly with royal icing. Trust me, once you take a bite, you’ll understand why everyone loves them. They’re not just tasty; they’re a canvas for your imagination! I love to mix up the colors and designs based on the occasion, and no two batches are ever the same. From vibrant rainbows to elegant florals, there’s no limit to what you can create. So, grab your baking supplies, and let’s dive into making these scrumptious milk cookies decorated that will surely impress family and friends!
Ingredients List
To make these delightful milk cookies decorated, you’ll need the following ingredients. Each item plays a crucial role in achieving that soft, buttery texture and delicious flavor.
- 2 cups all-purpose flour
- 1 cup unsalted butter, softened (let it sit at room temperature for about 30 minutes)
- 1 cup granulated sugar
- 1 large egg
- 1 teaspoon vanilla extract
- 1 teaspoon baking soda
- 1/2 teaspoon salt
- 1 cup royal icing for decoration
- Assorted food coloring (choose your favorites to match the occasion!)
Make sure you have all these ingredients ready before you start baking. It makes the process so much smoother and more enjoyable! Happy baking!
How to Prepare Instructions
Now that you’ve got everything prepped, let’s dive into making these delicious milk cookies decorated! Follow these step-by-step instructions, and you’ll be on your way to cookie bliss in no time.
Preheat and Mix
First things first, preheat your oven to 350°F (175°C). This is super important because you want those cookies to bake evenly! While that’s heating up, let’s get that butter and sugar ready. In a large mixing bowl, cream together 1 cup of softened unsalted butter and 1 cup of granulated sugar. I usually use a hand mixer for about 3-5 minutes until the mixture is light and fluffy. You want it to look a little like whipped cream—trust me, it makes all the difference in texture!
Once it looks perfect, crack in 1 large egg and add 1 teaspoon of vanilla extract. Mix everything together until it’s well combined. Take a moment to enjoy that sweet, buttery smell—it’s already making my mouth water!
Combine Dry Ingredients
In a separate bowl, whisk together 2 cups of all-purpose flour, 1 teaspoon of baking soda, and 1/2 teaspoon of salt. This step is key because it ensures that the baking soda is evenly distributed throughout the dough, which helps the cookies rise perfectly. Now, gradually add this dry mixture to your wet ingredients. Don’t dump it all in at once! Instead, add about a third at a time, mixing gently after each addition until you just see the flour disappear. This helps avoid overmixing, which can lead to tough cookies. We want them soft and tender, right?
Shape and Bake
Alright, it’s time to bring these cookies to life! Roll the dough into small balls—about 1 tablespoon each and place them on a baking sheet lined with parchment paper, leaving some space between them. I usually fit about 12 cookies per sheet. Bake them in your preheated oven for 10-12 minutes. Keep an eye on them! You’ll know they’re done when the edges are lightly golden but the centers still look a bit soft. That’s the secret to keeping them chewy and delicious!
Cool and Decorate
Once baked, take them out and let them cool on the baking sheet for a few minutes. Then, transfer them to a wire rack to cool completely. This is crucial—if you try to decorate them too soon, the icing will just melt away! While they cool, prepare your royal icing. You can color it with your assorted food coloring to match the occasion. Once the cookies are completely cool, grab your icing and get creative! Drizzle, swirl, and dot—there’s no wrong way to decorate! Just let them set before serving, and you’ll have a beautiful batch of milk cookies decorated that everyone will love!
Why You’ll Love This Recipe
Making these milk cookies decorated is not just fun; it’s also incredibly rewarding! Here’s why you’ll adore this recipe:
- Easy to Prepare: With straightforward steps and simple ingredients, you’ll find these cookies come together quickly. Even if you’re a beginner in the kitchen, you can create something spectacular!
- Perfect for Any Occasion: Whether it’s a birthday party, holiday celebration, or just a cozy afternoon at home, these cookies fit right in. You can customize the shapes and colors to match any theme!
- Delicious Flavor: The combination of buttery goodness and sweet icing creates a delightful treat that’s hard to resist. One bite, and you’ll be hooked!
- Creative Outlet: Decorating these cookies is a chance to let your imagination run wild. From vibrant rainbows to elegant designs, you can express yourself and create something unique every time.
- Shareable Joy: These cookies make the perfect gift! Friends and family will love receiving a beautifully decorated batch, and it’s a wonderful way to spread happiness.
Trust me, once you start making these milk cookies decorated, you’ll want to bake them again and again!
Tips for Success
If you want your milk cookies decorated to turn out perfectly every time, I’ve got some tried-and-true tips to share! These little nuggets of wisdom will help you achieve that soft, delectable texture and beautifully decorated cookies that are sure to impress.
Ingredient Temperature Matters
First off, make sure your butter is truly softened before you start mixing. I usually take it out of the fridge about 30 minutes before I begin. It should be soft enough to leave an indent when pressed but not melted. This step is crucial for getting that light and fluffy mixture when you cream it with the sugar. Also, room temperature eggs blend more easily with the batter, so don’t forget to take them out with the butter!
Keep an Eye on Baking Time
Baking times can vary slightly depending on your oven, so keep an eye on those cookies! They should look set around the edges and slightly soft in the center. If you leave them in too long, they’ll lose that chewy texture we all love. I like to set a timer but check a minute or two early just to be safe. They’ll continue to firm up a bit as they cool on the baking sheet, so don’t worry if they look a tad underbaked when you take them out!
Experiment with Flavors
Feel free to experiment with flavors to make these cookies your own! You can add a teaspoon or two of almond extract, or even lemon zest for a refreshing twist. Just remember to keep the ratios balanced so the dough doesn’t get too wet. It’s a fun way to customize the cookies for different occasions or personal preferences!
Decorating Tips
When it comes to decorating, take your time and let your creativity shine! If you’re using royal icing, make sure it’s at the right consistency—thick enough to hold its shape but thin enough to spread easily. I like to use a piping bag with a small round tip for clean designs. If you’re feeling adventurous, try adding sprinkles or edible glitter for an extra pop! And remember, practice makes perfect; don’t stress about making everything look perfect on the first try.
Storing Your Cookies
Once you’ve decorated your cookies, store them in an airtight container at room temperature. This keeps them fresh and helps maintain the integrity of your icing. If you need to stack them, place a piece of parchment paper between layers to prevent sticking. Trust me, your cookies will be just as delightful the next day!
With these tips, you’ll be well on your way to creating the best milk cookies decorated that will wow everyone. Happy baking and decorating!
Nutritional Information Section
Here’s a quick look at the typical nutritional values for these delightful milk cookies decorated. Keep in mind that these numbers are an estimate and can vary based on specific brands and measurements you use.
- Calories: 150
- Fat: 7g
- Saturated Fat: 4g
- Unsaturated Fat: 2g
- Trans Fat: 0g
- Cholesterol: 30mg
- Sodium: 50mg
- Carbohydrates: 20g
- Fiber: 0g
- Sugar: 10g
- Protein: 2g
These cookies are a sweet treat, perfect for sharing, so don’t forget to enjoy them in moderation! Happy baking!
FAQ Section
Got questions about making milk cookies decorated? Don’t worry—I’ve got you covered! Here are some common queries I often hear, along with my answers to help you out.
Can I use different types of icing for decorating?
Absolutely! While I love royal icing for its smooth finish and ability to hold shapes, you can also use buttercream or glaze icing. Just keep in mind that the consistency and drying times will vary. Buttercream is great for a soft, fluffy look, while a glaze can give your cookies a lovely shine!
What if my dough feels too sticky?
If your dough is sticky, don’t panic! This sometimes happens, especially in warmer weather. You can add a little extra flour, one tablespoon at a time, until it reaches a more manageable consistency. Just be careful not to overdo it—too much flour can make your cookies dense!
How do I make my cookies colorful for special occasions?
Making your milk cookies decorated colorful is so much fun! Just use assorted food coloring when preparing your royal icing. You can create vibrant colors for holidays or special themes by mixing colors! For example, red and green for Christmas or pastel shades for Easter. The sky’s the limit!
Can I freeze the cookies after baking?
Yes, you can! If you want to make your cookies ahead of time, bake them, let them cool completely, and then store them in an airtight container in the freezer. They’ll keep well for about three months. Just thaw them at room temperature before decorating, and you’re good to go!
How can I ensure my cookies are perfectly shaped?
To get perfectly shaped cookies, make sure to roll your dough evenly to about 1/4 inch thick. Using cookie cutters is a great way to achieve uniform shapes. If you find the dough sticking to the cutter, a quick dip in flour can help! Also, chill your cookie dough for about 30 minutes before cutting—it helps them keep their shape while baking.
Storage & Reheating Instructions
Once you’ve indulged in those delightful milk cookies decorated, you’ll want to keep them fresh for as long as possible! Storing them properly is key to maintaining their delicious flavor and soft texture.
To store leftover cookies, place them in an airtight container at room temperature. This helps keep them from drying out and ensures they stay soft and yummy. If you’ve decorated them with royal icing, you might want to let the icing set completely before stacking them. To prevent sticking, I recommend placing a piece of parchment paper between layers if you need to stack them.
If you have a batch that you won’t be able to eat within a few days, you can also freeze them! Just make sure they’re completely cool, then place them in a freezer-safe bag or container. They’ll keep well in the freezer for about three months. When you’re ready to enjoy them again, simply take them out and let them thaw at room temperature. No need to rush it; give them a little time to come back to life!
If you want to warm them up for a cozy treat, pop them in the microwave for about 10-15 seconds. This will make them warm and soft again, just like fresh out of the oven! But be careful not to overheat them, or they might become a bit too chewy. Enjoy your delicious milk cookies decorated whenever the craving strikes!
Print
Milk Cookies Decorated: 7 Steps to Pure Bliss
- Total Time: 32 minutes
- Yield: 24 cookies 1x
- Diet: Vegetarian
Description
Delicious milk cookies decorated for any occasion.
Ingredients
- 2 cups all-purpose flour
- 1 cup unsalted butter, softened
- 1 cup granulated sugar
- 1 large egg
- 1 teaspoon vanilla extract
- 1 teaspoon baking soda
- 1/2 teaspoon salt
- 1 cup royal icing for decoration
- Assorted food coloring
Instructions
- Preheat your oven to 350°F (175°C).
- In a bowl, cream the butter and sugar until light and fluffy.
- Add the egg and vanilla, then mix well.
- In another bowl, combine flour, baking soda, and salt.
- Gradually add the dry ingredients to the wet mixture.
- Roll the dough into balls and place them on a baking sheet.
- Bake for 10-12 minutes or until golden.
- Allow cookies to cool completely before decorating.
- Prepare royal icing and color it as desired.
- Decorate cookies with icing and let them set.
Notes
- Store cookies in an airtight container.
- Use different shapes for festive occasions.
- Experiment with flavors by adding extracts.
- Prep Time: 20 minutes
- Cook Time: 12 minutes
- Category: Dessert
- Method: Baking
- Cuisine: American
Nutrition
- Serving Size: 1 cookie
- Calories: 150
- Sugar: 10g
- Sodium: 50mg
- Fat: 7g
- Saturated Fat: 4g
- Unsaturated Fat: 2g
- Trans Fat: 0g
- Carbohydrates: 20g
- Fiber: 0g
- Protein: 2g
- Cholesterol: 30mg
Keywords: milk cookies, decorated cookies, cookie recipe


