There’s something truly magical about holiday baking, isn’t there? The way it brings family and friends together around the kitchen, filling the air with the warm, sweet aromas of freshly baked treats. It’s not just about the cookies; it’s about creating memories, sharing laughter, and spreading joy. This is where the *holiday baking aesthetic* comes in! It’s a delightful blend of creativity and festivity, transforming simple ingredients into colorful, whimsical goodies that brighten up any gathering. Picture vibrant sprinkles, cheerful shapes, and that satisfying crunch as you take a bite! Trust me, this approach to baking isn’t just about taste; it’s about celebrating the spirit of the season and making every moment a little sweeter. So, let’s dive into this fun recipe that captures the essence of holiday cheer!
Ingredients List
Gathering your ingredients is the first step to unlocking that festive baking magic! Here’s everything you’ll need to whip up these delightful holiday cookies:
- 2 cups all-purpose flour
- 1 cup sugar
- 1/2 cup unsalted butter, softened
- 2 large eggs
- 1 teaspoon vanilla extract
- 1 teaspoon baking powder
- 1/2 teaspoon salt
- 1 cup holiday-themed sprinkles
Make sure your butter is at room temperature; this is key for that light and fluffy texture we’re aiming for! And don’t be shy with those sprinkles—they’re not just for decoration, they bring that festive cheer right into each bite! Now that we’ve got our ingredients ready, let’s get baking!
How to Prepare Instructions
Now that we have our ingredients all set, let’s get into the fun part—baking these festive cookies! Follow these steps, and I promise you’ll have a batch of beautiful, delicious treats in no time.
Preheat the Oven and Prepare Baking Sheet
First things first, you’ll want to preheat your oven to 350°F (175°C). This is super important because a properly preheated oven ensures even baking. While that’s warming up, let’s prepare our baking sheet. I like to line mine with parchment paper—this not only helps prevent sticking but also makes cleanup a breeze. If you don’t have parchment paper, a light greasing with butter will do the trick too!
Creaming Butter and Sugar
Next, we’re going to cream together the softened butter and sugar. This step is crucial for that light and fluffy texture we all love. Make sure your butter is at room temperature—this really helps it blend smoothly. Use a hand mixer or a sturdy wooden spoon to beat the butter and sugar together until it’s pale and fluffy, which usually takes about 2-3 minutes. You want it to look like whipped honey, airy and light!
Mixing Wet Ingredients
Now that your butter and sugar are looking fabulous, it’s time to add in the eggs and vanilla extract. Crack those eggs right into the bowl, and pour in the vanilla. Mix it all together until it’s just combined; you want everything to be well incorporated but don’t overdo it. A gentle stir will do the trick!
Combining Dry Ingredients
In a separate bowl, combine the flour, baking powder, and salt. I always recommend sifting the flour to avoid any lumps and ensure a smooth batter. This might seem like an extra step, but trust me, it makes a difference! Once they’re mixed, gradually add the dry ingredients to the wet mixture. Stir gently until everything is just combined—no need to over-mix; we want to keep that fluffy texture from earlier!
Mixing the Dough
Here comes the fun part! Fold in those vibrant holiday-themed sprinkles gently. I love this step because it adds a pop of color and excitement to the dough. Just be careful not to over-mix; you want those sprinkles to remain whole and distribute evenly throughout the cookie dough.
Baking the Cookies
Now it’s time to drop spoonfuls of dough onto your prepared baking sheet. I usually like to use a cookie scoop for uniformity, but a tablespoon works just fine too. Space them about 2 inches apart, as they will spread a bit while baking. Pop them in the oven for about 10-12 minutes. You’ll know they’re done when the edges are golden brown, but the centers are still slightly soft—that’s the sweet spot!
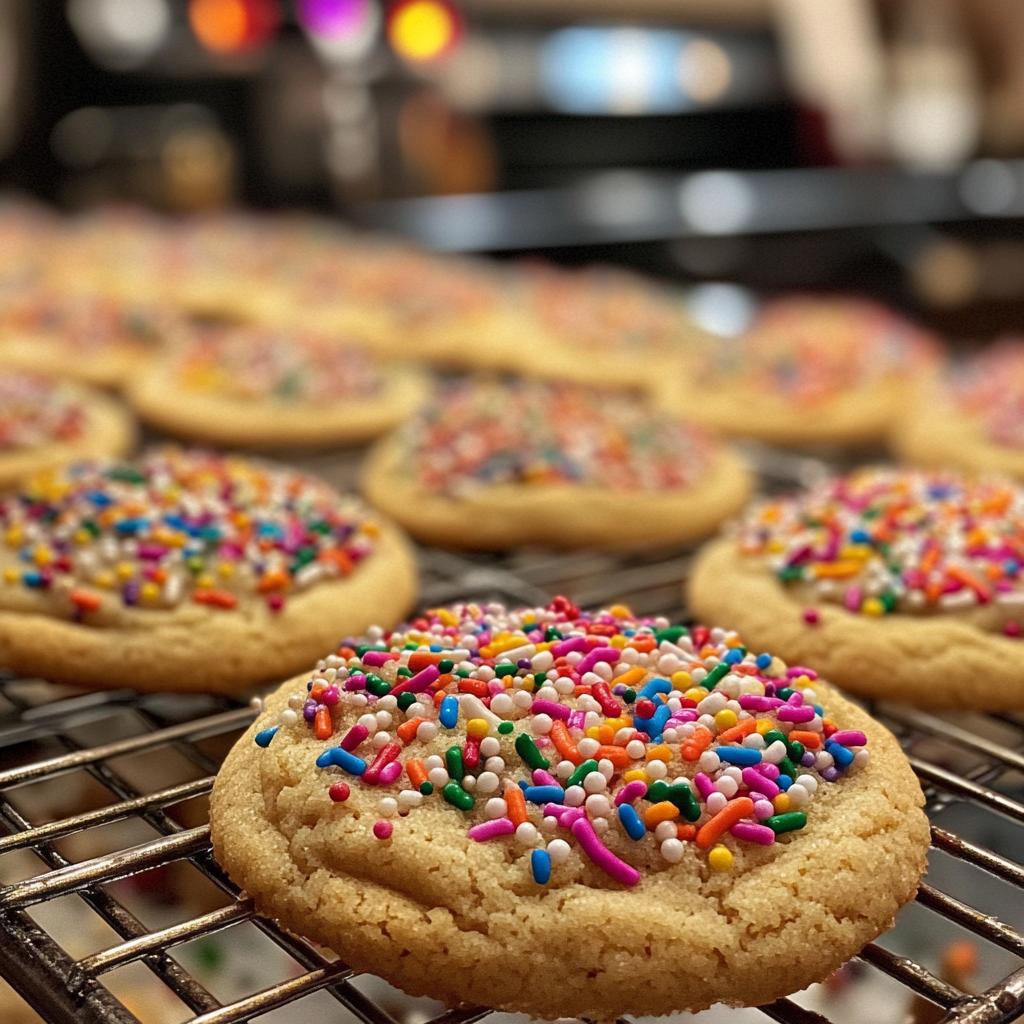
Cooling and Serving
Once they’re out of the oven, let them cool on the baking sheet for a few minutes before transferring them to a wire rack. This helps them set up nicely. When they’re cool, serve them up on a festive plate, and watch as everyone smiles! These cookies are perfect for sharing, gifting, or just enjoying with a warm cup of cocoa. Enjoy the joy of holiday baking!
Nutritional Information
Let’s talk numbers! Here’s the estimated nutritional breakdown for one of these delightful holiday cookies:
- Calories: 150
- Fat: 7g
- Protein: 2g
- Carbohydrates: 20g
Keep in mind, these figures are estimates and can vary based on the specific brands of ingredients you use. But with the festive flavors and fun sprinkles, I think they’re worth every calorie! Enjoy your baking guilt-free, knowing you’re creating something delicious and memorable!
Why You’ll Love This Recipe
- Quick Preparation: With just 15 minutes of prep time, you’ll be on your way to delicious cookies in no time!
- Festive Appearance: The vibrant holiday-themed sprinkles add a cheerful touch that’s perfect for any celebration.
- Delicious Flavor: These cookies are a delightful combination of sweetness and buttery goodness that everyone will adore.
- Great for Sharing: Ideal for holiday gift baskets or cozy gatherings, spreading joy one cookie at a time!
Tips for Success
To ensure your holiday cookies turn out perfectly every time, here are some pro tips that I swear by! First, make sure to measure your flour correctly—spoon it into the measuring cup and level it off with a knife. This prevents dense cookies!
For added flavor, try mixing in a dash of cinnamon or nutmeg; they bring a warm, cozy vibe perfect for the season. And speaking of variations, feel free to swap out the holiday sprinkles for chocolate chips or chopped nuts for a different twist!
When it comes to storage, keep your cookies in an airtight container at room temperature. They’ll stay fresh for about a week—if they last that long! For longer storage, you can freeze the cookies in a single layer and then transfer them to a freezer bag. Just thaw them at room temperature when you’re ready to enjoy again!
Frequently Asked Questions
Can I use different types of sprinkles?
Absolutely! Feel free to get creative with your sprinkles! Using different shapes, sizes, or colors can really enhance the *holiday baking aesthetic* and give your cookies a unique flair. For example, you could use chocolate sprinkles for a rich twist or seasonal shapes like stars and trees for added festivity. Just keep in mind that the flavor can vary slightly depending on the sprinkles you choose, but they’ll all add that fun, colorful element to your cookies!
How should I store the cookies?
To keep your cookies fresh and delicious, store them in an airtight container at room temperature. This will help maintain their softness and prevent them from drying out. If you want to keep them for a longer period, you can also freeze them! Just make sure they’re completely cooled before packing them in a freezer-safe bag. They’ll stay fresh for about a week at room temperature or up to three months in the freezer!
Can I freeze the cookie dough?
You bet! Freezing cookie dough is a fantastic way to have fresh cookies on demand. Just scoop the dough into balls and place them on a baking sheet lined with parchment paper. Freeze them until solid, then transfer the dough balls to a freezer bag. When you’re ready to bake, just pop them straight into the oven from the freezer, adding a couple of extra minutes to the baking time. It’s a game-changer for those spontaneous cookie cravings!
What can I serve with these cookies?
These festive cookies pair wonderfully with a variety of treats! Serve them alongside a warm cup of cocoa, a glass of milk, or even a holiday-themed coffee. You could also create a delightful dessert platter with other seasonal favorites like gingerbread cookies, peppermint bark, or mini pies. Trust me, your dessert table will look and taste amazing!
How do I know when the cookies are done?
Great question! The best way to tell if your cookies are done is to look for a golden-brown edge while the center still appears slightly soft. They’ll continue to firm up as they cool, so don’t worry if they seem a bit underbaked when you take them out. Also, if you gently press the top with your fingertip and it springs back, that’s a good sign they’re ready! Enjoy the delightful aroma as they bake—your kitchen will smell like the holidays!
Equipment List
Before we dive into our festive cookie-making adventure, let’s gather the essential tools you’ll need. Having everything ready will make the process smooth and enjoyable. Here’s what you’ll want to have on hand:
- Mixing Bowls: A couple of medium-sized bowls will do the trick for mixing your wet and dry ingredients separately.
- Measuring Cups: You’ll need both standard cups for dry ingredients and a liquid measuring cup for accuracy.
- Measuring Spoons: Perfect for those smaller amounts of baking powder, salt, and vanilla extract.
- Hand Mixer or Wooden Spoon: A hand mixer makes creaming the butter and sugar a breeze, but a good old wooden spoon works just as well if you prefer a workout!
- Baking Sheets: A couple of sturdy baking sheets are essential for baking those cookie batches. If you have them, use a non-stick variety or line them with parchment paper.
- Cookie Scoop or Spoon: A cookie scoop helps with uniformity, but a regular tablespoon can work just fine for dropping dough onto the baking sheet.
- Wire Rack: This is perfect for cooling the cookies after they come out of the oven, allowing air to circulate and keep them from getting soggy.
With your equipment gathered, you’re all set to create some mouthwatering holiday cookies! Let’s get to baking and make some sweet memories!
Print
holiday baking aesthetic: 7 Ways to Spread Festive Joy
- Total Time: 27 minutes
- Yield: 24 cookies 1x
- Diet: Vegetarian
Description
A festive approach to baking that captures the spirit of the holidays.
Ingredients
- 2 cups all-purpose flour
- 1 cup sugar
- 1/2 cup unsalted butter, softened
- 2 large eggs
- 1 teaspoon vanilla extract
- 1 teaspoon baking powder
- 1/2 teaspoon salt
- 1 cup holiday-themed sprinkles
Instructions
- Preheat the oven to 350°F (175°C).
- In a bowl, cream together butter and sugar.
- Add eggs and vanilla, mix well.
- In another bowl, combine flour, baking powder, and salt.
- Gradually add dry ingredients to the wet mixture.
- Fold in the sprinkles.
- Drop spoonfuls of dough onto a baking sheet.
- Bake for 10-12 minutes or until golden.
- Let cool before serving.
Notes
- Use different sprinkles for variety.
- Store in an airtight container.
- Great for holiday gift baskets.
- Prep Time: 15 minutes
- Cook Time: 12 minutes
- Category: Dessert
- Method: Baking
- Cuisine: American
Nutrition
- Serving Size: 1 cookie
- Calories: 150
- Sugar: 10g
- Sodium: 50mg
- Fat: 7g
- Saturated Fat: 4g
- Unsaturated Fat: 2g
- Trans Fat: 0g
- Carbohydrates: 20g
- Fiber: 0g
- Protein: 2g
- Cholesterol: 30mg
Keywords: holiday baking aesthetic


