Oh my gosh, have you tried cake pops yet? These little bites of joy are the ultimate party treat – cute, portable, and totally customizable. I first fell in love with them at my niece’s birthday years ago, and now I’m obsessed with making them for every occasion. The best part? You can mix and match cake flavors with different frostings and coatings to create endless variations. Whether you’re throwing a fancy baby shower or just need a fun weekend project with the kids, cake pops always steal the show. Trust me, once you see how easy they are to make (and how quickly they disappear), you’ll be hooked too!
Ingredients for Cake Pops
Gathering your ingredients is the easiest part – that’s what I love about cake pops! Here’s what you’ll need:
- 1 box cake mix (any flavor – chocolate and vanilla are classics, but get creative!)
- 1 cup frosting (match it to your cake or mix flavors for fun surprises)
- 2 cups chocolate or candy melts (I always grab extra because, well, mistakes happen)
- Lollipop sticks (find them in the baking aisle)
- Sprinkles, crushed nuts, or other toppings (optional but oh-so-pretty)
That’s it! The magic happens when these simple ingredients come together.
How to Make Cake Pops
Alright, let’s get to the fun part – making those adorable cake pops! I promise it’s easier than it looks, and once you get the hang of it, you’ll be whipping these up like a pro. Here’s the step-by-step breakdown to help you nail it every time:
Baking and Crumbling the Cake
Start by baking your cake according to the package instructions. I usually go for a 9×13 inch pan because it’s quick and easy. Let the cake cool completely – I mean *completely*. If it’s even slightly warm, the frosting will melt when you mix it in, and you’ll end up with a sticky mess. Once it’s cool, crumble it into fine crumbs. I like using my hands because it’s therapeutic, but a food processor works great too if you’re in a hurry. Just pulse it a few times until it looks like sand.
Mixing and Shaping Cake Pops
Next, add the frosting to the cake crumbs. Start with about 3/4 cup and mix it in, then add more as needed. You’re looking for a texture that holds together when you squeeze it in your hand – not too dry, not too sticky. Once it’s perfect, roll the mixture into 1-inch balls. I use a small cookie scoop to keep them uniform, but you can eyeball it if you’re feeling casual. Place the balls on a baking sheet lined with parchment paper – trust me, this makes life easier later.
Dipping and Decorating Cake Pops
Here’s where the magic happens! First, chill the cake balls in the fridge for at least an hour or the freezer for 15 minutes. This step is *crucial* – it helps them hold their shape when you dip them. While they’re chilling, melt your chocolate or candy melts in a microwave-safe bowl. Microwave in 30-second intervals, stirring in between, until it’s smooth and glossy. If it’s too thick, add a teaspoon of vegetable oil to thin it out. Now, dip the tip of a lollipop stick into the melted chocolate and insert it into a cake ball – this helps the stick stay put. Once the sticks are secure, dip each cake pop into the chocolate, tap off the excess, and add sprinkles or toppings while the chocolate is still wet. Let them set upright in a foam block or on parchment paper. And voila – you’ve got perfect cake pops!
Tips for Perfect Cake Pops
Want to make cake pops like a pro? Here are my tried-and-true tips to get them just right every time:
- Chill those cake balls! This step is non-negotiable. Pop them in the fridge for at least an hour (or the freezer for 15 minutes) before dipping. It keeps them from falling apart or sliding off the stick.
- Thin your chocolate if needed. If your melted chocolate feels too thick, add a teaspoon of vegetable oil. It helps create a smooth, even coating that won’t clump up.
- Use a foam block for drying. Stick the cake pops upright in a foam block to let them set. It keeps the chocolate from pooling on one side and gives them that perfect round shape.
- Tap off excess chocolate. After dipping, gently tap the stick against the edge of the bowl to remove extra chocolate. Trust me, it makes all the difference in getting that clean, professional look.
- Work in small batches. Keep most of your cake balls in the fridge while you dip a few at a time. This prevents them from getting too soft while you work.
Follow these tips, and you’ll have flawless cake pops that’ll impress everyone!
Variations for Cake Pops
Oh, the possibilities! One of my favorite things about cake pops is how easily you can switch up flavors and themes. Chocolate cake with vanilla frosting is a classic, but why stop there? Try funfetti cake with cream cheese frosting for birthday parties, or red velvet with cream cheese frosting for a fancy touch. For fall, spice cake with cinnamon frosting and a caramel drizzle is *chef’s kiss*. Need a gluten-free option? Swap in your favorite GF cake mix – it works just as well! The sky’s the limit, so play around and make them your own.
Serving and Storing Cake Pops
Now, let’s talk about keeping those cake pops fresh and fabulous! First rule: always store them upright. I stick mine in a foam block or even an upside-down colander (get creative!) before sliding them into an airtight container. They’ll stay perfect in the fridge for up to a week – just don’t let them get too cold before serving, or the chocolate might sweat. For longer storage, freeze them on a baking sheet first, then transfer to a freezer bag. They’ll keep for a month! Just avoid moisture at all costs – soggy cake pops are nobody’s friend.
Cake Pops Nutritional Information
Alright, let’s be real – we’re not eating cake pops for their health benefits! But if you’re curious, each pop is roughly 120 calories with about 5g fat and 18g carbs. Of course, this depends on your cake mix, frosting, and chocolate brands. My homemade cream cheese frosting adds a few extra calories (worth it!), while sugar-free chocolate cuts them down. Just enjoy them in moderation – or don’t, I won’t judge!
Cake Pops FAQs
I get so many questions about cake pops – here are the answers to the ones that pop up (pun intended!) most often:
Can I use homemade cake instead of boxed mix?
Absolutely! My grandma’s chocolate cake recipe makes the most delicious cake pops. Just bake your favorite from-scratch cake and crumble it the same way. The key is making sure it’s moist enough – drier cakes might need a touch more frosting to bind properly.
Why do my cake pops crack when I dip them?
Oh, I’ve been there! Cracks usually happen when there’s a temperature difference between the chilled cake balls and warm chocolate. Make sure your melted chocolate isn’t piping hot – let it cool slightly. Also, don’t skip that crucial chilling step before dipping!
Can I make cake pops ahead of time?
You bet! They’re perfect for prepping in advance. The shaped cake balls keep beautifully in the fridge for 2 days before dipping. Once coated, they’ll stay fresh for a week refrigerated or a month frozen. Just thaw frozen ones in the fridge overnight before serving.
What’s the trick to getting smooth chocolate coating?
Two words: proper consistency. If your chocolate’s too thick, it’ll clump. Too thin, and it slides right off. I always add a teaspoon of vegetable oil to thin it just enough. And remember – tap off that excess chocolate after dipping for the smoothest finish!
Share Your Cake Pop Creations!
I’d love to see what you whip up! Tag me @MyKitchenAdventures on Instagram or leave a comment below with your favorite cake pop combos. Did you try a wild flavor pairing? Nail the perfect swirl technique? Your creations might just inspire my next batch – happy baking!
Print
Irresistible Cake Pops: 1 Easy Recipe for Perfect Party Treats
- Total Time: 55 minutes
- Yield: 24 cake pops 1x
- Diet: Vegetarian
Description
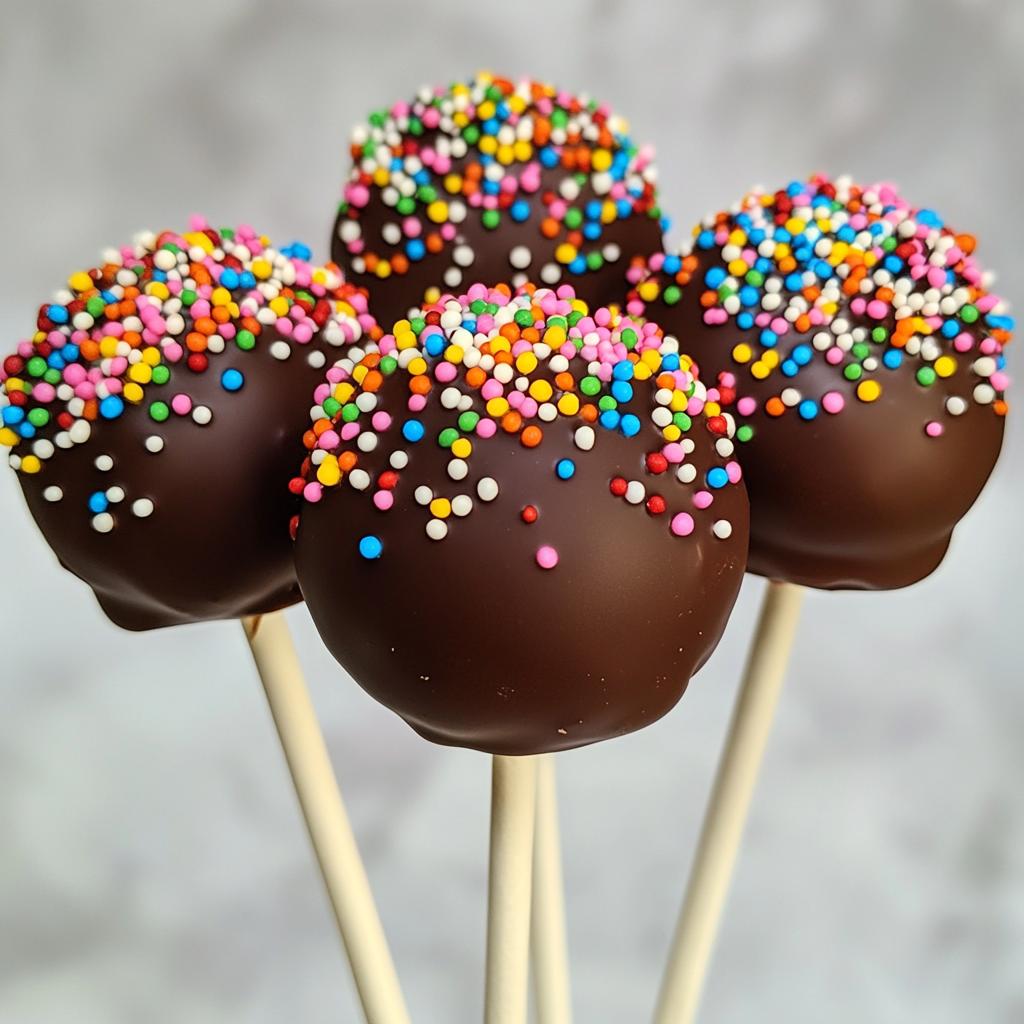
Cake pops are bite-sized treats made from crumbled cake mixed with frosting, shaped into balls, and coated with chocolate or candy melts. They are perfect for parties and easy to customize.
Ingredients
- 1 box cake mix (any flavor)
- 1 cup frosting (any flavor)
- 2 cups chocolate or candy melts
- Lollipop sticks
- Sprinkles or toppings (optional)
Instructions
- Bake the cake according to the package instructions and let it cool completely.
- Crumble the cake into fine crumbs in a large bowl.
- Mix in the frosting until the cake holds together when pressed.
- Roll the mixture into small balls (about 1-inch in diameter) and place them on a baking sheet.
- Chill the cake balls in the refrigerator for 1 hour or the freezer for 15 minutes.
- Melt the chocolate or candy melts in a microwave-safe bowl, stirring frequently.
- Dip the tip of a lollipop stick into the melted chocolate and insert it into a cake ball.
- Dip the entire cake pop into the melted chocolate, tap off excess, and decorate with sprinkles.
- Let the cake pops set by placing them upright in a foam block or on parchment paper.
Notes
- Use any cake and frosting combination for different flavors.
- Chilling the cake balls helps them hold their shape when dipping.
- If the melted chocolate is too thick, add a teaspoon of vegetable oil to thin it.
- Prep Time: 30 minutes
- Cook Time: 25 minutes
- Category: Dessert
- Method: Baking
- Cuisine: American
Nutrition
- Serving Size: 1 cake pop
- Calories: 120
- Sugar: 10g
- Sodium: 80mg
- Fat: 5g
- Saturated Fat: 3g
- Unsaturated Fat: 2g
- Trans Fat: 0g
- Carbohydrates: 18g
- Fiber: 0g
- Protein: 1g
- Cholesterol: 5mg
Keywords: cake pops, easy dessert, party treats, homemade candy, chocolate covered


