I can still hear my grandmother’s cast iron skillet sizzling every Sunday morning as she prepared her famous crispy Southern fried chicken. The smell of golden-brown chicken and spices would fill the whole house, making our mouths water before we even sat down at the table. That perfect crunch when you bite into it? That’s what makes this recipe special. It’s not just food – it’s memories of family gathered around, laughing and telling stories while passing around heaping plates.
After years of watching Grandma work her magic, I finally cracked her 3-step method for achieving that signature crispiness every time. The secret starts with patience (that buttermilk soak is non-negotiable!) and ends with knowing exactly when the chicken reaches that perfect golden color. This recipe turns simple ingredients into something extraordinary, just like Grandma did for our family all those years.
Why You’ll Love This Crispy Southern Fried Chicken – Grandma’s 3-Step Classic!
Trust me, once you try this recipe, it’ll become your go-to for fried chicken. Here’s why:
- Simpler than you think: Just 3 easy steps – soak, coat, fry. No complicated techniques, just Grandma’s tried-and-true method.
- That perfect crunch: The buttermilk and double-dredge create a crispy coating that stays crunchy for hours.
- Juicy every time: The buttermilk marinade keeps the chicken incredibly moist while frying gives it that golden exterior.
- Authentic Southern flavor: That perfect blend of paprika, garlic, and just a touch of cayenne makes this taste like home.
- Works for any occasion: From Sunday supper to backyard BBQs, this chicken always steals the show.
I’ve made this recipe hundreds of times, and it never fails to impress. The first bite takes me right back to Grandma’s kitchen every time!
Ingredients for Crispy Southern Fried Chicken – Grandma’s 3-Step Classic!
Here’s the beautiful part – you probably have most of these ingredients already! Grandma always said, “Good fried chicken starts with simple things done right.” Let me walk you through exactly what you’ll need:
- 4 lbs chicken pieces (legs, thighs, and wings work best – that dark meat stays juicier!)
- 2 cups buttermilk (don’t skimp here – this is what makes the chicken so tender)
- 2 cups all-purpose flour (Grandma would tap the measuring cup to settle it just right)
- 1 tbsp salt (use coarse kosher salt if you’ve got it – it distributes better)
- 1 tbsp black pepper (freshly ground gives the best flavor)
- 1 tbsp paprika (this gives that gorgeous golden color)
- 1 tsp garlic powder (not garlic salt – we want to control the salt separately)
- 1 tsp onion powder (adds that deep, savory note)
- 1/2 tsp cayenne pepper (just enough to wake up your taste buds without being spicy)
- Vegetable oil for frying (about 2 inches deep in your skillet – Grandma used peanut oil when she could)
See? Nothing fancy, just good ingredients combined the right way. I’ll let you in on a little secret – the exact brand of buttermilk and flour doesn’t matter nearly as much as how you use them. That’s where the magic happens!
Equipment Needed
Now don’t go thinking you need fancy gadgets for perfect fried chicken – Grandma made hers with just a few trusty tools that you likely have already:
- A deep, heavy skillet (that old cast iron pan of hers worked miracles – but any deep skillet will do)
- Candy/fry thermometer (Grandma could tell the oil was ready by dropping in flour, but let’s be honest, a thermometer makes it foolproof)
- Wire rack (this little hero keeps the bottom from getting soggy – no more sacrificing that perfect crunch!)
- Tongs (for safely flipping those golden pieces without scraping off your beautiful coating)
- Paper towel-lined plate (for that quick drain after frying – though I always move them to the rack right after)
That’s it! No special fryers needed. Just good old-fashioned tools that get the job done right, just like Grandma used to say.
How to Make Crispy Southern Fried Chicken – Grandma’s 3-Step Classic!
Alright, let’s get to the good part! I’m going to walk you through Grandma’s foolproof method step by step. Follow these instructions exactly, and you’ll have chicken that’s crispy on the outside, juicy on the inside – just like hers always was.
Step 1: Marinate the Chicken
First things first – patience is key here! Place your chicken pieces in a large bowl and pour that buttermilk right over them. Make sure every piece gets coated – I like to give them a little massage to really work it in. Cover the bowl and pop it in the fridge for at least 1 hour, but overnight is even better if you can wait.
Grandma always said, “The buttermilk’s doing all the hard work for you.” It tenderizes the chicken while adding that signature tangy flavor. Don’t rush this step – that soak time makes all the difference between good chicken and great chicken!
Step 2: Coat with Seasoned Flour
Now for the fun part! Mix all your dry ingredients together in a large shallow bowl or pie plate. Take each piece of chicken straight from the buttermilk (let the excess drip off, but don’t shake it too much) and dredge it thoroughly in the flour mixture. Press gently to help the coating stick.
Here’s Grandma’s secret trick: after the first coat, dip the chicken back in the buttermilk for just a second, then coat it in flour again. This double-dip method creates those amazing crispy layers that stay crunchy for hours. Just watch your fingers – this part gets messy (but oh so worth it)!
Step 3: Fry to Golden Perfection
Heat about 2 inches of oil in your deep skillet to 350°F – use that thermometer! Carefully add the chicken pieces without crowding the pan (I do batches if needed). Fry for about 12-15 minutes, turning once halfway through, until they’re that perfect golden brown color.
The sizzle should sound like applause when you first add them – that’s how you know the oil’s hot enough. Use tongs to gently turn them – no forks that might poke holes! When they’re done, transfer to a wire rack immediately (not paper towels – that’s how you lose crispness!). Let them rest for 5 minutes while you check the internal temp hits 165°F.
And there you have it – crispy Southern fried chicken just like Grandma used to make! That first bite through the crunchy crust into juicy meat? Pure magic.
Tips for the Crispiest Southern Fried Chicken – Grandma’s 3-Step Classic!
After making this recipe more times than I can count, I’ve picked up some tricks that take good fried chicken to great fried chicken. Here are my absolute must-know tips:
- Pat that chicken dry after the buttermilk soak – just a quick dab with paper towels helps the flour stick better for maximum crunch.
- Fresh oil matters – Grandma would sniff her oil before using it. If it smells like last week’s fish fry, start fresh!
- Don’t crowd the pan – I know it’s tempting to fry it all at once, but giving each piece space means even cooking and crispier results.
- Keep that oil temp steady – 350°F is the sweet spot. Too hot burns the coating before the chicken cooks through; too cool makes it greasy.
- Season your flour well – Taste a pinch before dredging. It should make you go “Mmm!” not “Meh.”
Oh! And one more thing – resist the urge to peek under the crust while frying! That first flip should happen when you see golden edges peeking above the oil. Trust the process – just like Grandma did.
Serving Suggestions
Now, let’s talk about how to serve this glorious fried chicken the right way – just like Grandma would! In our house, we always paired it with:
- Creamy mashed potatoes – The perfect vehicle for catching all those crispy crumbs and savory juices.
- Tangy coleslaw – That cool crunch cuts through the richness beautifully.
- Flaky buttermilk biscuits – Because you can’t have Southern fried chicken without them!
Sometimes we’d add stewed greens or baked beans too. Honestly? Just set the platter in the middle of the table with some hot sauce and honey on the side – everyone finds their perfect bite that way. And don’t you dare forget the sweet tea – it’s practically a law down South!
Storing and Reheating Crispy Southern Fried Chicken
Okay, let’s be real – leftovers rarely happen with this chicken! But if you’re lucky enough to have some, here’s how to keep that crunch: refrigerate in an airtight container for up to 3 days. To reheat, skip the microwave (it turns the coating soggy!) and use your oven or air fryer at 375°F for about 8-10 minutes. It comes out nearly as crispy as the first time!
Nutritional Information
Now, let’s be honest – we don’t eat fried chicken for its nutritional merits, do we? But here’s a rough idea of what you’re getting per serving (about one thigh): around 320 calories, 25g protein, and yes, 18g fat – that’s where all the flavor lives! Remember, these values are just estimates since actual nutrition varies based on portion sizes and specific brands. Grandma would say, “Just enjoy every crispy bite – we’ll walk it off later!”
FAQs About Crispy Southern Fried Chicken – Grandma’s 3-Step Classic!
I get questions about this recipe all the time – here are the answers straight from Grandma’s playbook:
Can I use boneless chicken instead?
Absolutely! Boneless thighs or breasts work great – just reduce the fry time by 2-3 minutes since they cook faster. Keep an eye on them, and always check that internal temp hits 165°F.
What if I don’t have buttermilk?
No worries – mix 2 cups milk with 2 tablespoons vinegar or lemon juice and let it sit for 5 minutes. It won’t be exactly the same, but it’ll do in a pinch!
What’s the best oil for frying chicken?
Grandma swore by peanut oil for its high smoke point, but vegetable oil works perfectly too. Just avoid olive oil – it can’t take the heat and will make your chicken taste funny.
Why is my coating falling off?
Most likely your oil wasn’t hot enough before adding chicken, or you moved the pieces too soon. Wait until you see golden edges before flipping – that crust needs time to set!
Can I make this ahead of time?
The chicken tastes best fresh, but you can prep ahead by marinating overnight and mixing the flour coating. Just don’t coat until right before frying – that keeps the crust extra crispy!
Share Your Results!
Did you make Grandma’s crispy Southern fried chicken? I’d love to see how yours turned out! Tag us in your photos so I can admire that golden crust and maybe even feature your masterpiece. Nothing makes me happier than seeing this recipe bring joy to other kitchens just like it did in Grandma’s all those years. Happy frying, y’all!
Print
3-Ingredient Crispy Southern Fried Chicken – Unbelievable Crunch!
- Total Time: 1 hour 25 minutes
- Yield: 4 servings 1x
- Diet: Halal
Description
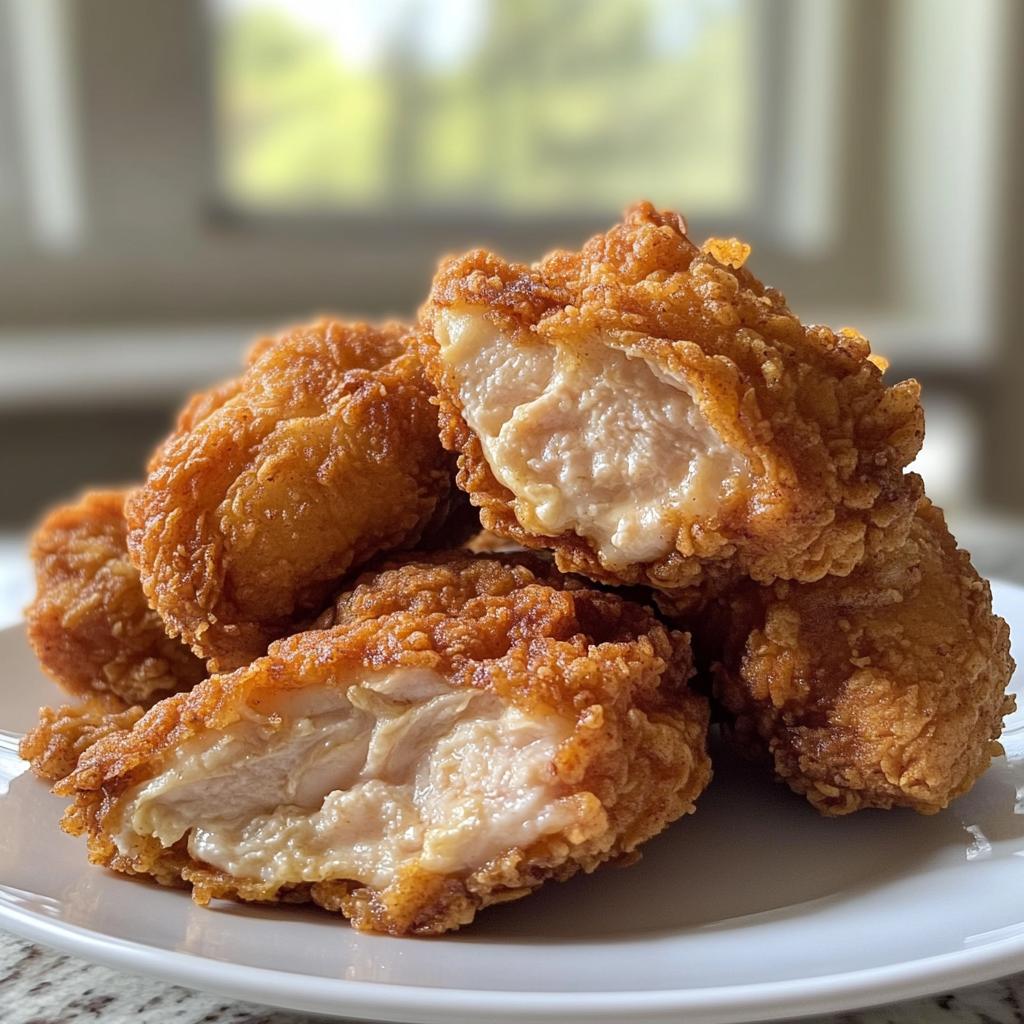
Crispy Southern Fried Chicken is a classic comfort food with a golden, crunchy exterior and juicy interior. This 3-step recipe delivers perfectly seasoned, crispy results every time.
Ingredients
- 4 lbs chicken pieces (legs, thighs, wings)
- 2 cups buttermilk
- 2 cups all-purpose flour
- 1 tbsp salt
- 1 tbsp black pepper
- 1 tbsp paprika
- 1 tsp garlic powder
- 1 tsp onion powder
- 1/2 tsp cayenne pepper
- Vegetable oil for frying
Instructions
- Soak chicken in buttermilk for at least 1 hour or overnight.
- Mix flour and spices in a large bowl. Dredge each chicken piece in the flour mixture.
- Heat oil to 350°F in a deep skillet. Fry chicken for 12-15 minutes, turning once, until golden brown and cooked through.
Notes
- Use a meat thermometer to ensure chicken reaches 165°F internally.
- Let chicken rest on a wire rack after frying for extra crispiness.
- Double-dip in flour for an extra crunchy coating.
- Prep Time: 1 hour 10 minutes
- Cook Time: 15 minutes
- Category: Main Dish
- Method: Frying
- Cuisine: Southern
Nutrition
- Serving Size: 1 piece (thigh)
- Calories: 320
- Sugar: 1g
- Sodium: 650mg
- Fat: 18g
- Saturated Fat: 5g
- Unsaturated Fat: 10g
- Trans Fat: 0g
- Carbohydrates: 15g
- Fiber: 1g
- Protein: 25g
- Cholesterol: 95mg
Keywords: crispy fried chicken, southern fried chicken, classic fried chicken recipe


