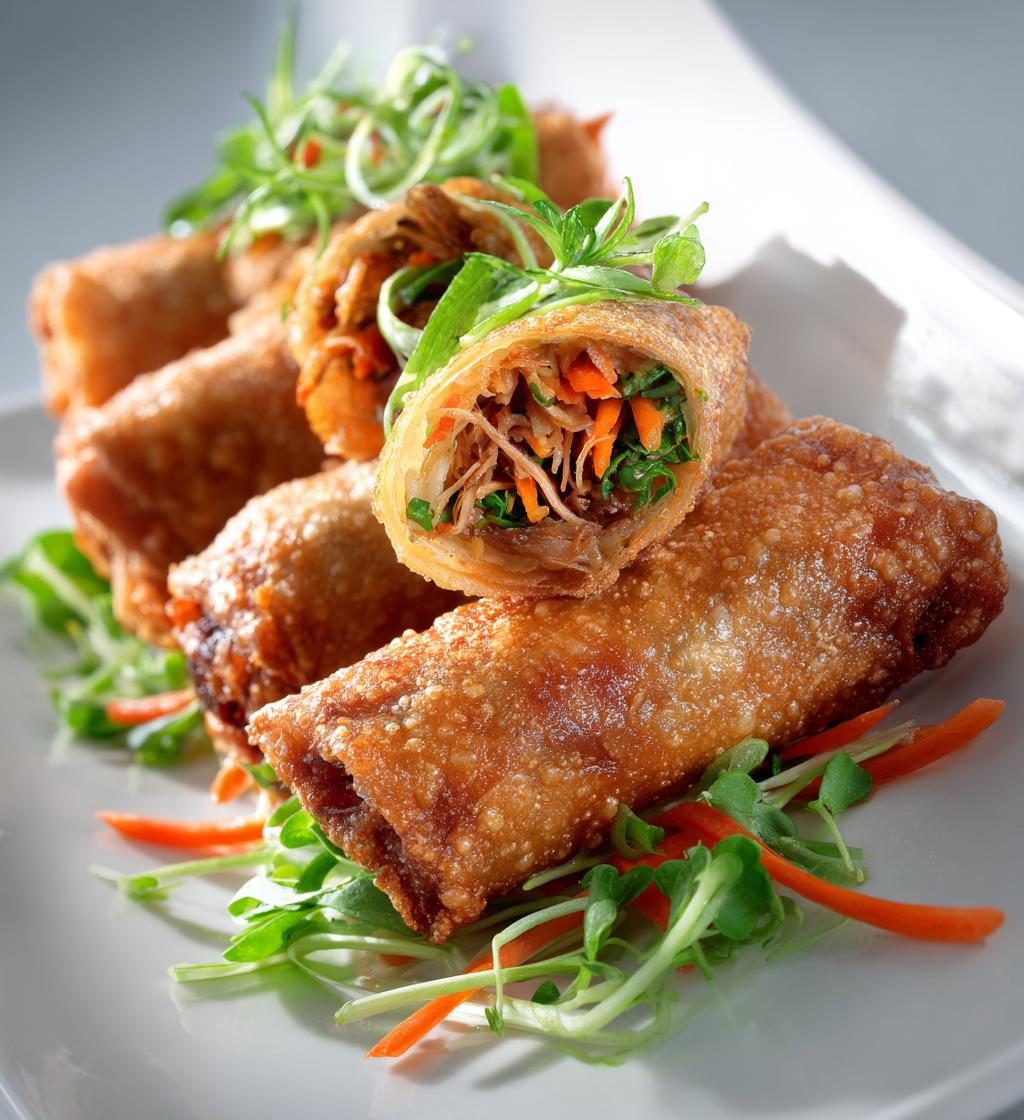
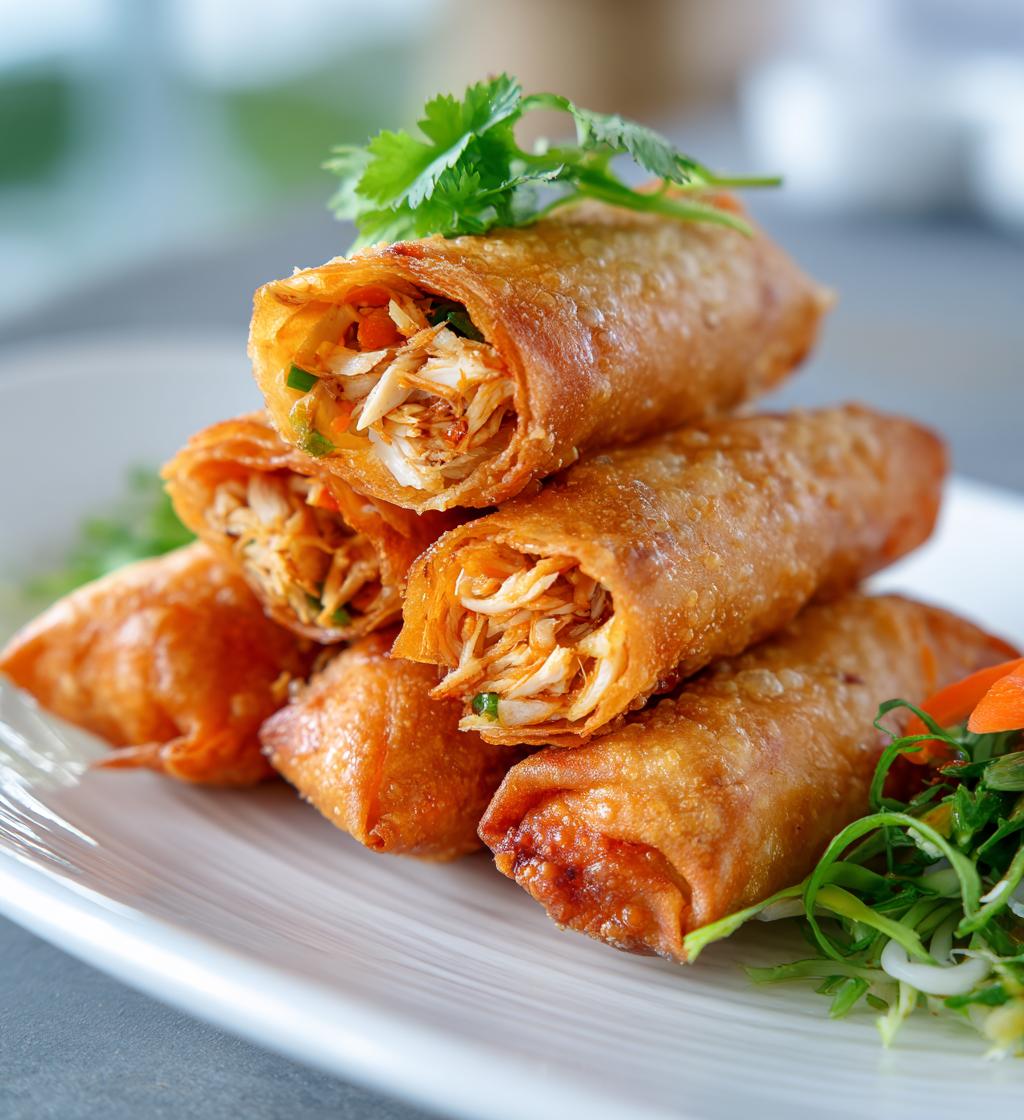
There’s something magical about biting into a perfectly crisp chicken spring roll—that satisfying crunch giving way to juicy chicken and fresh veggies. I still remember the first time I made these for a potluck, nervously watching as friends reached for seconds before I’d even taken my first bite! These golden bundles of joy became my go-to party trick because they’re shockingly easy (trust me, if I can make them, anyone can) and always disappear faster than you can say “appetizer.”
The secret? A simple filling that lets the chicken shine, wrapped tight in delicate pastry that fries up golden and crisp every time. Whether you need a quick snack or an impressive starter, these chicken spring rolls deliver that perfect mix of crunch and flavor that keeps everyone coming back for more.
Why You’ll Love These Chicken Spring Rolls
Once you try these, they’ll become your new obsession. Here’s why:
- That perfect crunch: Golden, crispy shells shatter beautifully to reveal the juicy chicken and veggie filling – it’s texture heaven in every bite.
- Faster than takeout: From chopping to frying, you’re just 35 minutes away from hot, homemade rolls (I’ve timed it while chasing my toddler around the kitchen).
- Your fridge is the limit: Swap in whatever veggies you’ve got – I’ve used everything from bell peppers to zucchini when the cabbage ran out.
- Crowd-pleasing magic: These disappear faster than cookies at a bake sale. My neighbor’s kids now call them “Miss Amy’s ly pockets.”
- Meal-prep friendly: Fry a big batch and freeze them – they crisp up beautifully in the oven when surprise guests arrive (or when midnight cravings strike).
Gathering Your Chicken Spring Roll Essentials
Here’s the beautiful part – you likely have most of these ingredients already! I always joke that chicken spring rolls are just a fridge clean-out in disguise. But these simple players come together like magic:
- The protein star: 200g chicken fillet, chopped into tiny pieces (I like them pinky-nail sized for even cooking)
- Crunchy veg squad: 1 cup shredded cabbage, 1 carrot julienned (that fancy word for matchsticks – just drag your peeler down the carrot!)
- Flavor boosters: 2 garlic cloves minced (more if you’re brave), 1 tsp fresh grated ginger (that knobby root lasts forever in the freezer)
- The glue: 1 tbsp soy sauce, plus 1 tbsp cornstarch mixed with 2 tbsp water for sealing
- The wrapping: 10 spring roll wrappers (look for the thin, translucent ones – NOT egg roll wrappers!)
- The magic potion: Oil for frying (I use peanut, but any neutral oil works)
See? Nothing crazy – just fresh, simple ingredients ready to transform into something extraordinary. Pro tip: Keep those wrappers covered with a damp towel while you work – they dry out faster than my patience when I’m hungry!
How to Make Chicken Spring Rolls
Okay, let’s get rolling! (Pun totally intended.) I’ve burned my fair share of wrappers and learned the hard way – follow these steps, and you’ll get golden, crispy perfection every time.
Preparing the Filling
First, heat a glug of oil in your pan over medium heat – you want it hot enough that the garlic sizzles immediately when it hits the pan. Toss in your minced garlic and grated ginger, stirring for about 30 seconds until your kitchen smells like an Asian street market (heaven!).
Add the chopped chicken next – spread it out in the pan and resist stirring for a minute to get some nice browning. Once the pink disappears (about 3 minutes), throw in the cabbage and carrot. Here’s my secret: stir-fry just until the veggies soften slightly but still have crunch – about 2 minutes max. Overcooked veggies turn mushy inside the rolls!
Finish with a splash of soy sauce, mix everything well, then dump the filling into a bowl to cool slightly while you prep your wrappers.
Rolling and Frying
Lay a wrapper like a diamond in front of you. Spoon about 1.5 tablespoons of filling near the bottom corner – any more and you’ll have bursting problems! Fold the bottom corner over the filling, tuck in the sides tightly (like wrapping a burrito), then roll upward firmly but gently.
When you get to the end, dip your finger in the cornstarch paste and paint the edge before finishing the roll – this edible glue keeps everything sealed tight during frying.
Heat about 1 inch of oil in a deep pan to 350°F (a breadcrumb should sizzle immediately). Carefully add rolls in batches – don’t crowd them! Fry for 2-3 minutes per side until they’re golden brown like a perfect summer tan. Drain on paper towels and try not to burn your mouth when you inevitably sneak the first one!
Tips for Perfect Chicken Spring Rolls
After making these more times than I can count (and learning from all my mistakes), here are my golden rules for spring roll success:
- Keep wrappers cool: Store them in the fridge until the last minute – room temp wrappers tear like tissue paper when you try to roll.
- Less is more: That spoonful of filling should look pitifully small before rolling – trust me, overstuffed rolls burst in the oil every time.
- Oil thermometer is key: If the oil’s not hot enough, you’ll get greasy rolls; too hot, and they burn before cooking through. 350°F is the sweet spot!
- Patience pays off: Let the filling cool slightly before wrapping – hot filling steams the wrappers into a sticky mess.
- Drain properly: Let them rest on a wire rack after frying so they stay crisp all over (paper towels can make the bottoms soggy).
Follow these, and you’ll have restaurant-quality spring rolls that’ll make your friends think you secretly trained as a dim sum chef!
Ingredient Substitutions & Variations
One of my favorite things about chicken spring rolls is how easily they adapt to whatever’s in your fridge! Here are some tasty twists I’ve tried over the years:
- Protein swaps: Ground turkey works beautifully (just add an extra splash of soy sauce), or go veggie with crumbled tofu or chopped mushrooms for that meaty texture.
- Veggie adventures: Swap cabbage for shredded Brussels sprouts or toss in some bean sprouts for extra crunch. My aunt adds thinly sliced bell peppers for color!
- Sauce pairings: While sweet chili sauce is classic, I love mixing soy sauce with a squeeze of lime and a dash of honey. Peanut sauce makes it feel extra special!
The best part? No matter what you throw in, that crispy golden shell makes everything taste amazing.
Serving and Storage
Now for the best part—dipping and devouring! My golden rule? Always serve chicken spring rolls piping hot with at least two sauces. Sweet chili is the classic (I keep a bottle in my fridge door at all times), but my personal favorite is a quick mix of soy sauce, a splash of rice vinegar, and a sprinkle of sesame seeds. For parties, I set out little bowls of different sauces and let everyone create their own perfect bite.
If by some miracle you have leftovers (doesn’t happen often in my house), here’s how to keep them crisp: Let them cool completely first—no cheating! Then tuck them into an airtight container with paper towels between layers to catch any sneaky oil droplets. They’ll stay crunchy for about 2 days in the fridge.
When it’s time for round two, skip the microwave unless you like soggy disappointments. Instead, pop them on a baking sheet in a 375°F oven for 5-7 minutes. That brings back that magical crunch almost like they’re fresh from the fryer. My husband swears they’re even better the second day because the flavors have more time to mingle!
Chicken Spring Rolls Nutrition
Each golden roll packs about 120 calories with 8g protein – not bad for something that tastes this indulgent! Remember, these are estimates (my heavy-handed soy sauce pours definitely skew the numbers). Exact nutrition varies based on your ingredients and how much oil they absorb during frying.
Frequently Asked Questions
Can I bake chicken spring rolls instead of frying?
Absolutely! While frying gives that classic crispiness, baking works in a pinch. Brush rolls lightly with oil and bake at 400°F for 15-20 minutes, flipping halfway. They won’t get quite as golden, but still delicious – my air fryer version at 375°F for 10 minutes works great too!
How do I keep my spring rolls from getting soggy?
Two secrets: First, make sure your filling isn’t too wet (drain veggies well after washing). Second, let fried rolls drain on a wire rack instead of paper towels – this keeps steam from making the bottoms soft. If serving later, a quick oven reheat brings back the crunch!
Why did my wrappers tear while rolling?
Oh, I’ve been there! Usually means your wrappers dried out. Keep them covered with a damp towel while working, and don’t let the filling sit too long before rolling. If one tears, just patch it with a small piece of another wrapper – no one will notice once it’s fried!
Can I make chicken spring rolls ahead of time?
You bet! Assemble them (unfried) up to a day ahead and store between parchment paper in the fridge. Or freeze them raw – just add 1-2 extra minutes when frying straight from frozen. My mom keeps a stash in her freezer for unexpected guests – total lifesaver!
What’s the best oil for frying spring rolls?
I swear by peanut oil for its high smoke point and neutral flavor, but vegetable or canola oil work fine too. Avoid olive oil – its flavor’s too strong and it burns easily. The key is maintaining that 350°F temperature for perfect golden rolls every time!
Share Your Chicken Spring Rolls
Nothing makes me happier than seeing your crispy creations! Tag me on Instagram with your chicken spring roll masterpieces – I love spotting the creative twists you come up with (last week someone added mango slices, and now I’m obsessed!). Those golden rolls deserve to be shown off, so don’t be shy about sharing your kitchen wins.
If you’ve got a favorite dipping sauce combo or a genius rolling tip, drop it in the comments below. Your ideas might just end up in my next batch – my sister still won’t let me forget how her “add a pinch of five-spice” suggestion became our family’s new standard. Cooking’s always better when we learn from each other!
And if these become your new go-to like they did mine? A star rating helps other home cooks find this recipe. Though fair warning – once you start making them, your friends will be begging for the recipe too. I may or may not have started a neighborhood spring roll addiction…
Print
35-Minute Crispy Chicken Spring Rolls Recipe You’ll Love
- Total Time: 35 minutes
- Yield: 10 spring rolls 1x
- Diet: Low Lactose
Description
Crispy chicken spring rolls filled with fresh vegetables and tender chicken, perfect as an appetizer or snack.
Ingredients
- 200g chicken fillet, finely chopped
- 1 cup shredded cabbage
- 1 carrot, julienned
- 2 cloves garlic, minced
- 1 tbsp soy sauce
- 1 tsp ginger, grated
- 10 spring roll wrappers
- 1 tbsp cornstarch mixed with 2 tbsp water
- Oil for frying
Instructions
- Heat oil in a pan and sauté garlic and ginger until fragrant.
- Add chicken and cook until no longer pink.
- Stir in cabbage and carrot, cook for 2 minutes.
- Add soy sauce, mix well, then remove from heat and let cool.
- Place a spoonful of filling on a spring roll wrapper, fold sides, and roll tightly.
- Seal the edge with cornstarch paste.
- Heat oil in a deep pan and fry rolls until golden brown.
- Drain on paper towels and serve hot.
Notes
- Use fresh wrappers for best results.
- Do not overfill the rolls to prevent breaking.
- Serve with sweet chili sauce or soy dipping sauce.
- Prep Time: 20 minutes
- Cook Time: 15 minutes
- Category: Appetizer
- Method: Frying
- Cuisine: Asian
Nutrition
- Serving Size: 1 spring roll
- Calories: 120
- Sugar: 1g
- Sodium: 200mg
- Fat: 5g
- Saturated Fat: 1g
- Unsaturated Fat: 3g
- Trans Fat: 0g
- Carbohydrates: 12g
- Fiber: 1g
- Protein: 8g
- Cholesterol: 20mg
Keywords: chicken spring rolls, crispy rolls, appetizer, Asian snack


