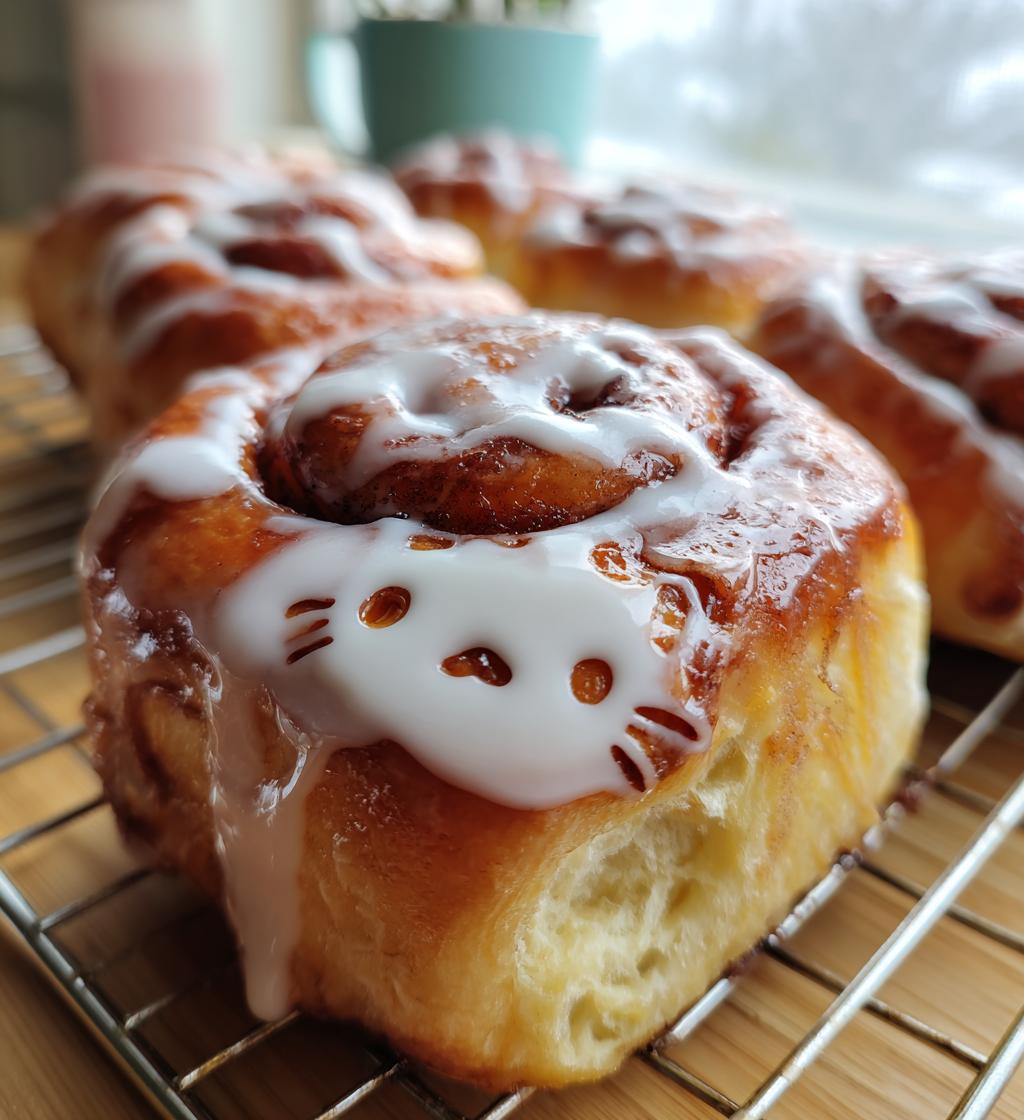
Oh my goodness, if you’re a fan of Hello Kitty and love the sweet, gooey goodness of cinnamon rolls, then you’re in for a treat! These cinnamon rolls Hello Kitty are not just any ordinary rolls; they’re a delightful mashup of nostalgia and flavor that’ll take you back to your childhood. I remember the first time I saw a Hello Kitty-themed treat—I just had to have it! So, I figured, why not combine that adorable charm with the irresistible taste of freshly baked cinnamon rolls? The moment you bite into these soft, pillowy rolls, you’re greeted with a warm swirl of cinnamon and brown sugar, topped off with a creamy frosting that’s simply to die for. Plus, they’re super fun to make with the kids! Imagine their faces when they see these cute rolls coming out of the oven, all fluffy and drizzled with sweet frosting. Trust me, whether it’s for a special occasion or just a cozy weekend breakfast, these cinnamon rolls are sure to bring smiles all around!
Ingredients List
To whip up these delightful cinnamon rolls Hello Kitty, you’ll need the following ingredients to create that perfect blend of fluffiness and sweetness:
- 3 cups all-purpose flour
- 1 packet active dry yeast (about 2 ¼ teaspoons)
- ½ cup sugar
- ½ cup milk, warmed (about 110°F or 43°C)
- ¼ cup butter, melted
- ¼ teaspoon salt
- 1 large egg
- 1 tablespoon ground cinnamon
- ¼ cup packed brown sugar
- 1 cup powdered sugar
- 2 tablespoons cream cheese, softened
- 1 tablespoon vanilla extract
Gather all these ingredients, and you’re on your way to baking the cutest and tastiest cinnamon rolls ever! Don’t forget to double-check your pantry for everything—there’s nothing worse than getting halfway through and realizing you’re out of cinnamon!
How to Prepare Cinnamon Rolls Hello Kitty
Alright, let’s get rolling—literally! Making these adorable cinnamon rolls Hello Kitty is a step-by-step delight that’ll have your kitchen smelling divine. Just follow along, and you’ll be enjoying these sweet treats in no time!
Activating the Yeast
First things first, we need to activate our yeast. In a small bowl, combine the warm milk (make sure it’s around 110°F or 43°C, not too hot!) with the packet of active dry yeast. Give it a gentle stir, then let it sit for about 5 minutes. You’ll know it’s activated when it starts to bubble up and foam—this is the magic that’ll help your rolls rise!
Making the Dough
Once your yeast is all frothy and ready, it’s time to create the dough. In a large mixing bowl, add the melted butter, sugar, salt, and the egg to the yeast mixture. Mix it all together until it’s smooth. Then, gradually add in the flour, about a cup at a time, until the dough starts to come together. Don’t rush this part! Once you’ve got a nice dough, knead it on a floured surface for about 5 minutes. You want it to be soft and elastic—this is the foundation for those fluffy rolls!
Letting the Dough Rise
Now comes the hardest part—waiting! Place your dough in a greased bowl, cover it with a clean kitchen towel, and let it rise in a warm place for about 1 hour or until it doubles in size. This is where the magic happens, so resist the urge to peek too often!
Shaping the Cinnamon Rolls
Once the dough has risen beautifully, it’s time to shape those rolls. Lightly flour your work surface, and roll the dough out into a rectangle, about ¼ inch thick. Spread a generous layer of butter over the dough, then sprinkle the cinnamon and packed brown sugar evenly on top. Roll it up tightly from the long side to create a log. The tighter you roll, the prettier your swirls will be!
Cutting and Second Rise
After rolling it up, it’s time to slice those dreamy rolls. Use a sharp knife to cut the log into 1-inch thick pieces. Place them in a greased baking dish, making sure they’re close but not touching. Cover them again with a towel and let them rise for another 30 minutes. While they rise, you can preheat your oven to 350°F (175°C)—the anticipation is real!
Baking the Rolls
Once your rolls have risen again and look fluffy and ready, pop them in the oven! Bake for about 25-30 minutes, or until they’re golden brown and your kitchen smells heavenly. Keep an eye on them towards the end; nobody wants burnt cinnamon rolls!
Frosting the Rolls
While the rolls are cooling a bit (if you can wait!), let’s make that luscious frosting. In a mixing bowl, combine the powdered sugar, softened cream cheese, and vanilla extract. Mix until it’s nice and smooth. You might want to add a splash of milk if it’s too thick—just enough to reach that perfect drizzling consistency! Once the rolls are warm but not hot, drizzle that creamy frosting over the top, and get ready for the smiles!
FAQ Section
Can I make these cinnamon rolls ahead of time?
Absolutely! You can make these cinnamon rolls Hello Kitty ahead of time, which is perfect for busy mornings or special occasions. After shaping the rolls and placing them in the greased baking dish, cover them tightly with plastic wrap and refrigerate overnight. In the morning, simply let them sit at room temperature for about 30 minutes before baking. You can also freeze the unbaked rolls! Just wrap them tightly in plastic wrap and aluminum foil. When you’re ready to bake, let them thaw in the fridge overnight, then follow the rising and baking instructions as usual.
How can I make the rolls more festive?
Want to add some Hello Kitty charm to your cinnamon rolls? Try using pink icing or colored sprinkles to mimic Hello Kitty’s iconic look! You can pipe a simple face using melted chocolate or colored icing for extra cuteness. Consider using cookie cutters to shape the dough into Hello Kitty’s head before rolling if you’re feeling adventurous. Serving these rolls on a themed plate or with Hello Kitty napkins adds a fun touch, too! The kids will absolutely love the extra effort, and it’ll make your brunch or snack time feel even more special!
What can I substitute for the butter?
If you’re looking for a butter substitute in these cinnamon rolls Hello Kitty, you have a few tasty options! You can use coconut oil or vegetable oil for a dairy-free alternative. Just make sure to melt them beforehand, just like you would with butter. Applesauce can also work, though it may slightly alter the texture and flavor. If you want to stick with the creamy vibe, consider using cream cheese or a dairy-free spread that mimics butter in baking. Each of these substitutes can bring a unique twist while still keeping your rolls delicious!
Why You’ll Love This Recipe
- Quick Prep Time: With just 1 hour of rising time and 30 minutes of baking, you can whip up these cinnamon rolls Hello Kitty in no time!
- Easy Steps: The instructions are straightforward, so even beginner bakers can follow along and create something magical.
- Kid-Friendly: Making these rolls is a fun family activity! Kids will love helping with the rolling and frosting—plus, they’ll be thrilled to eat their adorable creations.
- Customizable: You can easily adjust the sweetness or spice levels to suit your family’s taste. Want extra cinnamon? Go for it!
- Perfect for Any Occasion: Whether it’s a cozy weekend breakfast, a birthday party, or a special holiday, these rolls are sure to impress everyone!
- Deliciously Fun: Who wouldn’t love a whimsical treat inspired by Hello Kitty? These rolls bring a touch of joy and nostalgia to your baking!
Tips for Success
To make sure your cinnamon rolls Hello Kitty come out perfectly every time, here are some of my favorite pro tips to elevate your baking game:
- Perfect Yeast Activation: Always make sure your milk is just warm—not hot! Too hot can kill the yeast, and we want those fluffy rolls to rise. If you have a kitchen thermometer, aim for about 110°F (43°C).
- Flour Measurement: When measuring flour, fluff it up in the container first, then spoon it into your measuring cup and level it off with a knife. This prevents packing and ensures you don’t add too much flour, which can lead to a dense roll.
- Adjusting Sweetness: If you prefer a sweeter roll, feel free to increase the sugar in the dough or the frosting. A little pinch of nutmeg or extra cinnamon can also enhance the flavor and give your rolls a warm, cozy vibe!
- Customize Spices: Don’t be afraid to play around with spices! Adding a pinch of cardamom or allspice can give your cinnamon rolls a unique twist that’s still delightful. Just remember to adjust the amounts to your taste.
- Watch the Baking Time: Ovens can vary, so keep an eye on your rolls as they bake. Look for that golden-brown color and don’t hesitate to take them out a minute or two early if they look just right.
- Frosting Consistency: When making the frosting, adjust the milk for the right drizzling consistency. You want it silky but not too runny! Start with a little and add more as needed.
- Storage Tips: If you have leftovers (which is rare, but it happens!), store them in an airtight container to keep them fresh for days. You can even reheat them in the microwave for a few seconds before serving—yum!
With these tips, I’m sure your cinnamon rolls Hello Kitty will not only look adorable but taste amazing too! Happy baking!
Nutritional Information Section
Before diving into the deliciousness of these cinnamon rolls Hello Kitty, it’s always nice to know what you’re indulging in. Here’s the estimated nutritional information per roll:
- Calories: 250
- Total Fat: 8g
- Saturated Fat: 5g
- Unsaturated Fat: 2g
- Trans Fat: 0g
- Cholesterol: 30mg
- Sodium: 200mg
- Total Carbohydrates: 40g
- Dietary Fiber: 1g
- Sugars: 15g
- Protein: 4g
Remember, this is an estimate, and the actual values can vary based on the specific ingredients and brands you use. But hey, a little indulgence every now and then, especially in the form of these adorable cinnamon rolls, is totally worth it! Enjoy every bite!
Storage & Reheating Instructions
Once you’ve whipped up these delightful cinnamon rolls Hello Kitty, you might find yourself with a few leftovers—though I can’t blame you if they disappear quickly! To keep them fresh and tasty, here’s how to store and reheat your delicious creations:
First, allow the cinnamon rolls to cool completely at room temperature. This step is essential because storing them while they’re still warm can create moisture in the container, leading to soggy rolls—yikes! Once they’re cool, place the rolls in an airtight container. You can stack them if needed, but I usually prefer to keep a layer of parchment paper in between to prevent sticking.
These rolls will stay fresh for about 3-4 days at room temperature. If you want to keep them for a longer period, consider freezing them! Just wrap each roll tightly in plastic wrap and then in aluminum foil to prevent freezer burn. They’ll keep well for up to 3 months in the freezer.
When you’re ready to enjoy your cinnamon rolls Hello Kitty again, it’s time to reheat! For rolls stored at room temperature, simply pop them in the microwave for about 10-15 seconds to warm them up. If you prefer a crispy exterior, you can place them in a preheated oven at 350°F (175°C) for about 5-10 minutes.
If you’re reheating frozen rolls, remove them from the freezer and let them thaw in the fridge overnight. Then, warm them in the microwave or oven just like the fresh ones. You can even drizzle a bit of extra frosting on top before serving—because why not? Enjoy your deliciously adorable cinnamon rolls, whether fresh or reheated!
What to Do Next
Now that you’ve made these adorable cinnamon rolls Hello Kitty, I’d absolutely love to hear how they turned out for you! Did your little ones get excited when they saw them? Did you add any fun twists to the recipe? Please share your thoughts in the comments below—your feedback really means the world to me!
If you enjoyed this recipe, consider giving it a star rating! It helps others find this delightful treat and brings a smile to my face knowing you loved it. And hey, if you’re feeling social, why not snap a photo of your finished rolls and share it on your favorite social media platform? Tag me so I can see your creations and celebrate your baking adventures together!
Whether you’re making these for a special occasion or just because, I hope these cinnamon rolls Hello Kitty bring joy to your kitchen and your table. Happy baking, and I can’t wait to hear from you!
Print
cinnamon rolls hello kitty: 7 Sweetly Irresistible Treats
- Total Time: 1 hour 30 minutes
- Yield: 12 rolls 1x
- Diet: Vegetarian
Description
Delicious cinnamon rolls inspired by Hello Kitty.
Ingredients
- 3 cups all-purpose flour
- 1 packet active dry yeast
- 1/2 cup sugar
- 1/2 cup milk
- 1/4 cup butter, melted
- 1/4 teaspoon salt
- 1 large egg
- 1 tablespoon cinnamon
- 1/4 cup brown sugar
- 1 cup powdered sugar
- 2 tablespoons cream cheese, softened
- 1 tablespoon vanilla extract
Instructions
- In a bowl, combine warm milk and yeast. Let it sit for 5 minutes.
- Add melted butter, sugar, salt, and egg. Mix well.
- Gradually add flour until dough forms. Knead for 5 minutes.
- Let dough rise for 1 hour or until doubled in size.
- Roll out dough into a rectangle.
- Spread butter and sprinkle cinnamon and brown sugar on top.
- Roll up dough tightly and cut into slices.
- Place rolls in a greased baking dish. Let rise for 30 minutes.
- Bake at 350°F (175°C) for 25-30 minutes.
- Mix powdered sugar, cream cheese, and vanilla for frosting.
- Drizzle frosting over warm rolls.
Notes
- Store leftovers in an airtight container.
- Can be made ahead and frozen.
- Adjust cinnamon to taste.
- Prep Time: 1 hour
- Cook Time: 30 minutes
- Category: Baked Goods
- Method: Baking
- Cuisine: American
Nutrition
- Serving Size: 1 roll
- Calories: 250
- Sugar: 15g
- Sodium: 200mg
- Fat: 8g
- Saturated Fat: 5g
- Unsaturated Fat: 2g
- Trans Fat: 0g
- Carbohydrates: 40g
- Fiber: 1g
- Protein: 4g
- Cholesterol: 30mg
Keywords: cinnamon rolls, Hello Kitty, dessert


