Oh, the sheer joy of baking! There’s something magical about transforming simple ingredients into delightful treats that fill your kitchen with warm, inviting aromas. And if you’re anything like me, you know that the playful spirit of Hello Kitty can brighten any day. Imagine pulling a batch of adorable cinnamon rolls shaped like her sweet face out of the oven, your heart swelling with happiness. These cinnamon rolls Hello Kitty are not just a treat; they’re a fun experience for both kids and adults alike!
Each bite of these fluffy, cinnamon-swirled rolls brings a smile, thanks to their charming design. Whether you’re hosting a birthday party, a special brunch, or just want to surprise your family on a lazy weekend morning, these rolls are sure to add a touch of whimsy to your table. Trust me, they’re the perfect combination of nostalgia and creativity, making them a hit for any occasion. So, let’s dive into this delightful recipe that’s as fun to make as it is to eat!
Ingredients List
Let’s gather all the goodies we’ll need to whip up these adorable cinnamon rolls Hello Kitty. Make sure you have the following ingredients ready:
- 2 cups all-purpose flour: This is the backbone of our dough, giving it that lovely structure.
- 1/2 cup sugar: Sweetness is key, and this sugar makes our rolls just right.
- 1 packet active dry yeast: This little miracle worker helps our dough rise and become fluffy.
- 1/2 cup milk: Warm it up a bit! This adds moisture and richness to the dough.
- 1/4 cup butter, melted: For that rich flavor and tender texture, don’t skimp on the butter!
- 1 egg: This helps bind everything together and gives our rolls a nice golden color.
- 1 teaspoon cinnamon: The star of the show! It fills your kitchen with a warm, inviting aroma.
- 1/4 teaspoon salt: Just a pinch to balance the sweetness and enhance the flavors.
- 1/2 cup brown sugar: For that deep, caramel-like sweetness that pairs perfectly with cinnamon.
- 1/4 cup icing sugar: We’ll use this later for a sweet drizzle on top of our rolls.
- 2 tablespoons water: Just enough to mix with the icing sugar and create a lovely glaze.
Gather these ingredients and get ready for some serious fun in the kitchen! Each one plays a vital role in creating our delightful Hello Kitty cinnamon rolls.
How to Prepare Cinnamon Rolls Hello Kitty
Alright, let’s roll up our sleeves and get to the fun part! Making these cinnamon rolls Hello Kitty is a delightful journey, so let’s take it step-by-step. Trust me, the anticipation of that first bite will be oh-so-worth it!
- Activate the yeast: In a mixing bowl, combine the warm milk with the packet of active dry yeast. Let it sit for about 5 minutes. You’ll notice it getting frothy, and that’s a good sign! It means the yeast is waking up and ready to do its magic.
- Mix the dough: Add in the melted butter, sugar, egg, flour, salt, and cinnamon. Grab a wooden spoon or your trusty spatula and mix everything until it’s smooth and combined. You’re looking for a nice, sticky dough that’s not too dry.
- Knead it out: Dust your countertop with a little flour and knead the dough for about 5 minutes. This is where the dough becomes elastic and smooth—just knead until it feels nice and soft under your hands.
- Let it rise: Place the kneaded dough in a lightly greased bowl, cover it with a clean kitchen towel, and let it rise in a warm spot for 1 hour. This step is crucial because it makes our rolls fluffy and light!
- Roll it out: After the dough has risen, punch it down gently (yes, it’s therapeutic!), and then roll it out into a rectangle about ¼ inch thick. Try to get it as even as possible—this will help with the rolling process!
- Spread the filling: In a small bowl, mix together the brown sugar and a sprinkle of cinnamon. Spread this delicious mixture evenly over the rolled-out dough. Don’t be shy—make sure you cover every inch!
- Roll it up: Starting from one edge, roll the dough tightly into a log. You want it snug but not too tight. Once rolled, use a sharp knife to cut the log into 12 equal pieces. Each piece will be a cute little Hello Kitty roll!
- Shape Hello Kitty: Now comes the fun part! Take each piece and shape it into Hello Kitty’s face. You can create the ears by pinching the top of the roll, and use raisins or chocolate chips for the eyes and nose. Get creative—make them as cute as you can!
- Final rise: Place your shaped rolls in a greased baking dish, cover them with the kitchen towel, and let them rise for another 30 minutes. This will give them that irresistible fluffiness!
- Bake to perfection: Preheat your oven to 350°F (175°C). Once the rolls have risen, pop them in the oven and bake for 20-25 minutes, or until they’re golden brown and your kitchen smells heavenly!
- Drizzle with icing: While the rolls cool slightly, mix the icing sugar with the water to create a smooth glaze. Once the rolls are just warm, drizzle this sweet goodness over the top, and watch it melt into all those nooks and crannies.
And there you have it! Your adorable cinnamon rolls Hello Kitty are ready to be devoured. Enjoy the smiles they bring to your family and friends!
FAQ about Cinnamon Rolls Hello Kitty
Got some questions about these adorable cinnamon rolls Hello Kitty? No worries! I’ve gathered a few common queries to help you out so you can bake these delightful treats with confidence!
Q1. Can I make the dough ahead of time?
Absolutely! You can prepare the dough, let it rise, and then cover it tightly with plastic wrap. Just pop it in the fridge overnight. When you’re ready to bake, let it come to room temperature and proceed with shaping and baking!
Q2. What if I don’t have active dry yeast?
If you have instant yeast on hand, you can use that instead! Just mix it directly into the dry ingredients without the need to activate it in warm milk first. This makes the process a bit quicker!
Q3. How can I store leftovers?
To keep your cinnamon rolls Hello Kitty fresh, store them in an airtight container at room temperature for up to 2 days. For longer storage, you can freeze them wrapped tightly in plastic wrap for up to 2 months. Just remember to thaw them before enjoying!
Q4. Can I use different fillings?
Of course! While the classic cinnamon-sugar filling is delightful, you can get creative! Try adding chocolate chips, nuts, or even fruit preserves for a unique twist. Just make sure not to overstuff!
Q5. How do I know when my rolls are baked properly?
Great question! You’ll want to look for a golden brown color and a lovely aroma filling your kitchen. To test for doneness, gently tap the top of a roll; it should sound hollow. Trust your senses, and you’ll be golden!
Got more questions? Feel free to ask! Baking should be a fun adventure, and I’m here to help you every step of the way!
Why You’ll Love This Recipe
- Quick and Easy: With just 90 minutes from start to finish, including rising time, you can whip up these adorable treats without spending all day in the kitchen.
- Fun Shapes: Shaping the rolls like Hello Kitty adds a playful twist that will delight kids and adults alike. Who wouldn’t smile at a plate full of these cuties?
- Irresistible Flavor: The combination of warm cinnamon, sweet brown sugar, and a drizzle of icing creates a flavor explosion that’s hard to resist. Each bite is a cozy hug!
- Perfect for Any Occasion: Whether it’s a birthday party, a holiday brunch, or just a special treat for your family, these rolls make every moment a celebration.
- Customizable: Feel free to get creative with fillings or decorations! You can use chocolate chips, nuts, or even colorful sprinkles to make them even more special.
- Great for Leftovers: These rolls stay delicious for days and can even be frozen, so you can enjoy them whenever the craving strikes!
Trust me, once you try these cinnamon rolls Hello Kitty, they’ll quickly become a favorite in your home! You won’t just be baking; you’ll be creating joyful memories, one roll at a time.
Tips for Success
Ready to make your cinnamon rolls Hello Kitty turn out absolutely perfect? I’ve got some tried-and-true tips that’ll help you navigate any potential pitfalls and ensure your rolls are a hit every time!
Measure your ingredients accurately
Precision is key in baking! Use a kitchen scale if you have one, or make sure to spoon and level your flour instead of scooping directly from the bag. This way, you won’t accidentally add too much flour, which can make your rolls dense instead of fluffy.
Don’t rush the yeast
Give your yeast the time it needs to activate! If your milk is too hot or too cold, it can kill the yeast or prevent it from waking up. Aim for warm milk that feels like a cozy bath—about 110°F (43°C) is perfect. You’ll know it’s ready when it’s frothy and bubbly!
Keep an eye on the dough
Every kitchen is different, so your dough may rise faster or slower than the recipe states. Watch for the dough to double in size rather than strictly adhering to the 1-hour rise time. If it’s warm in your kitchen, it might rise quicker, so keep checking on it!
Be gentle when shaping
When shaping your Hello Kitty rolls, be gentle! You want to keep as much air in the dough as possible. If you squish them too hard, they might lose their fluffiness. Treat each roll like a little treasure—you want to preserve that light and airy texture!
Use the right baking dish
A good baking dish makes a difference! I recommend using a light-colored, non-stick dish to prevent over-browning. If your rolls are getting too dark before they’re fully baked, you can cover them loosely with aluminum foil for the last few minutes of baking.
Let them cool before icing
It’s oh-so-tempting to drizzle that icing on while the rolls are still hot, but let them cool for a few minutes first! This prevents the icing from melting completely away and ensures a beautiful, sweet drizzle that stays put.
With these tips in your back pocket, you’re all set to create the most delightful cinnamon rolls Hello Kitty that will wow everyone at the table! Happy baking!
Variations on Cinnamon Rolls Hello Kitty
If you’re ready to get creative with your cinnamon rolls Hello Kitty, I’ve got some fun variations that’ll take these adorable treats to the next level! Don’t be afraid to mix things up and make them your own. Here are some delightful ideas to inspire you:
Different Fillings
- Chocolate Hazelnut Spread: Swap out the classic cinnamon-sugar filling for a layer of chocolate hazelnut spread. Just spread it over the dough before rolling it up, and you’ll have gooey, chocolatey goodness in every bite!
- Fruit Preserves: For a fruity twist, spread a thin layer of your favorite fruit preserves—like raspberry, strawberry, or apricot—over the dough. The sweet and tangy flavor pairs beautifully with the cinnamon!
- Nutty Delight: Mix some finely chopped nuts, like pecans or walnuts, into your cinnamon-sugar filling for added crunch and flavor. The nuts add great texture and complement the sweetness perfectly.
- Apple Cinnamon Twist: Add finely chopped apples to your cinnamon-sugar filling for a delicious apple cinnamon flavor. It’s like a cozy fall treat, perfect for any time of year!
Decorative Options
- Colorful Icing: Instead of a simple glaze, use food coloring to dye your icing in fun pastel colors! You can even create a rainbow effect by drizzling different colors over the rolls. It makes them look extra festive!
- Sprinkles Galore: After icing your rolls, don’t hold back on the sprinkles! Use colorful, themed sprinkles that match the occasion. Kids (and adults!) will love the extra crunch and festive flair they provide.
- Cute Faces: Get creative with decorating Hello Kitty’s face! Use mini chocolate chips for the eyes, a piece of licorice for the mouth, or even small candies for the nose. The more creative, the better!
- Seasonal Themes: For holidays, consider adding themed decorations—like edible glitter for New Year’s, red and green sprinkles for Christmas, or heart-shaped candies for Valentine’s Day. Transforming your rolls with seasonal themes makes them extra special!
With these variations, your cinnamon rolls Hello Kitty can become a whole new experience each time you bake them! Explore different flavors and decorations to keep things exciting and delightful for your family and friends. Happy baking and creating!
Storage & Reheating Instructions
So, you’ve made a batch of those adorable cinnamon rolls Hello Kitty, and now you’re wondering how to keep them fresh and tasty for later. Don’t worry, I’ve got you covered with some simple storage and reheating tips to ensure every bite remains just as delightful as the first!
Storing Leftovers
To keep your leftover cinnamon rolls fresh, let them cool completely before storing. This prevents moisture buildup, which can make them soggy. Here’s how to store them:
- Airtight Container: Place the rolls in an airtight container and store them at room temperature for up to 2 days. This keeps them soft and delicious!
- Refrigeration: If you want to keep them longer, you can store them in the fridge for up to a week. Just be aware that refrigeration can dry them out a bit, so I recommend letting them come to room temperature before enjoying.
- Freezing: For longer storage, wrap each roll tightly in plastic wrap, then place them in a freezer-safe bag or container. They’ll stay good for up to 2 months! Just remember to label the bag with the date so you don’t lose track.
Reheating Tips
When you’re ready to enjoy those delicious rolls again, reheating them properly is key to regaining that warm, gooey goodness:
- Microwave: For a quick fix, pop a roll in the microwave for about 15-20 seconds. Keep an eye on it to ensure it doesn’t get too hot or dry out. If you have a little butter or icing left, drizzle it on right before microwaving for extra yumminess!
- Oven: For a more even reheat, preheat your oven to 350°F (175°C). Place the rolls on a baking sheet and cover them with aluminum foil to keep them from drying out. Heat for about 10-15 minutes, or until warmed through.
- Air Fryer: If you have an air fryer, this is a great option! Preheat the air fryer to 300°F (150°C) and reheat the rolls for about 5 minutes. This will help them regain their fluffy texture.
By following these storage and reheating tips, you can enjoy your cinnamon rolls Hello Kitty for days to come, keeping that delightful taste alive! Happy munching!
Nutritional Information Disclaimer
While I love sharing the joy of baking these delightful cinnamon rolls Hello Kitty, it’s important to note that the nutritional information provided can vary. The values depend on the specific ingredients and brands you use. So, while I strive for accuracy, please understand that the actual nutritional content may differ slightly from what’s listed here.
Always feel free to adjust the ingredients based on your dietary needs or preferences. Baking is all about creativity and making it your own, so enjoy the process and the delicious results!
What to Do Next
Now that you’ve made your delightful cinnamon rolls Hello Kitty, I’d love to hear from you! Did you enjoy the process? What fun shapes did you create? Your feedback means the world to me, so leave a comment below and let me know how your baking adventure went!
If you loved this recipe, don’t forget to rate it! Your ratings help others find this fun treat and spread the joy of baking. Plus, I’m always excited to see how you’ve put your own twist on it!
And hey, if you snapped some photos of your adorable Hello Kitty rolls, share them on social media! Tag me and use the hashtag #HelloKittyCinnamonRolls so we can all admire your creations. Let’s spread the cuteness and inspire others to join in the fun!
Can’t wait to see what you create next. Happy baking, my friend!
Print
Cinnamon Rolls Hello Kitty: 7 Joyful Smiles in Every Bite
- Total Time: 115 minutes
- Yield: 12 rolls 1x
- Diet: Vegetarian
Description
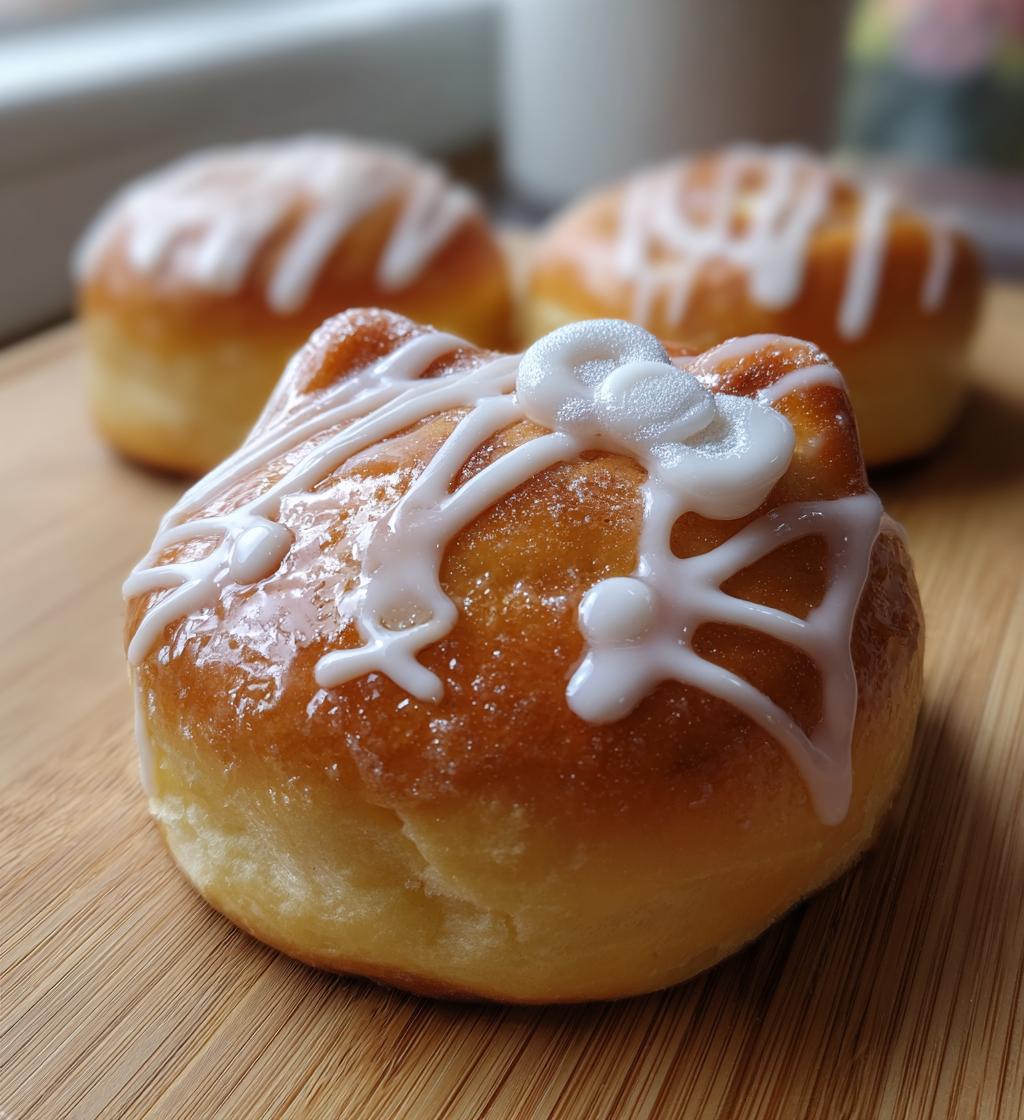
Delicious cinnamon rolls shaped like Hello Kitty.
Ingredients
- 2 cups all-purpose flour
- 1/2 cup sugar
- 1 packet active dry yeast
- 1/2 cup milk
- 1/4 cup butter, melted
- 1 egg
- 1 teaspoon cinnamon
- 1/4 teaspoon salt
- 1/2 cup brown sugar
- 1/4 cup icing sugar
- 2 tablespoons water
Instructions
- In a bowl, combine warm milk and yeast; let it sit for 5 minutes.
- Add melted butter, sugar, egg, flour, salt, and cinnamon. Mix until smooth.
- Knead the dough for 5 minutes until elastic; let it rise for 1 hour.
- Roll out the dough in a rectangle.
- Spread brown sugar and cinnamon mixture evenly on top.
- Roll the dough tightly and cut into pieces.
- Shape each piece into Hello Kitty’s face.
- Place rolls in a baking dish and let rise for 30 minutes.
- Bake at 350°F (175°C) for 20-25 minutes.
- Mix icing sugar with water and drizzle over cooled rolls.
Notes
- Use food coloring for added detail.
- Store leftovers in an airtight container.
- Can be frozen for up to 2 months.
- Prep Time: 90 minutes
- Cook Time: 25 minutes
- Category: Dessert
- Method: Baking
- Cuisine: American
Nutrition
- Serving Size: 1 roll
- Calories: 250
- Sugar: 15g
- Sodium: 150mg
- Fat: 8g
- Saturated Fat: 5g
- Unsaturated Fat: 2g
- Trans Fat: 0g
- Carbohydrates: 36g
- Fiber: 1g
- Protein: 4g
- Cholesterol: 30mg
Keywords: cinnamon rolls, Hello Kitty, baking, dessert


