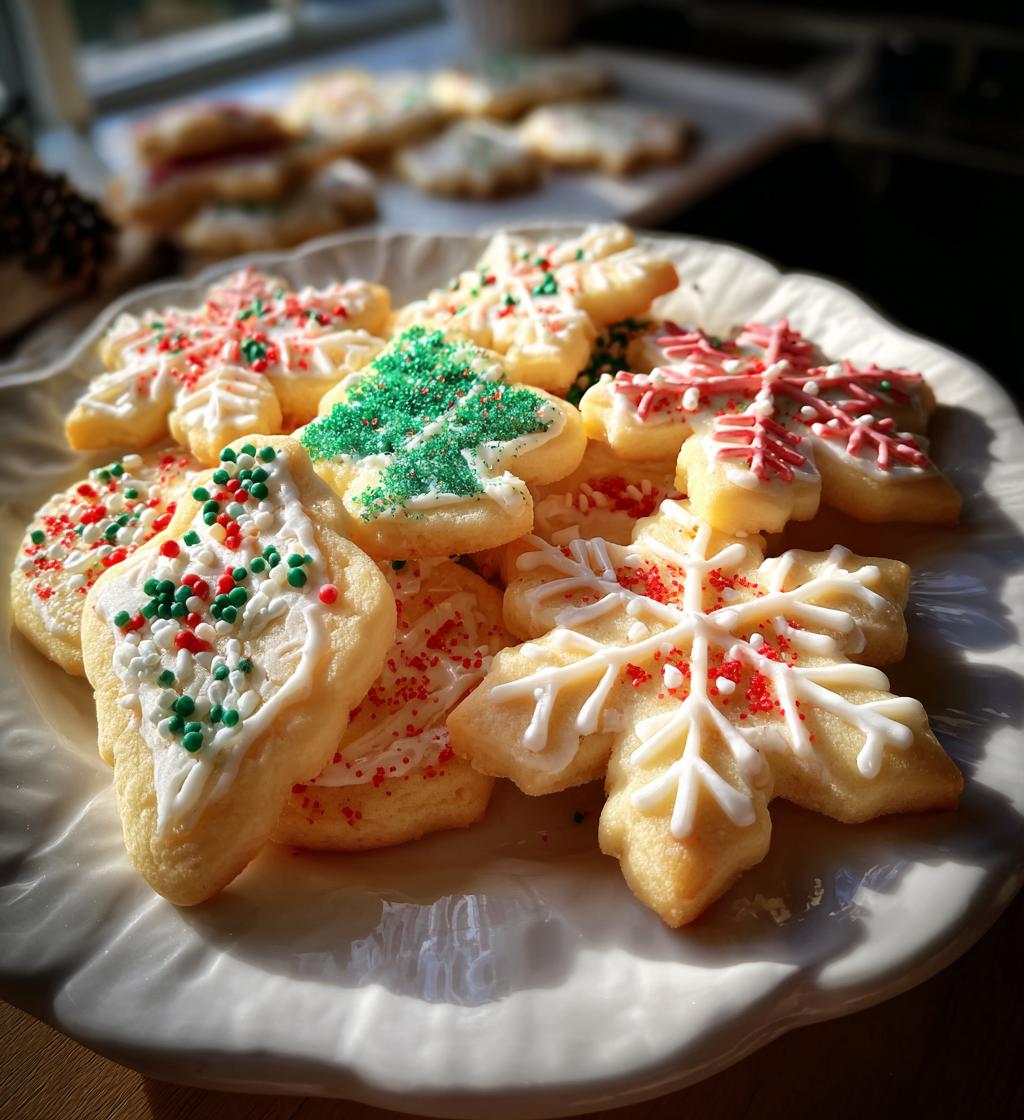
Nothing says Christmas like the smell of freshly baked cookies filling the house, especially when they’re those adorable christmas cookies decorated with festive designs! Every December, my kitchen turns into Santa’s workshop as I roll out dough and get creative with icing. It’s become our family tradition – my kids fight over who gets to add the most sprinkles (spoiler: it’s always a tie).
These aren’t just any cookies. They’re edible holiday cheer that makes everyone smile. Whether you’re making simple snowflakes or elaborate Santa faces, decorating christmas cookies creates memories as sweet as the treats themselves. I still have flour-dusted photos of my grandmother teaching me her piping techniques when I was barely tall enough to reach the counter.
The best part? You don’t need to be a pastry chef to make magical christmas cookies decorated with love. With this easy recipe and a little holiday spirit, you’ll be spreading joy one delicious bite at a time!
Why You’ll Love These Christmas Cookies Decorated
These christmas cookies decorated with holiday cheer have been my go-to recipe for years, and here’s why they’ll become your favorite too:
- Simple enough for beginners – No fancy techniques required! The dough comes together in minutes, and even messy decorations look festive.
- Endless creative possibilities – From classic snowflakes to silly reindeer faces, every cookie becomes a tiny edible canvas.
- Perfect family activity – Kids (and adults!) love personalizing their own christmas cookies decorated with sprinkles, icing, and edible glitter.
- Makes your house smell amazing – That warm vanilla-cinnamon aroma is basically bottled Christmas spirit.
- Great for gifting – Nothing says “happy holidays” like a tin of homemade christmas cookies decorated with love.
Trust me, once you start this tradition, you’ll never have a December without these cheerful treats!
Ingredients for Christmas Cookies Decorated
Gathering the right ingredients makes all the difference for perfect christmas cookies decorated with holiday flair. Here’s exactly what you’ll need:
- 2 1/4 cups all-purpose flour – Spooned and leveled for accuracy
- 1/2 teaspoon baking powder – The perfect lift without puffing
- 1/4 teaspoon salt – Just enough to balance the sweetness
- 3/4 cup unsalted butter, softened – Left out for 30 minutes (not melted!)
- 3/4 cup granulated sugar – Packed lightly when measuring
- 1 large egg – Room temperature blends best
- 1 teaspoon vanilla extract – Pure vanilla makes all the difference
- Food coloring (optional) – Gel works better than liquid
- Sprinkles or icing for decoration – The fun part!
Ingredient Notes & Substitutions
No worries if you need to swap things around! For gluten-free christmas cookies decorated just as beautifully, use a 1:1 gluten-free flour blend. Vegan? Try plant-based butter and a flax egg (1 tbsp ground flax + 3 tbsp water).
When it comes to decorating, royal icing gives those crisp professional lines, but a simple powdered sugar glaze works too. Pro tip: Gel food coloring gives vibrant hues without thinning your icing. And if you’re out of sprinkles? Crushed candy canes make magical edible glitter!
Equipment You’ll Need
You probably have most of this in your kitchen already! Here’s what I grab when making my famous christmas cookies decorated with holiday cheer:
- Mixing bowls – One large, one medium
- Electric mixer – Handheld works fine if you don’t have a stand mixer
- Baking sheets – Two standard-sized pans
- Parchment paper – Lifesaver for easy cleanup
- Rolling pin – For uniform cookie thickness
- Cookie cutters – Holiday shapes make decorating extra fun
- Piping bags & tips – For those fancy icing details
That’s it! Now let’s get baking those gorgeous christmas cookies decorated with love.
How to Make Christmas Cookies Decorated
Nothing beats the smell of freshly baked christmas cookies decorated with holiday cheer wafting through your kitchen! The secret to perfect cookies? Taking it step by step – don’t rush the process. I learned this the hard way when I once tried skipping the dough chilling (spoiler: sticky disaster!). Here’s how to make them right:
Step-by-Step Instructions
- Preheat your oven to 375°F (190°C) – this gives even baking.
- Whisk together flour, baking powder and salt in a bowl – no lumps!
- Cream butter and sugar for a full 3 minutes until fluffy – this creates that perfect texture.
- Beat in egg and vanilla until just combined – overmixing makes tough cookies.
- Gradually add dry ingredients – I do it in 3 batches for smooth mixing.
- Chill dough for 30 minutes – trust me, this prevents spreading.
- Roll tablespoon-sized balls and space them 2 inches apart on baking sheets.
- Bake 8-10 minutes until edges turn golden – they’ll firm up as they cool.
Decorating Your Christmas Cookies
Now for the magic! Let cookies cool completely before decorating – warm cookies make runny icing. For beginners, start simple: outline with royal icing, then “flood” the center. Add sprinkles immediately after flooding. My kids love using squeeze bottles for colorful dots and stripes. Pro tip: If your icing is too thick, add water drop by drop. Too thin? More powdered sugar. Store decorated cookies in single layers – nobody wants smushed santas!
Tips for Perfect Christmas Cookies Decorated
After years of trial and error (and some hilarious cookie fails), I’ve learned these foolproof tricks for christmas cookies decorated like a pro:
- Chill that dough! At least 30 minutes prevents spreading – cold dough holds its shape beautifully.
- Watch the clock – Pull cookies out when edges just turn golden. They’ll finish cooking on the hot pan.
- Cool completely before decorating – I know it’s tempting, but warm cookies melt icing instantly.
- Use piping bags with small tips for details – Ziplock bags with a snipped corner work in a pinch!
- Let icing dry between layers – Rushing means smeared designs (ask me how I know!).
- Store properly – Layer decorated cookies between parchment in airtight containers.
Remember – even “imperfect” christmas cookies decorated with love taste absolutely delicious!
Variations for Christmas Cookies Decorated
Once you’ve mastered the basics, have fun playing with different flavors and designs for your christmas cookies decorated with holiday cheer! My family loves adding a teaspoon of peppermint extract to the dough for a refreshing twist. Citrus zest (orange or lemon) gives a bright, festive flavor that pairs perfectly with the vanilla.
For colors, try dividing the dough and adding natural food coloring – red beet powder makes gorgeous ruby cookies, while matcha powder creates lovely green holiday trees. And don’t limit yourself to traditional shapes! My kids go wild for dinosaur-shaped “christmasaurus” cookies decorated with snowy white icing and red scarves.
The possibilities are endless – that’s the joy of these cookies!
Serving & Storing Christmas Cookies Decorated
Nothing beats biting into freshly decorated cookies, but these christmas cookies decorated with love actually taste even better the next day! The icing sets perfectly overnight, creating that ideal crisp-yet-chewy texture. Store them in airtight containers with parchment between layers – I reuse old cookie tins lined with wax paper. They’ll stay fresh for up to a week at room temperature (if they last that long!).
For gifting, stack cookies in clear cellophane bags tied with ribbon, or arrange them in festive tins. I always include a few extra – because everyone needs a taste tester! Pro tip: Freeze undecorated dough balls for up to 3 months, then bake fresh whenever holiday cravings strike.
Nutritional Information
Each of these festive christmas cookies decorated with icing and sprinkles contains approximately:
- 120 calories
- 6g fat (3.5g saturated)
- 15g carbohydrates
- 8g sugar
- 1.5g protein
Remember – these are estimates! Actual nutrition varies based on your decorations (we all know some cookies get more than their fair share of sprinkles!). For lower sugar options, try reducing icing or using sugar-free sprinkles.
Frequently Asked Questions
Can I freeze the dough for these christmas cookies decorated later?
Absolutely! Roll the dough into balls and freeze them on a baking sheet before transferring to a freezer bag. They’ll keep for up to 3 months – just add a couple extra minutes to the baking time when you’re ready to use them. Frozen dough actually holds its shape better for decorating!
How long do the decorations last on these cookies?
Royal icing decorations stay crisp for about 2 weeks if stored properly in airtight containers. Sprinkles and sugar decorations last indefinitely (if they don’t get eaten first!). Avoid humid areas – nobody wants soggy snowflakes.
Can I make these christmas cookies decorated without cookie cutters?
Of course! Rolled balls make perfect “snowball” cookies, or press them flat with a glass for simple rounds. My kids love making thumbprint cookies we decorate like little wreaths with green icing and red sprinkle “berries.”
What’s the best way to transport decorated cookies?
Layer them carefully between sheets of parchment or wax paper in a sturdy container. I always pack them the night before so the icing sets completely. Pro tip: Place a slice of bread in the container – it absorbs excess moisture!
Now go create some magical christmas cookies decorated with your own special touch – and don’t forget to share photos of your edible masterpieces with us!
Print
50 Christmas Cookies Decorated with Love – Easy & Festive Recipe
- Total Time: 30 minutes
- Yield: 24 cookies 1x
- Diet: Vegetarian
Description
Delicious Christmas cookies decorated with festive designs.
Ingredients
- 2 1/4 cups all-purpose flour
- 1/2 teaspoon baking powder
- 1/4 teaspoon salt
- 3/4 cup unsalted butter, softened
- 3/4 cup granulated sugar
- 1 large egg
- 1 teaspoon vanilla extract
- Food coloring (optional)
- Sprinkles or icing for decoration
Instructions
- Preheat your oven to 375°F (190°C).
- Mix flour, baking powder, and salt in a bowl.
- Cream butter and sugar until fluffy.
- Beat in egg and vanilla.
- Gradually add dry ingredients to wet mixture.
- Roll dough into balls and place on baking sheet.
- Bake for 8-10 minutes until edges are golden.
- Cool cookies before decorating.
- Decorate with icing and sprinkles.
Notes
- Chill dough for 30 minutes for easier handling.
- Use royal icing for detailed designs.
- Store in airtight container for freshness.
- Prep Time: 20 minutes
- Cook Time: 10 minutes
- Category: Dessert
- Method: Baking
- Cuisine: American
Nutrition
- Serving Size: 1 cookie
- Calories: 120
- Sugar: 8g
- Sodium: 30mg
- Fat: 6g
- Saturated Fat: 3.5g
- Unsaturated Fat: 2g
- Trans Fat: 0g
- Carbohydrates: 15g
- Fiber: 0.5g
- Protein: 1.5g
- Cholesterol: 20mg
Keywords: christmas cookies decorated, holiday baking, festive cookies


