Oh, the magic of Christmas cookies decorated with love! There’s nothing quite like rolling out that buttery dough, pressing festive shapes into it, and watching your kitchen transform into Santa’s workshop. Every December, my family gathers around the counter, flour dusting our noses, as we turn simple ingredients into edible holiday cheer.
I still remember my first attempt at decorating – let’s just say those snowflakes looked more like blobs! But that’s the beauty of these Christmas cookies decorated ideas – perfection isn’t the goal. Whether you’re piping intricate designs or letting kids go wild with sprinkles, each imperfect cookie becomes a sweet memory. The scent of vanilla and cinnamon filling your home? That’s the real holiday spirit!
What makes these cookies special is how they bring people together. My grandma taught me her secret – chill the dough just enough so your shapes hold, but not so much that rolling becomes an arm workout. Now I’m passing that tip to you, along with all the decorating tricks I’ve collected over years of happy (and sometimes messy) holiday baking.
Why You’ll Love These Christmas Cookies Decorated Ideas
These aren’t just cookies—they’re little edible canvases for holiday joy! Here’s why they’ll become your new tradition:
- Effortless fun: The dough comes together in minutes, leaving more time for the best part—decorating!
- All-ages magic: From toddlers with sprinkles to adults piping intricate designs, everyone gets to play.
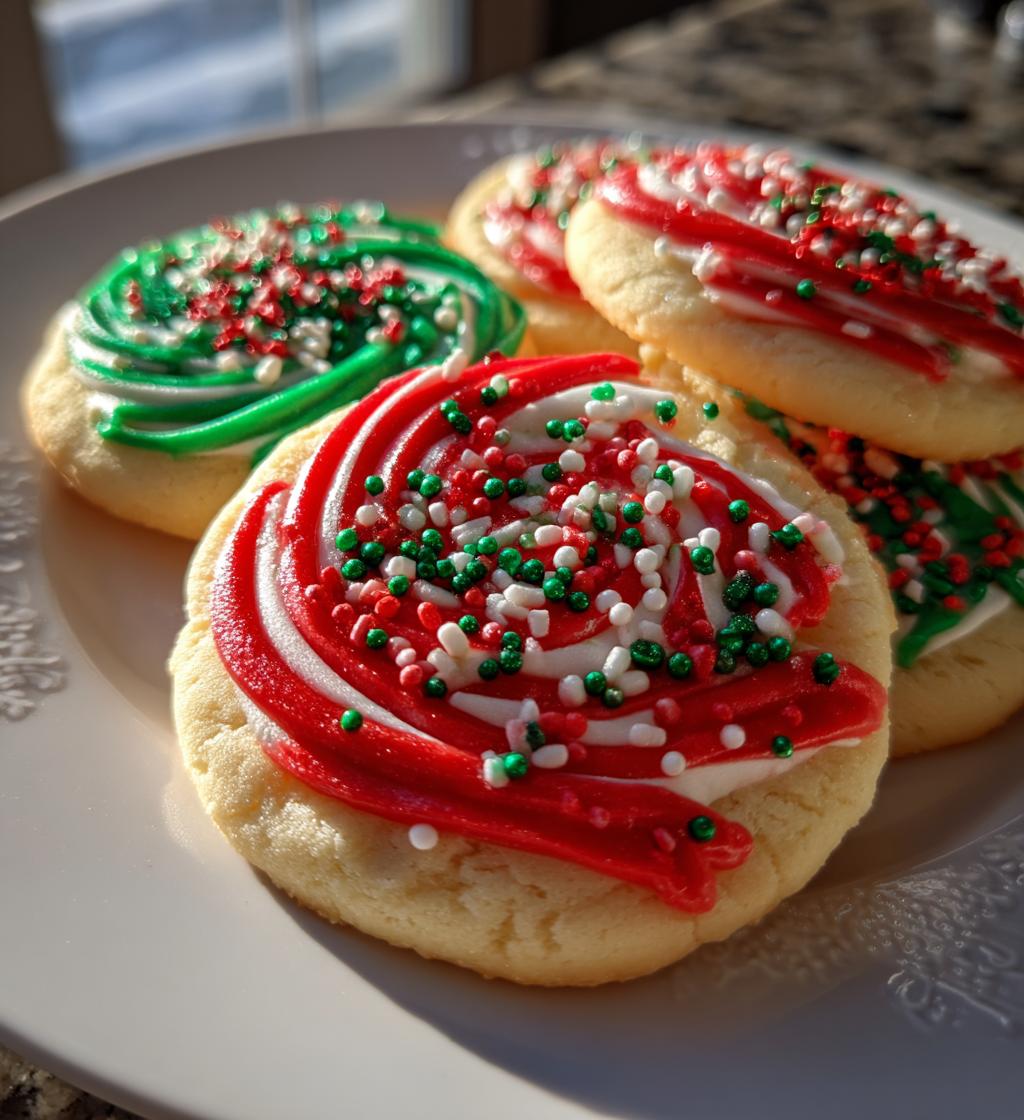
- Instant cheer: Those colorful shapes piled on a plate? Pure holiday happiness you can eat.
- Flexible creativity: No fancy skills needed—just icing, sprinkles, and whatever makes you smile.
Plus, they make the whole house smell like Christmas morning. What’s not to love?
Ingredients for Christmas Cookies Decorated Ideas
Gathering the right ingredients is half the fun – like a holiday treasure hunt in your pantry! Here’s what you’ll need to create your edible masterpieces:
- 2 cups all-purpose flour – The foundation that holds all our holiday dreams together
- 1 cup unsalted butter, softened – Leave it out for about 30 minutes (I test readiness by pressing – it should give slightly like a firm pillow)
- 1 cup granulated sugar – For that perfect sweetness without overpowering our decorations
- 1 large egg – Always room temperature (I pop cold eggs in warm water for 5 minutes if I forget!)
- 1 tsp vanilla extract – The secret behind that “what smells so amazing?” reaction
- 1/2 tsp salt – Just enough to balance the sweetness
- Food coloring (red, green) – Gel works best for vibrant hues without thinning the dough
- Assorted sprinkles – The more variety, the merrier!
- Royal icing – Your edible “glue” for all those festive decorations
See? Nothing too fancy – just simple ingredients that transform into holiday magic. Now let’s make some dough!
Equipment You’ll Need
No fancy gadgets required – just these trusty tools that probably live in your kitchen already:
- Mixing bowls – One large one for the dough, smaller ones if you’re dividing colored batches
- Cookie cutters – My collection includes lopsided snowmen and slightly scary reindeer (they’re endearing!)
- Rolling pin – A wine bottle works in a pinch – I’ve been there!
- Piping bags or ziplock bags – Corner snipped off = instant decorating bag
- Baking sheets – No need for fancy ones, just line them with parchment
That’s it! Now you’re ready to roll (literally).
How to Make Christmas Cookies Decorated Ideas
Alright, let’s dive into the fun part! Making these cookies is like conducting a sweet little holiday symphony – each step builds toward something magical. Don’t worry if your first batch isn’t bakery-perfect (mine certainly weren’t!). The joy’s in the making.
Preparing the Dough
First, let’s wake up that butter! Cream it with sugar until fluffy – about 2 minutes with a mixer, or 3-4 by hand (great arm workout!). Add the egg and vanilla, mixing until just combined. Now gradually add your flour and salt – I do this in three parts to prevent a flour explosion. The dough should come together nicely but not be sticky. If it clings to your fingers, add a tablespoon more flour.
Coloring and Shaping the Cookies
Here’s where the holiday spirit really comes alive! Divide your dough into portions for coloring. Gel food coloring works best – start with a toothpick dab and knead it in (wear gloves unless you want festive hands!). Roll out between parchment sheets to 1/4″ thickness – any thinner and they’ll burn, any thicker and they won’t crisp right. Press those cookie cutters firmly and lift straight up for clean edges.
Baking and Cooling
Bake at 350°F for 10-12 minutes until the edges just barely start to golden. They’ll look underdone in the center – that’s perfect! Let them cool on the pan for 5 minutes (they’re still setting), then transfer to a rack. Decorating warm cookies = melty icing disaster. Wait until they’re completely cool – about 30 minutes – before unleashing your creative genius!
Decorating Your Christmas Cookies
Now for the most magical part – turning those plain cookies into festive works of art! I like to start with royal icing as my “canvas” – thin it slightly with water until it flows but still holds its shape. Use a piping bag (or ziplock with the corner snipped) to outline each cookie first, then “flood” the center by spreading thinner icing with a toothpick.
Here’s where the real fun begins! While the icing’s still wet, sprinkle like there’s no tomorrow – I keep small bowls of red and green sugars, jimmies, and nonpareils within easy reach. For more detailed designs, let the base coat dry completely (about an hour) before adding snowflakes, holly berries, or faces with thicker icing. Pro tip: If your hands shake like mine when piping fine lines, rest your elbow on the table for steadier control!
Don’t stress perfection – some of my favorite cookies have “happy accidents” like lopsided Christmas trees or snowmen with too many buttons. After all, the best Christmas cookies decorated ideas come from the heart, not from being perfect!
Tips for Perfect Christmas Cookies Decorated Ideas
After years of trial and (mostly delicious) error, I’ve gathered some foolproof tricks to make your Christmas cookies the talk of the cookie tray:
- Chill smart: 30 minutes in the fridge firms the dough just enough for clean cuts, but skip the hour-long chill that turns it into a brick!
- Roll evenly: Place dowels on either side of your dough to guarantee uniform thickness – no more burnt edges with raw centers.
- Icing consistency: When testing your royal icing, it should disappear back into itself in 15 seconds – any faster and it’ll run right off your cookies.
- Work in batches: Decorate half while the rest of the dough chills – warm dough spreads those cute shapes into blobs.
Remember – even “messy” cookies taste amazing, so have fun with it!
Storage and Serving Suggestions
These Christmas cookies decorated ideas stay fresh for up to a week when stored properly – just layer them between parchment in an airtight container. For stacking decorated cookies, wait until the icing fully hardens (overnight is safest). They make perfect gifts in festive tins or adorable additions to holiday dessert tables. My favorite way to serve? Piled high on Grandma’s vintage Christmas plate with a pot of hot cocoa!
Nutritional Information
Each festive cookie comes in at about 120 calories – not bad for a little holiday happiness! Keep in mind these are estimates (my heavy-handed sprinkling might add a few extra!). Here’s the breakdown per cookie:
- 6g fat (3.5g saturated)
- 15g carbs
- 8g sugar
- 1.5g protein
Now go enjoy your creations – calories don’t count when they’re made with Christmas spirit!
Frequently Asked Questions
Over the years, I’ve gotten the same excited questions from friends trying these Christmas cookies decorated ideas – here are the answers that’ll save you some holiday stress!
Can I freeze the cookie dough?
Absolutely! Wrap dough tightly in plastic (I flatten it into discs for quicker thawing) and freeze for up to 3 months. Thaw overnight in the fridge before rolling – no need to bring to room temperature first.
How long does royal icing take to dry completely?
Thin layers dry in about 4 hours, but for detailed decorations or stacking, I let them dry overnight. Humidity slows drying – placing cookies near a fan helps!
My cookies spread – what went wrong?
Usually means the butter was too soft or dough wasn’t chilled enough. Next time, pop cut shapes in the freezer for 10 minutes before baking – works like a charm!
Can I make these cookies ahead?
Decorated cookies stay fresh for a week in airtight containers. Undecorated baked cookies freeze beautifully for up to a month – just decorate after thawing.
What’s the best way to transport decorated cookies?
Single layer in a shallow container with parchment between layers. For gifts, I nestle them in cupcake liners inside tins – pretty and protected!
Share Your Christmas Cookies Decorated Ideas
I’d love to see your edible masterpieces! Snap a photo of your decorated cookies and share them in the comments – lopsided snowmen and blobby trees welcome! After all, the best Christmas cookies come from happy bakers.
Print
Magical Christmas Cookies Decorated Ideas That Wow Everyone
- Total Time: 32 minutes
- Yield: 24 cookies 1x
- Diet: Vegetarian
Description
Delicious Christmas cookies decorated with festive designs for holiday celebrations.
Ingredients
- 2 cups all-purpose flour
- 1 cup unsalted butter, softened
- 1 cup granulated sugar
- 1 large egg
- 1 tsp vanilla extract
- 1/2 tsp salt
- Food coloring (red, green)
- Assorted sprinkles
- Royal icing
Instructions
- Preheat oven to 350°F (175°C).
- Cream butter and sugar until fluffy.
- Add egg and vanilla, mix well.
- Gradually add flour and salt, mix until dough forms.
- Divide dough and add food coloring if desired.
- Roll dough and cut into festive shapes.
- Bake for 10-12 minutes until edges are golden.
- Cool completely before decorating with icing and sprinkles.
Notes
- Store cookies in an airtight container.
- Use cookie cutters for festive shapes.
- Let icing dry completely before stacking.
- Prep Time: 20 minutes
- Cook Time: 12 minutes
- Category: Dessert
- Method: Baking
- Cuisine: American
Nutrition
- Serving Size: 1 cookie
- Calories: 120
- Sugar: 8g
- Sodium: 50mg
- Fat: 6g
- Saturated Fat: 3.5g
- Unsaturated Fat: 2g
- Trans Fat: 0g
- Carbohydrates: 15g
- Fiber: 0.5g
- Protein: 1.5g
- Cholesterol: 20mg
Keywords: christmas cookies decorated ideas, holiday baking, festive cookies


