There’s something magical about the holidays, isn’t there? The twinkling lights, the cozy sweaters, and of course—the desserts! This chocolate peppermint cake has been my go-to festive treat for years. It’s the perfect balance of rich, fudgy chocolate and that refreshing peppermint kick that just screams “holiday cheer.” What I love most is how simple it is to whip up—even when I’m juggling a million other holiday tasks. Trust me, I’ve baked this while simultaneously wrapping presents and refereeing my kids’ cookie decorating contest! The secret is in that boiling water trick (more on that later) that gives this cake its incredible moist texture. One bite and you’ll understand why it’s become my family’s most requested holiday dessert.
Ingredients List
Gathering your ingredients is the first step to holiday magic! Here’s everything you’ll need for this showstopper cake:
- 2 cups all-purpose flour (spooned and leveled)
- 1 3/4 cups granulated sugar
- 3/4 cup unsweetened cocoa powder (I prefer Dutch-processed for extra richness)
- 1 1/2 tsp baking powder
- 1 1/2 tsp baking soda
- 1 tsp salt (don’t skip this – it balances the sweetness!)
- 2 large eggs (room temperature works best)
- 1 cup whole milk
- 1/2 cup vegetable oil
- 2 tsp vanilla extract
- 1 cup boiling water (yes, boiling – trust me!)
- 1/2 tsp peppermint extract (or more if you’re feeling festive)
- 1 cup crushed peppermint candies (I use candy canes – bonus points if you smash them yourself!)
See? Nothing too fancy – just good, simple ingredients that come together beautifully. Now let’s get baking!
How to Prepare Chocolate Peppermint Cake
Okay, let’s get to the fun part – making this holiday masterpiece! Don’t let the thin batter scare you (it’s supposed to look that way). Just follow these simple steps:
- First things first – preheat that oven to 350°F (175°C). While it’s heating up, grease two 9-inch round pans and dust them with flour. I like to trace parchment paper circles for the bottoms too – makes for foolproof removal later!
- In your biggest mixing bowl, whisk together all the dry ingredients – flour, sugar, cocoa powder, baking powder, baking soda, and salt. Get it nice and lump-free before moving on.
- Now for the wet ingredients! Add eggs, milk, oil, and vanilla to the dry mix. Beat it just until combined – no need to overdo it. The batter will be thick at this point, but don’t worry!
- Here comes the magic: slowly stir in that boiling water. I know it seems weird, but this is what gives the cake its incredible moisture. The batter will thin out dramatically – that’s exactly what you want!
- Divide the batter between your prepared pans (I use a measuring cup to make sure they’re even). Pop them in the oven and set your timer for 30 minutes.
- When the timer goes off, do the toothpick test – it should come out with just a few moist crumbs. If needed, bake another 5 minutes. Then let the cakes cool in their pans for 10 minutes before flipping them onto a wire rack to cool completely.
- Once cooled, frost with your favorite frosting (I’m partial to peppermint buttercream). The finishing touch? A generous sprinkle of those crushed peppermint candies on top – it’s like edible holiday glitter!
Baking Tips for Perfect Chocolate Peppermint Cake
After making this cake dozens of times, I’ve learned a few tricks to guarantee success every holiday season:
- Don’t panic about the thin batter! It’s meant to be that way – the boiling water creates a super moist texture.
- Easy does it with the mixing. Overworked batter leads to tough cake. Mix just until ingredients are combined.
- If you’re a peppermint fanatic like me, add an extra 1/4 tsp of peppermint extract to the batter. Just taste as you go – that flavor can get strong fast!
- The toothpick test never lies. If it comes out clean, your cake is done, even if the center looks a bit jiggly.
- Store leftovers (if you have any!) in an airtight container at room temperature. The flavors actually get better on day two!
Why You’ll Love This Chocolate Peppermint Cake
This cake isn’t just delicious—it’s downright magical. Here’s why it’s become my holiday staple:
- That perfect holiday flavor combo – rich chocolate meets refreshing peppermint in every bite
- So easy even Santa could make it – simple ingredients, straightforward steps, no fancy techniques
- Crowds go wild for it – I’ve never brought home leftovers from a holiday party
- Endlessly adaptable – swap the frosting, adjust the peppermint level, or turn it into cupcakes
- Smells like Christmas – the aroma of chocolate and peppermint baking will fill your home with holiday cheer
Trust me, this cake will become your new holiday tradition too!
Ingredient Notes & Substitutions
Baking should be fun, not stressful! Here’s how to tweak this recipe when you’re in a pinch or catering to dietary needs:
- Flour: Need gluten-free? A 1:1 gluten-free flour blend works beautifully here. I’ve used Bob’s Red Mill with great success.
- Milk: Any milk works – I’ve used almond milk when baking for dairy-free friends and couldn’t tell the difference!
- Peppermint extract: This stuff is POTENT. Start with 1/2 tsp and taste before adding more. If you only have peppermint oil, use half the amount.
- Candies: No candy canes? Crushed starlight mints or peppermint patties work too. For a kid-friendly version, try crushed candy-coated chocolates.
- Cocoa powder: Regular unsweetened works fine, but Dutch-processed gives extra richness if you have it.
See? Flexibility is the spice of baking life!
Serving Suggestions for Chocolate Peppermint Cake
Oh, the ways you can serve this beauty! My personal favorite? A warm slice with vanilla ice cream melting into all those chocolatey crevices – it’s pure holiday bliss. For Christmas parties, I love setting up a hot cocoa bar with cake slices as edible stirrers (trust me, guests go wild for this!). Fresh mint sprigs make the prettiest garnish if you’re feeling fancy. And don’t even get me started on how amazing it pairs with peppermint mochas for brunch!
Storage & Reheating Instructions
Here’s how to keep your chocolate peppermint cake tasting fresh and fabulous:
- Room temp is best: Store in an airtight container at room temperature for up to 3 days. The fridge will dry it out – trust me, I learned this the hard way!
- Freezing magic: Wrap individual slices tightly in plastic wrap, then foil. They’ll keep beautifully for up to 2 months. Perfect for when holiday cravings strike unexpectedly!
- Reviving leftovers: Pop a slice in the microwave for 10-15 seconds to bring back that fresh-from-the-oven warmth. Top with ice cream for instant holiday dessert heaven.
Pro tip: The peppermint flavor actually gets better after a day – if you can wait that long!
Nutritional Information
Just so you know what you’re indulging in (not that we’re counting calories during the holidays!), here’s the nutritional breakdown per slice. Remember, these are estimates – actual values can vary based on your specific ingredients and brands.
- Calories: 320
- Sugar: 25g
- Sodium: 350mg
- Fat: 12g (3g saturated)
- Carbohydrates: 50g
- Fiber: 3g
- Protein: 5g
Now go enjoy that slice guilt-free – it’s the holidays after all!
Frequently Asked Questions
I get asked about this chocolate peppermint cake all the time—here are the answers to the most common questions that pop up during the holidays!
Can I turn this into cupcakes?
Absolutely! This batter makes about 24 perfect cupcakes. Just fill liners 2/3 full and bake at 350°F for 18-22 minutes. The boiling water trick works the same magic in cupcake form!
How can I make the peppermint flavor stronger?
My secret? Add an extra 1/4 tsp peppermint extract to the batter, plus another 1/4 tsp in your frosting. Just taste as you go—peppermint can overpower quickly!
Do I really need the boiling water?
I know it seems weird, but yes! That hot water helps “bloom” the cocoa powder for maximum chocolate flavor and creates that incredible moist texture we love. Don’t skip it!
Can I use candy canes instead of peppermint candies?
That’s actually my favorite way! Unwrap 6-8 standard candy canes and crush them in a bag with a rolling pin. The red and white swirls make such a pretty holiday topping!
How do I prevent the candies from melting into the frosting?
Sprinkle them on right before serving if your kitchen is warm. Or, mix some into the frosting and save some for garnish—best of both worlds!

Irresistible Chocolate Peppermint Cake (Moist in 30 Minutes)
- Total Time: 55 minutes
- Yield: 12 servings 1x
- Diet: Vegetarian
Description
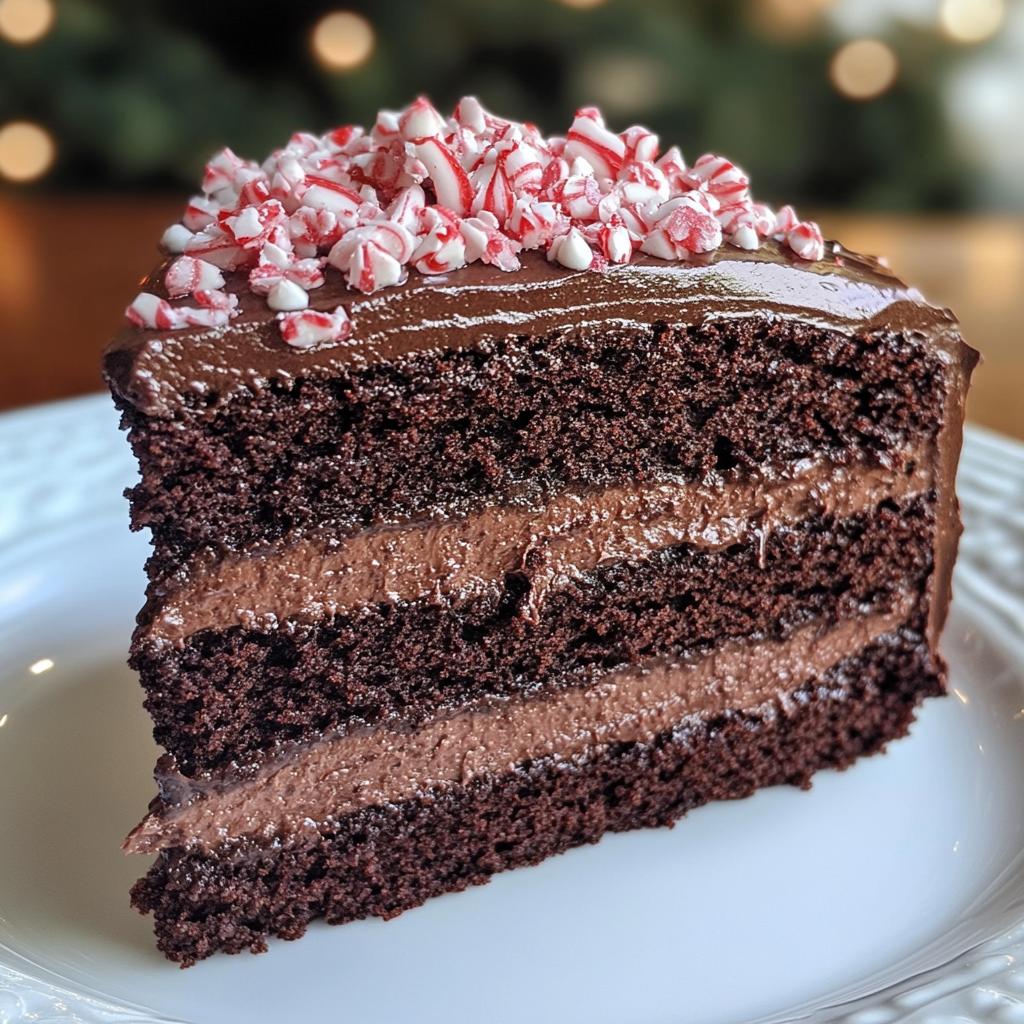
A rich chocolate cake with a refreshing peppermint twist, perfect for holiday celebrations.
Ingredients
- 2 cups all-purpose flour
- 1 3/4 cups granulated sugar
- 3/4 cup unsweetened cocoa powder
- 1 1/2 tsp baking powder
- 1 1/2 tsp baking soda
- 1 tsp salt
- 2 large eggs
- 1 cup whole milk
- 1/2 cup vegetable oil
- 2 tsp vanilla extract
- 1 cup boiling water
- 1/2 tsp peppermint extract
- 1 cup crushed peppermint candies
Instructions
- Preheat oven to 350°F (175°C). Grease and flour two 9-inch round cake pans.
- In a large bowl, whisk together flour, sugar, cocoa powder, baking powder, baking soda, and salt.
- Add eggs, milk, oil, and vanilla extract. Mix until smooth.
- Stir in boiling water. The batter will be thin.
- Divide batter evenly between the prepared pans.
- Bake for 30-35 minutes, or until a toothpick inserted comes out clean.
- Let cakes cool in pans for 10 minutes, then transfer to a wire rack.
- Once cooled, frost with your favorite frosting and sprinkle with crushed peppermint candies.
Notes
- For a stronger peppermint flavor, add an extra 1/4 tsp peppermint extract.
- Store in an airtight container at room temperature for up to 3 days.
- Use a serrated knife to cut clean slices.
- Prep Time: 20 minutes
- Cook Time: 35 minutes
- Category: Dessert
- Method: Baking
- Cuisine: American
Nutrition
- Serving Size: 1 slice
- Calories: 320
- Sugar: 25g
- Sodium: 350mg
- Fat: 12g
- Saturated Fat: 3g
- Unsaturated Fat: 8g
- Trans Fat: 0g
- Carbohydrates: 50g
- Fiber: 3g
- Protein: 5g
- Cholesterol: 35mg
Keywords: chocolate peppermint cake, holiday dessert, festive cake


